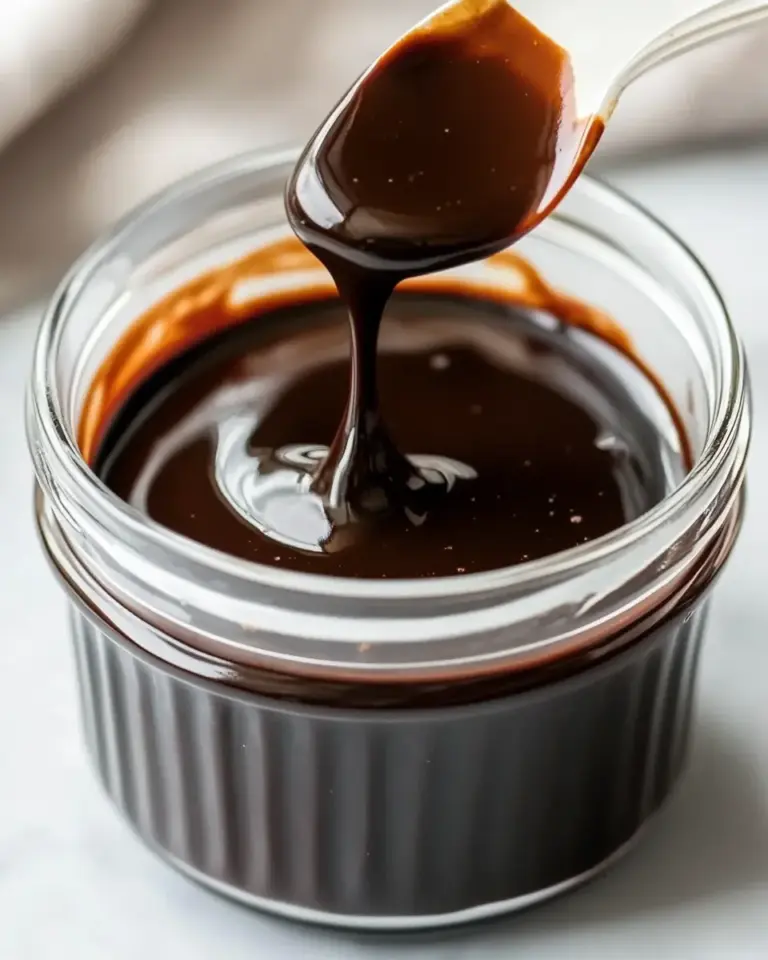
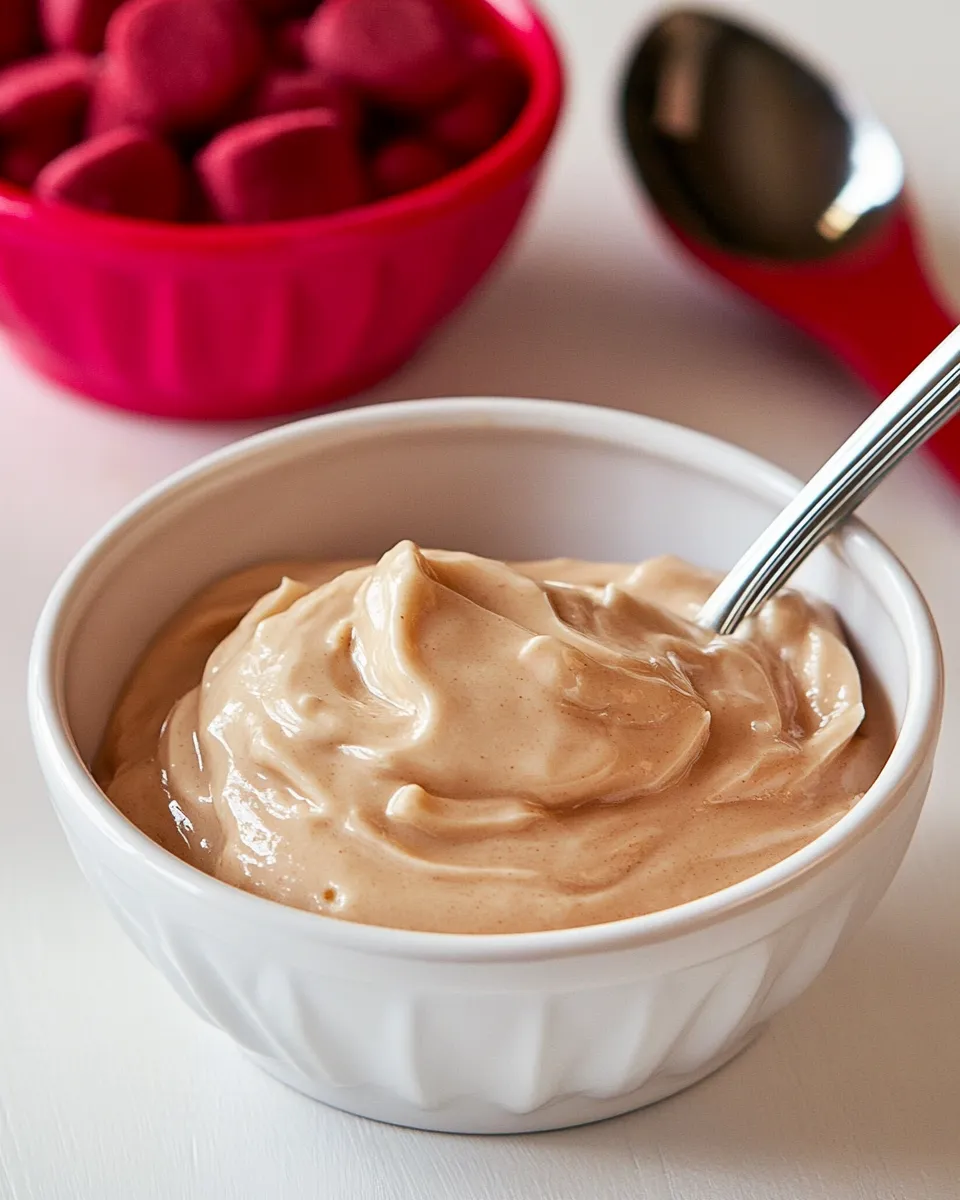
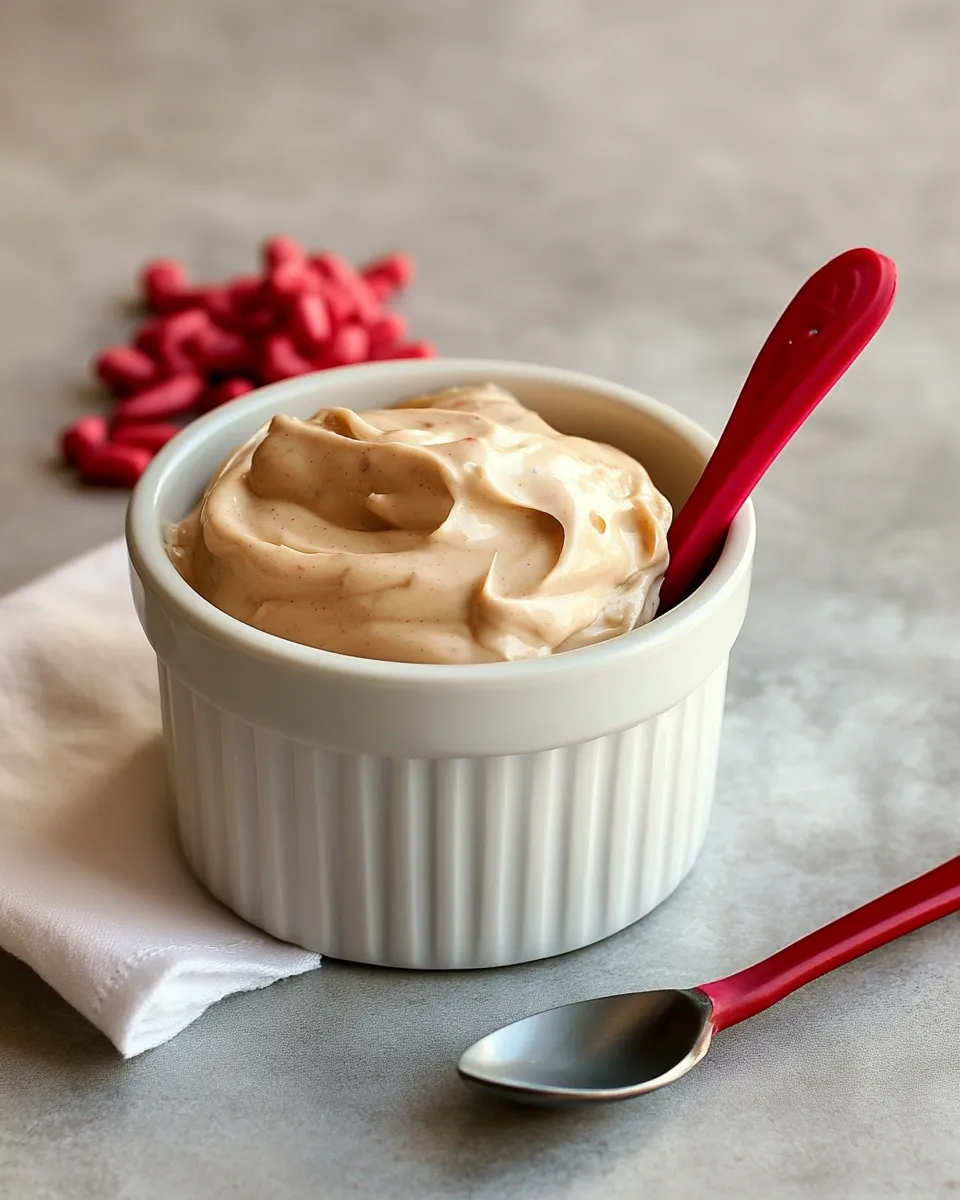
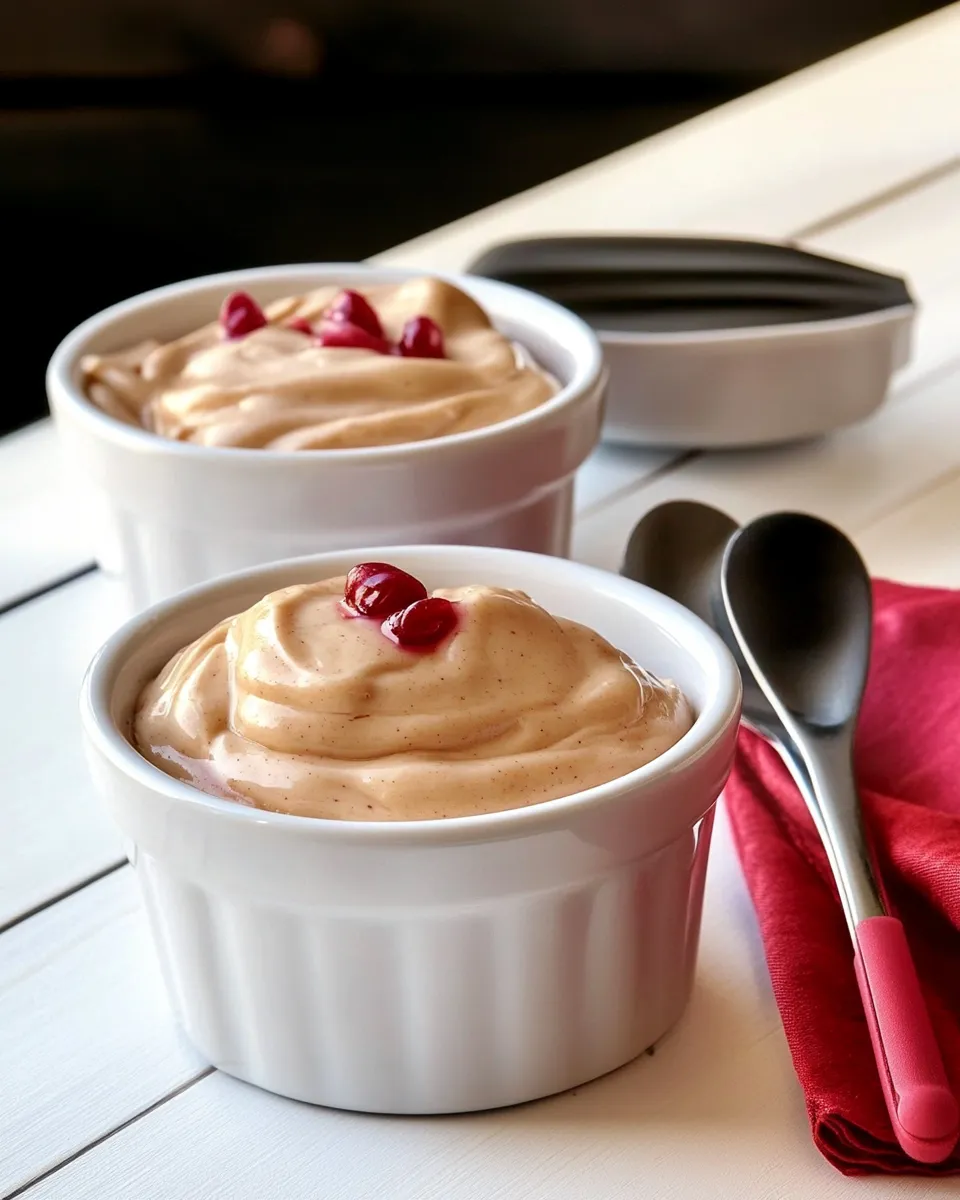
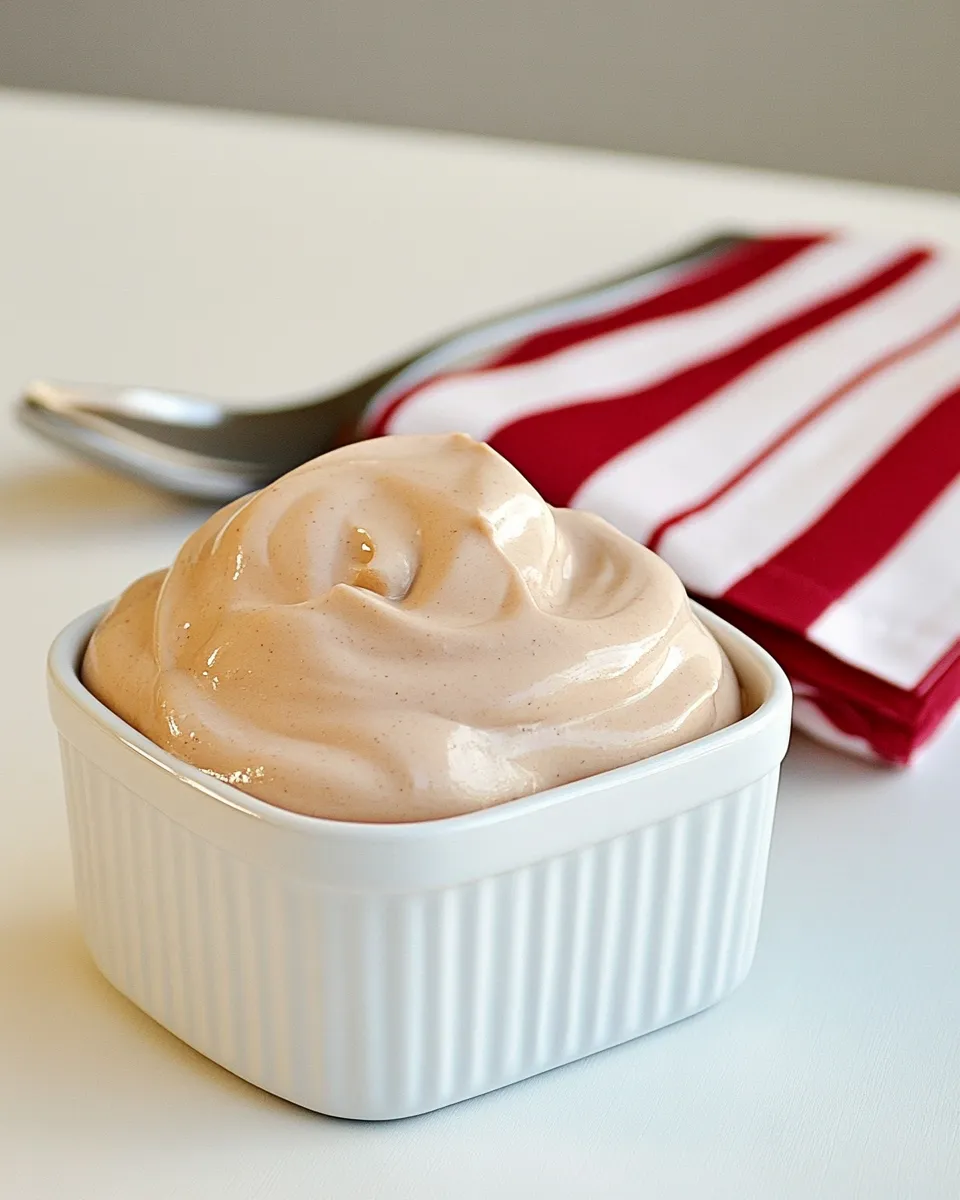
Whipped Specialty Butters
Whipped Specialty Butters are the ultimate way to elevate your breakfast game. Imagine spreading a luscious whipped butter on warm, toasted bread or pancakes, infusing your meals with flavors that dance on your palate. This delightful concoction not only adds a gourmet touch but also allows you to customize flavors to suit any occasion. With just a few simple ingredients, you can create a variety of whipped butters that will impress your family and friends. Today, we will focus on a deliciously sweet whipped butter recipe that features honey, molasses, and a hint of cinnamon, perfect for drizzling on your favorite baked goods or simply enjoying with fresh fruit.
Top Reasons to Make Whipped Specialty Butters
Making whipped specialty butters is not just a fun kitchen project; it also comes with numerous benefits:
- Flavor Variety: You can experiment with different flavor combinations to match your mood or the season.
- Easy to Make: With just a few ingredients and minimal effort, you can create something extraordinary.
- Perfect for Gifting: Whipped butters make thoughtful gifts, especially when packaged in pretty jars.
- Healthy Alternatives: These butters can be made with natural sweeteners and wholesome ingredients, making them a healthier option.
- Versatile Usage: Use them on pancakes, waffles, toast, or even as a sweet dip for fruits.
What to Buy
Before diving into the recipe, here’s what you will need:
- 1 cup salted butter: Ensure it’s at room temperature for easy whipping.
- 3/4 cup honey: Choose a good quality honey for the best flavor.
- 1/2 cup powdered sugar: This adds sweetness and helps achieve a smooth texture.
- 2 1/2 tsp molasses: This gives a deep, rich flavor.
- 2 tsp cinnamon: A warm spice that complements the sweetness beautifully.
Gear Checklist
To make your whipped specialty butters, gather the following tools:
- Mixing bowl: A large bowl is essential for combining your ingredients.
- Electric mixer: A stand or handheld mixer will make whipping easier and faster.
- Measuring cups and spoons: Accurate measurements are key to delicious results.
- Spatula: For scraping down the sides of the bowl and ensuring everything is well mixed.
- Storage containers: Jars or airtight containers for storing your whipped butter.
Cooking Whipped Specialty Butters: The Process
Now, let’s get into the fun part—making your whipped specialty butters!
Step 1: Gather Ingredients
Start by assembling all your ingredients on the counter. This makes the process smooth and ensures you don’t forget anything.
Step 2: Prepare the Butter
In a large mixing bowl, place your 1 cup of salted butter. Make sure it’s at room temperature so it’s soft enough to whip easily.
Step 3: Add Sweeteners
Pour in 3/4 cup of honey and add 1/2 cup of powdered sugar to the butter. The sweetness will enhance the flavor profile of your whipped butter.
Step 4: Incorporate Molasses and Cinnamon
Next, add 2 1/2 teaspoons of molasses and 2 teaspoons of cinnamon. This will give your whipped butter a deliciously warm and rich taste.
Step 5: Whip It Up
Using your electric mixer, beat the mixture on medium speed until it becomes light and fluffy. This should take about 3-5 minutes. Scrape the sides of the bowl as needed to ensure everything is fully incorporated.
Step 6: Taste and Adjust
Taste your whipped specialty butter and adjust the sweetness or spice levels if necessary. Add more honey, powdered sugar, or cinnamon to taste.
Step 7: Store
Transfer your whipped butter into your storage containers. Make sure to seal them tightly to keep the butter fresh.
Ingredient Swaps & Substitutions
Feel free to customize your whipped butters with these alternative ingredients:
- Butter: Use unsalted butter if you prefer a less salty flavor.
- Honey: Maple syrup or agave nectar can be used as a substitute for honey.
- Powdered Sugar: Coconut sugar can be blended into a powder for a healthier option.
- Molasses: If you don’t have molasses, dark brown sugar can add a similar flavor.
- Cinnamon: Try other spices like nutmeg or cardamom for a unique twist.
Learn from These Mistakes
To ensure your whipped specialty butters turn out perfect every time, keep these common pitfalls in mind:
- Using Cold Butter: Cold butter will not whip properly, resulting in a dense mixture. Always use room temperature butter.
- Overmixing: Whip just until fluffy. Overmixing can lead to a greasy texture.
- Not Tasting: Always taste your butter before storing it to ensure it has the right balance of flavors.
- Ignoring Ingredients: Pay attention to ingredient quality; fresh, high-quality ingredients will yield the best results.
Prep Ahead & Store
Whipped specialty butters can be made ahead of time and stored for future use. Here’s how:
- Storage: Keep your whipped butter in an airtight container in the refrigerator for up to two weeks.
- Freezing: You can also freeze whipped butter for up to three months. Just make sure to label the container with the date and flavor.
- Thawing: When ready to use, simply thaw in the refrigerator overnight or leave at room temperature for a few hours.
- Serving: Re-whip slightly before serving if it has been frozen to restore its fluffy texture.
Quick Q&A
Can I use unsalted butter instead of salted butter?
Yes, you can use unsalted butter. Just be aware that the flavor will be slightly different, and you may want to add a pinch of salt to balance the sweetness.
How can I adjust the sweetness of my whipped butter?
You can adjust the sweetness by adding more honey or powdered sugar until you reach your desired taste.
What can I use whipped specialty butters on?
Whipped specialty butters are perfect on toast, pancakes, waffles, muffins, and even as a topping for warm scones or as a dip for fresh fruit.
Can I make whipped butter with other flavorings?
Absolutely! You can experiment with various flavorings, such as vanilla, citrus zest, or different spices to create your unique whipped specialty butters.
Bring It Home
Creating your own whipped specialty butters at home is not only a delightful culinary adventure but also a way to personalize your meals. This recipe using honey, molasses, and cinnamon is just the beginning. Once you master the basic technique, the flavor possibilities are endless. From herby butters to fruity blends, the sky is the limit.
The charm of whipped specialty butters lies in their versatility and ease of preparation. They can transform a simple breakfast into an extraordinary feast or make a lovely gift that shows you care. So gather your ingredients, follow the steps, and indulge in the delightful world of whipped specialty butters. Your taste buds will thank you!
Whipped Specialty Butters
Ingredients
Equipment
Method
- Gather all your ingredients on the counter for a smooth process.
- In a large mixing bowl, place your 1 cup of salted butter at room temperature.
- Pour in 3/4 cup of honey and add 1/2 cup of powdered sugar to the butter.
- Add 2 1/2 teaspoons of molasses and 2 teaspoons of cinnamon.
- Using an electric mixer, beat the mixture on medium speed until light and fluffy, about 3-5 minutes.
- Taste your whipped butter and adjust sweetness or spice levels as necessary.
- Transfer your whipped butter into storage containers and seal tightly.
Notes
- Store whipped butter in an airtight container in the refrigerator for up to two weeks.
- Freeze for up to three months; thaw in the fridge overnight before use.
- Re-whip slightly before serving if it has been frozen to restore its fluffy texture.