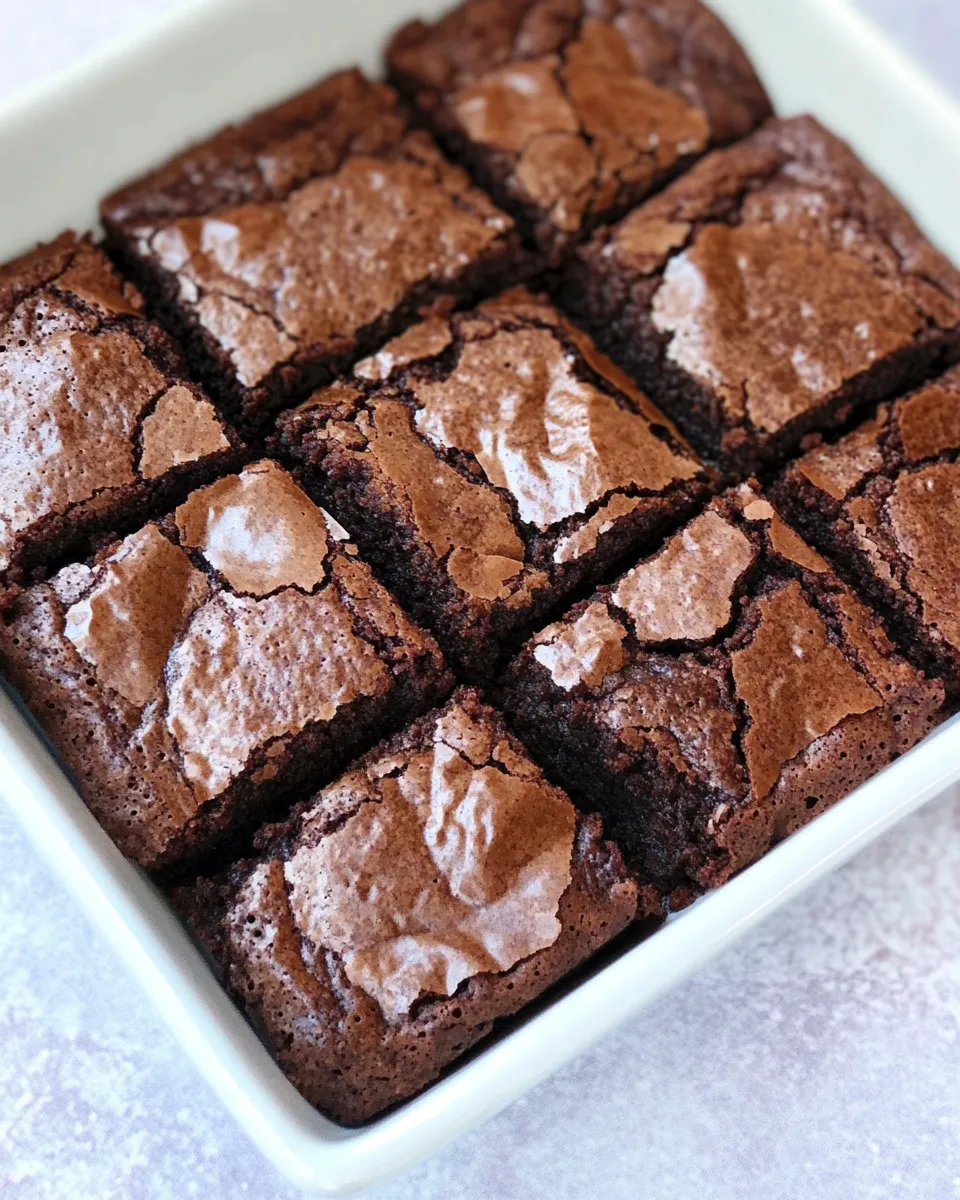
Rich Cocoa Brownies
There’s nothing quite like the pleasure of sinking your teeth into a rich, fudgy brownie. These Rich Cocoa Brownies are a chocolate lover’s dream come true, offering the perfect balance of gooeyness and depth of flavor. Made with high-quality cocoa powder and semisweet chocolate chips, this recipe is sure to become a go-to in your baking repertoire. The beauty of these brownies lies not only in their taste but also in their simplicity. With just a handful of ingredients, you can whip up a batch that will impress friends and family alike. So, let’s dive into the world of chocolatey goodness and get baking!
The Upside of Rich Cocoa Brownies
Rich Cocoa Brownies are a delightful treat that can brighten any day. They are incredibly versatile, making them perfect for gatherings, after-school snacks, or even a cozy night in. These brownies boast a deep chocolate flavor that’s enhanced by the use of Dutch-process cocoa powder, which gives them a richer taste and darker color. The addition of semisweet chocolate chips adds pockets of melted chocolate that take each bite to the next level. Plus, they are quick to prepare, making it easy to satisfy those chocolate cravings on a whim.
Ingredient Notes
- All-purpose flour: This is the backbone of the brownie, providing structure while keeping them tender.
- Unsweetened alkalized cocoa powder (Dutch-process): This type of cocoa powder is treated to neutralize its acidity, resulting in a smoother, richer chocolate flavor.
- Unsalted butter: Using unsalted butter allows you to control the saltiness of your batter, contributing to the overall flavor of the brownies.
- Kosher salt: A crucial ingredient that enhances the sweetness of the chocolate.
- Large eggs: Eggs provide moisture and help bind the ingredients together, resulting in a richer texture.
- Granulated sugar: This sweetener balances the bitterness of the cocoa powder and contributes to the brownies’ fudgy texture.
- Vanilla extract: A must-have flavor enhancer that elevates the chocolate taste.
- Semisweet chocolate chips: These chips add a delightful burst of melted chocolate in every bite.
- Powdered sugar: For a touch of sweetness and a beautiful finishing touch when dusted on top.
Before You Start: Equipment
- Mixing bowls: You’ll need a large bowl for combining the wet and dry ingredients.
- Whisk and spatula: For mixing and folding the batter together smoothly.
- 9×13-inch baking pan: This is the perfect size for baking your brownies to achieve the ideal thickness.
- Parchment paper: Lining the pan will make it easier to remove the brownies once baked.
- Oven: Preheat your oven to ensure even baking.
Step-by-Step: Rich Cocoa Brownies
Step 1: Preheat the Oven
Begin by preheating your oven to 350°F (175°C). This step is crucial for achieving perfectly baked brownies.
Step 2: Prepare Your Baking Pan
Line your 9×13-inch baking pan with parchment paper, leaving some overhang on the sides. This will make it easy to lift the brownies out once they’re cooled.
Step 3: Melt the Butter
In a medium saucepan over low heat, melt the unsalted butter, stirring occasionally until it’s completely melted and smooth. Remove the saucepan from heat and let it cool slightly.
Step 4: Combine Wet Ingredients
In a large mixing bowl, whisk together the melted butter, granulated sugar, and kosher salt until well combined. Add in the large eggs, one at a time, whisking well after each addition. Stir in the vanilla extract.
Step 5: Add Dry Ingredients
Sift together the all-purpose flour and Dutch-process cocoa powder in a separate bowl. Gradually fold the dry ingredients into the wet mixture using a spatula until just combined. Be careful not to overmix.
Step 6: Fold in Chocolate Chips
Gently fold in the semisweet chocolate chips, ensuring they are evenly distributed throughout the batter.
Step 7: Bake the Brownies
Pour the brownie batter into the prepared baking pan, spreading it out evenly. Bake in the preheated oven for about 25-30 minutes, or until a toothpick inserted in the center comes out with a few moist crumbs (not wet batter).
Step 8: Cool and Serve
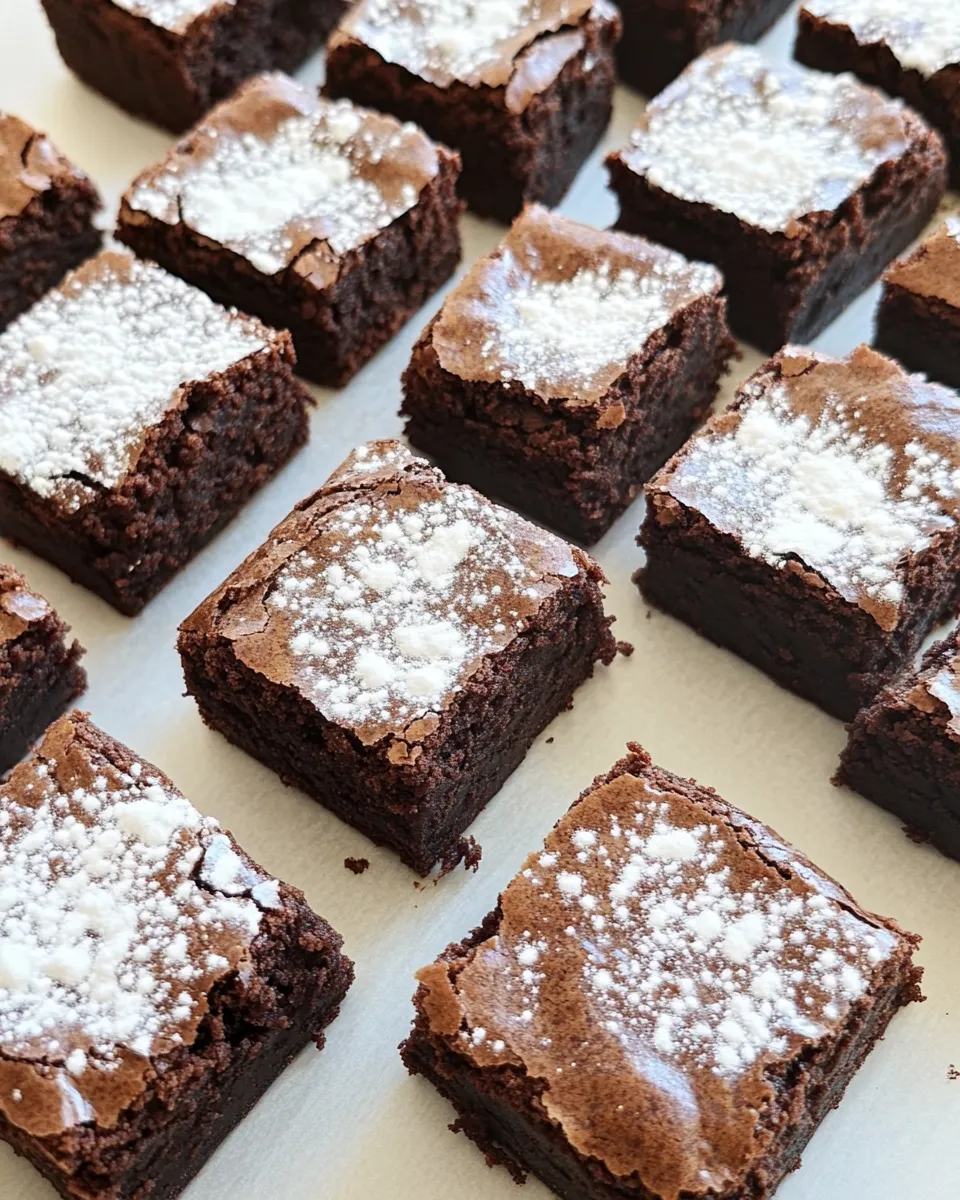
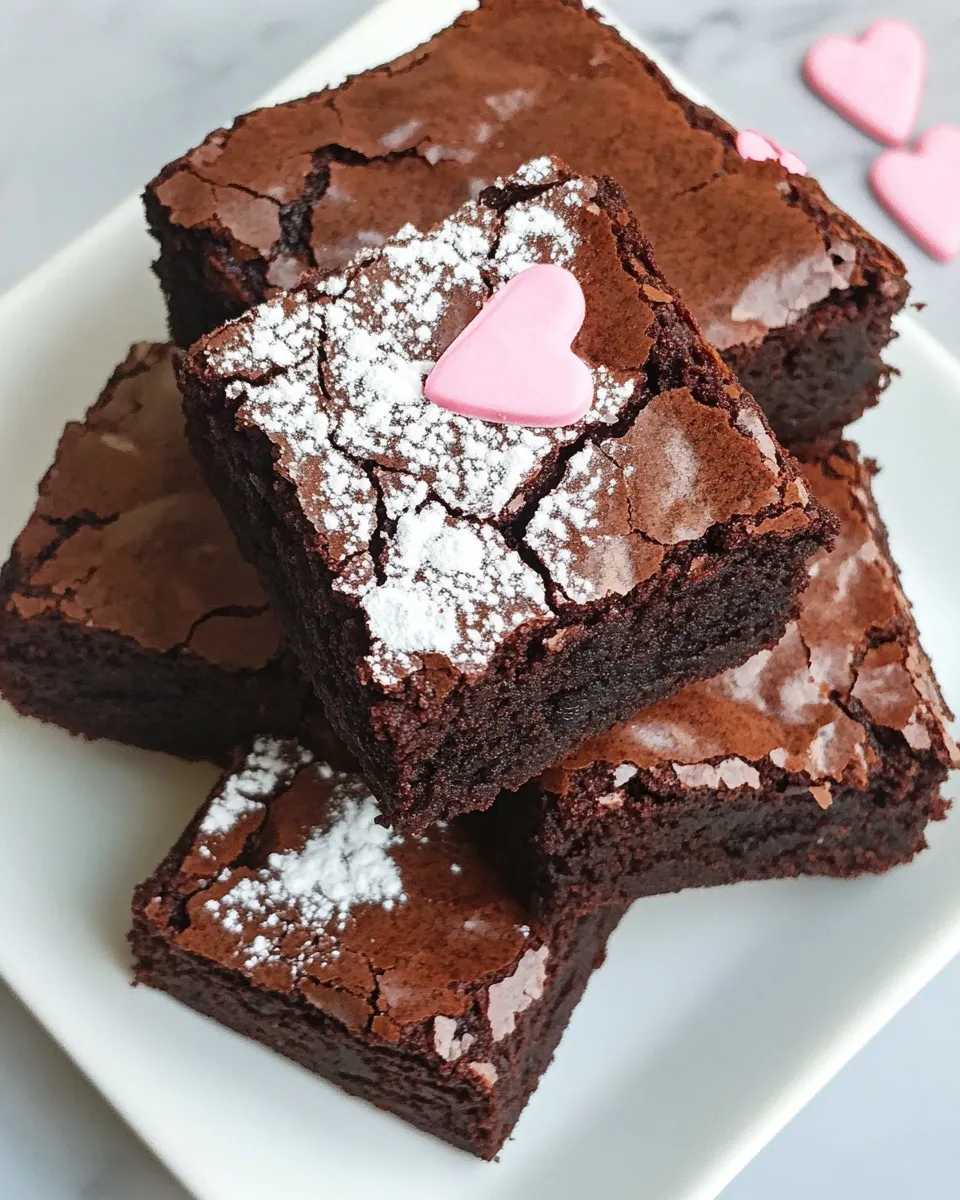
Allow the brownies to cool in the pan on a wire rack for at least 15 minutes before lifting them out using the parchment overhang. Once completely cooled, dust with powdered sugar before cutting into squares and serving.
Tailor It to Your Diet
- If you need a gluten-free option, substitute the all-purpose flour with a gluten-free flour blend.
- For a vegan version, replace the eggs with flax eggs (1 tablespoon ground flaxseed mixed with 2.5 tablespoons water per egg) and use dairy-free butter and chocolate chips.
- Want to reduce sugar? You can substitute granulated sugar with coconut sugar or a sugar alternative suitable for baking.
- Add nuts or dried fruits for added texture and flavor, if desired.
Insider Tips
- Make sure your ingredients are at room temperature for better mixing.
- Don’t overbake! Brownies continue to cook as they cool, so it’s better to underbake slightly for that gooey texture.
- Letting the brownies cool completely before cutting will yield cleaner edges and neater squares.
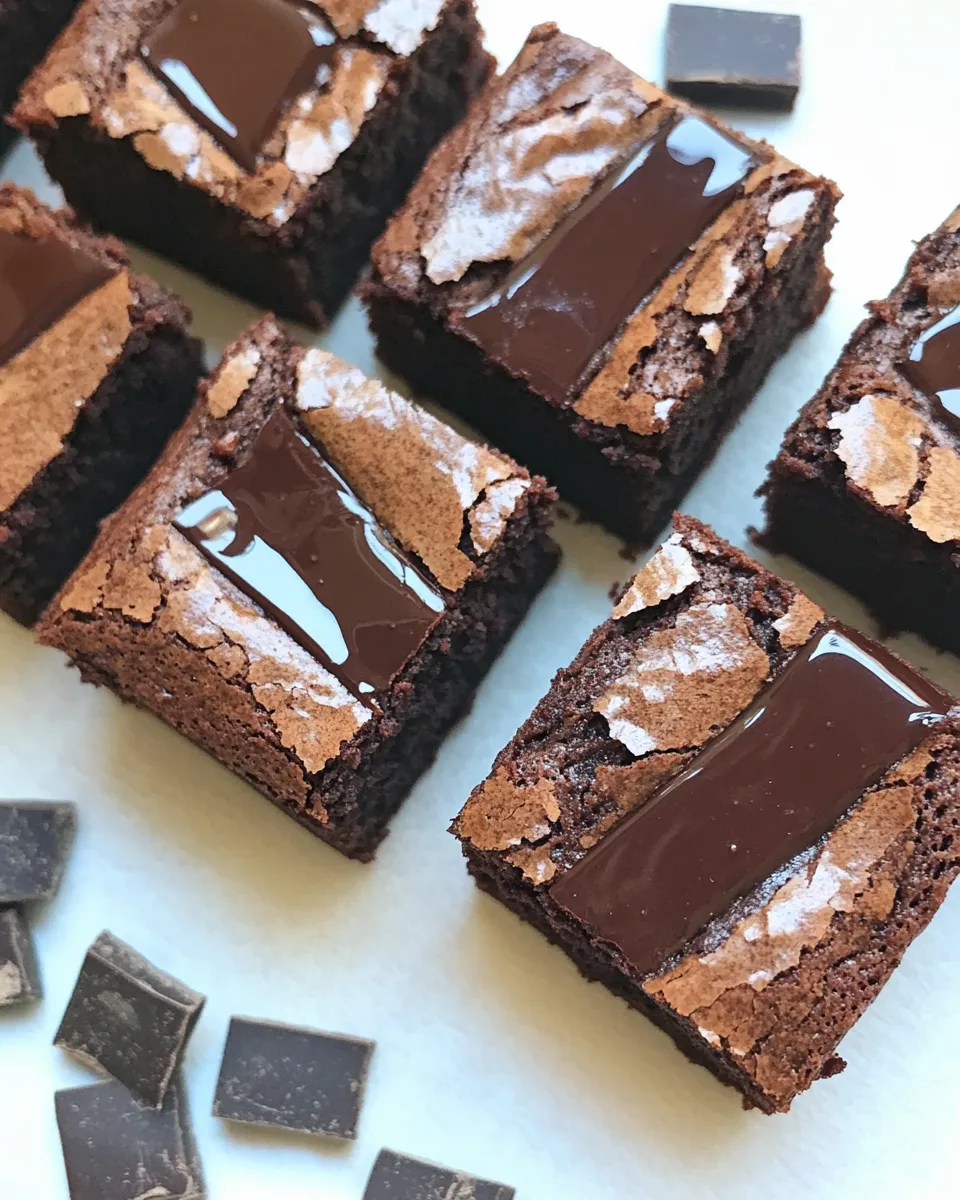
- For an extra chocolate kick, drizzle some melted chocolate on top before serving.
Prep Ahead & Store
These Rich Cocoa Brownies can be made ahead of time, making them perfect for parties or meal prep. Store them in an airtight container at room temperature for up to 3 days or in the refrigerator for up to a week. If you want to keep them longer, they can be frozen for up to 3 months. Just make sure to wrap them tightly in plastic wrap and aluminum foil before freezing.
Your Questions, Answered
Can I use regular cocoa powder instead of Dutch-process cocoa powder?
While you can use regular cocoa powder, the flavor and color of your brownies may differ. Dutch-process cocoa gives a richer taste and darker appearance.
What if my brownies are too cakey?
If your brownies turn out cakey, it could be due to overmixing or too much flour. Ensure you measure accurately and mix just until combined for that fudgy texture.
How do I know when the brownies are done baking?
The best way to check is to insert a toothpick into the center. If it comes out with a few moist crumbs, they are done. If it’s completely clean, they may be overbaked.
Can I add mix-ins to the brownie batter?
Absolutely! Feel free to add nuts, chocolate chunks, or even caramel swirls to personalize your brownies.
Save & Share
These Rich Cocoa Brownies are not just a dessert; they are a testament to the joy of baking and sharing. If you love this recipe, don’t forget to share it with friends and family. Whether you’re hosting a gathering or simply satisfying your own sweet tooth, these brownies are sure to impress. Enjoy the rich chocolatey goodness, and happy baking!
Rich Cocoa Brownies
Ingredients
Equipment
Method
- Step 1: Preheat your oven to 350°F (175°C).
- Step 2: Line a 9x13-inch baking pan with parchment paper.
- Step 3: Melt the unsalted butter in a medium saucepan over low heat.
- Step 4: In a large mixing bowl, whisk together melted butter, granulated sugar, and kosher salt. Add eggs one at a time, whisking well after each.
- Step 5: Sift together flour and cocoa powder, then fold into wet mixture until just combined.
- Step 6: Fold in the chocolate chips.
- Step 7: Pour batter into the prepared pan and bake for 25-30 minutes.
- Step 8: Cool for 15 minutes, dust with powdered sugar, cut into squares, and serve.
Notes
- For gluten-free brownies, use a gluten-free flour blend.
- For vegan brownies, replace eggs with flax eggs and use dairy-free butter.
- Store brownies in an airtight container for up to 3 days at room temperature.