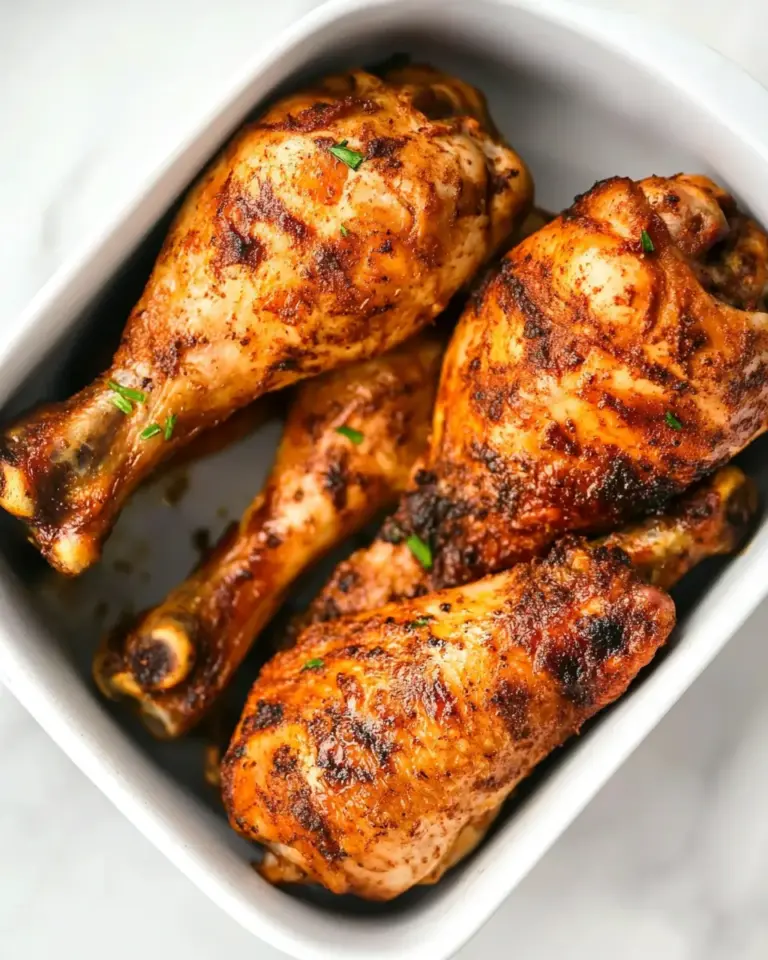
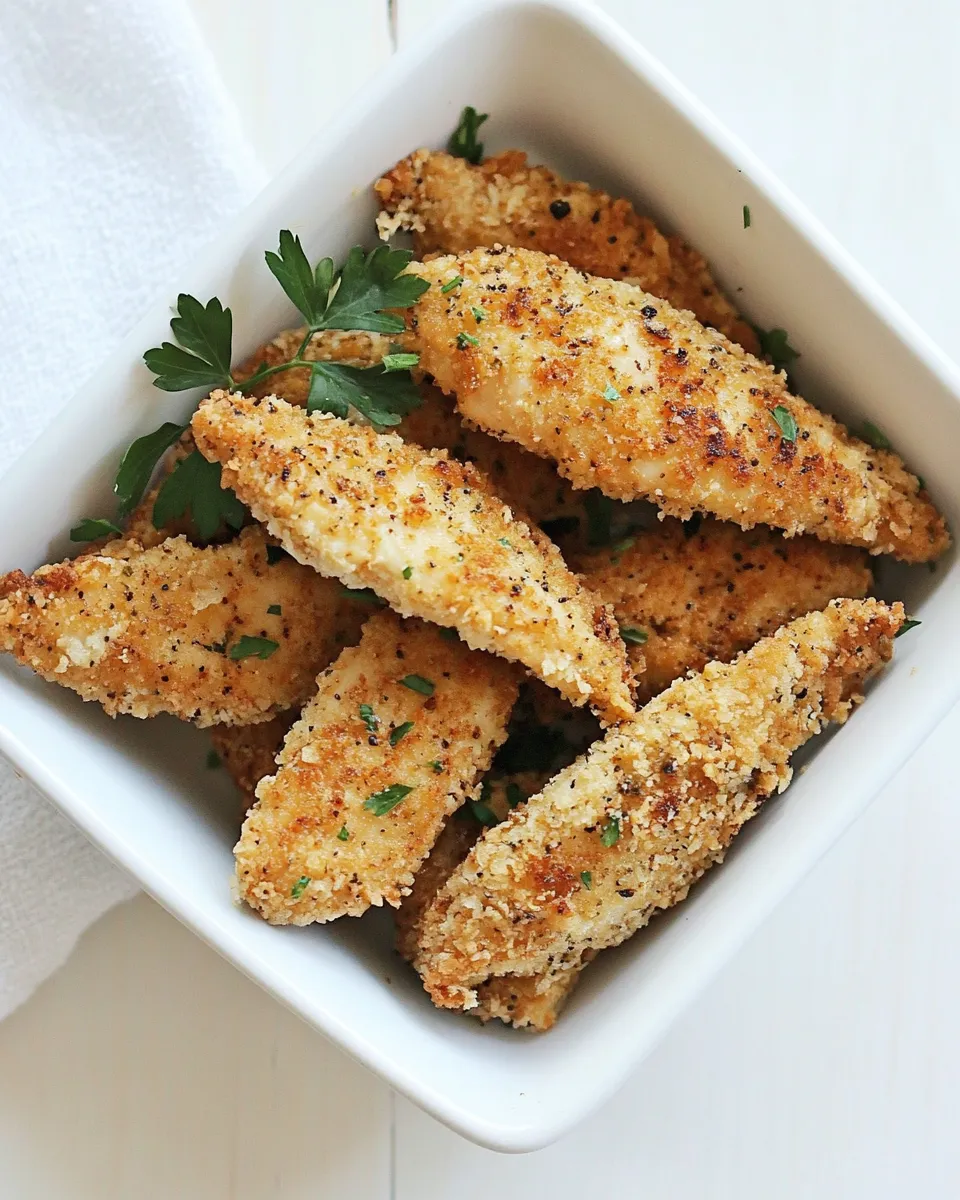
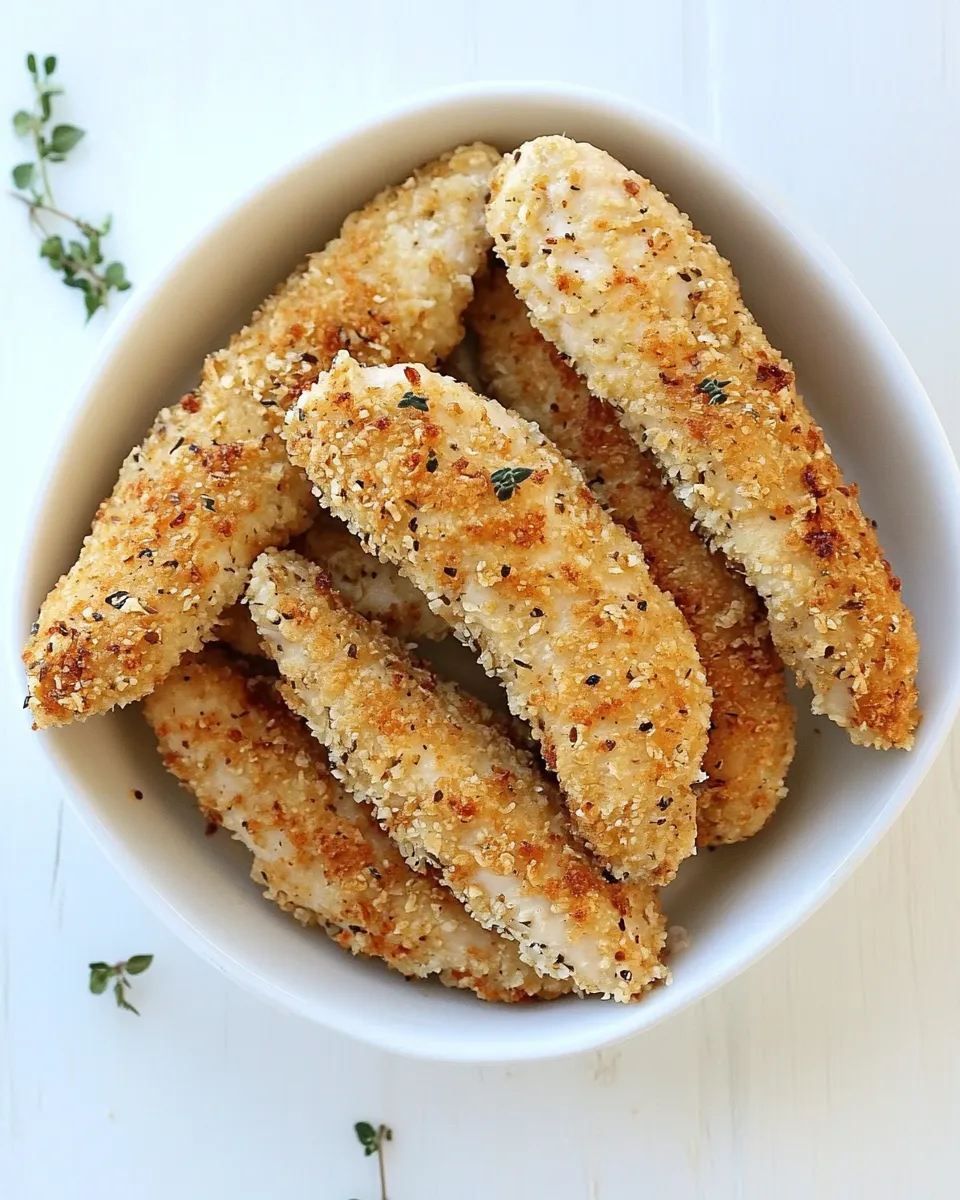
Pickle Brined Chicken Tenders
There’s something irresistibly delicious about chicken tenders. Their crispy, golden exterior and juicy, tender interior make them a favorite for both kids and adults alike. But have you ever tried pickle brined chicken tenders? This twist on a classic not only elevates the flavor but also ensures that every bite is bursting with tangy goodness. Whether you’re hosting a casual dinner or looking for the perfect game-day snack, these pickle brined chicken tenders are sure to impress.
The Upside of Pickle Brined Chicken Tenders
Brining chicken in pickle juice is a game-changer. The acidity of the pickle juice not only adds a zesty flavor but also helps to tenderize the chicken, resulting in a mouthwatering dish that is juicy and flavorful. Here are some benefits of this cooking method:
- Flavor Explosion: The pickle juice infuses the chicken with a unique tangy flavor.
- Tender Texture: The brining process ensures the chicken remains moist and tender.
- Quick Prep: Marinating chicken in pickle juice is simple and doesn’t take much time.
- Versatile: These tenders can be served in various ways, from sandwiches to salads.
What Goes Into Pickle Brined Chicken Tenders
To create the perfect pickle brined chicken tenders, you will need the following ingredients:
- 12 chicken tenders (1.25 pounds total)
- 1 cup dill pickle juice, plus more if needed
- 1 large egg
- 1 large egg white
- 1 teaspoon Kosher salt
- Freshly ground black pepper
- ½ cup seasoned bread crumbs (regular or gluten-free)
- ½ cup seasoned panko bread crumbs (regular or gluten-free)
- Olive oil spray
Setup & Equipment
Before you get started, make sure you have the following equipment on hand:
- Baking Sheet: For baking the chicken tenders.
- Mixing Bowls: For marinating and breading.
- Whisk: To blend the egg and egg white.
- Measuring Cups and Spoons: For precise measurements.
- Cooking Spray: To ensure the tenders don’t stick to the baking sheet.
From Start to Finish: Pickle Brined Chicken Tenders
Getting your pickle brined chicken tenders ready is a straightforward process. Follow these steps for delicious results:
Step 1: Marinate the Chicken
In a large bowl, combine the chicken tenders and dill pickle juice. Ensure the chicken is fully submerged. Cover and refrigerate for at least 1 hour, or up to 4 hours for maximum flavor.
Step 2: Preheat the Oven
Preheat your oven to 425°F (220°C). This high temperature will help create a crispy exterior.
Step 3: Prepare the Breading
In a mixing bowl, whisk together the large egg, egg white, Kosher salt, and freshly ground black pepper. In another bowl, combine the seasoned bread crumbs and seasoned panko bread crumbs.
Step 4: Bread the Chicken
Remove the chicken tenders from the pickle juice, letting any excess liquid drip off. Dip each tender into the egg mixture, ensuring it’s fully coated, then dredge it in the breadcrumb mixture, pressing lightly to adhere.
Step 5: Arrange on Baking Sheet
Place the breaded chicken tenders on a baking sheet lined with parchment paper. Make sure they are spaced apart for even cooking.
Step 6: Spray with Olive Oil
Lightly spray the tops of the chicken tenders with olive oil spray. This helps achieve a golden brown color during baking.
Step 7: Bake
Bake the chicken tenders in the preheated oven for 15-20 minutes, or until they are cooked through and golden brown. Flip them halfway through for even crispness.
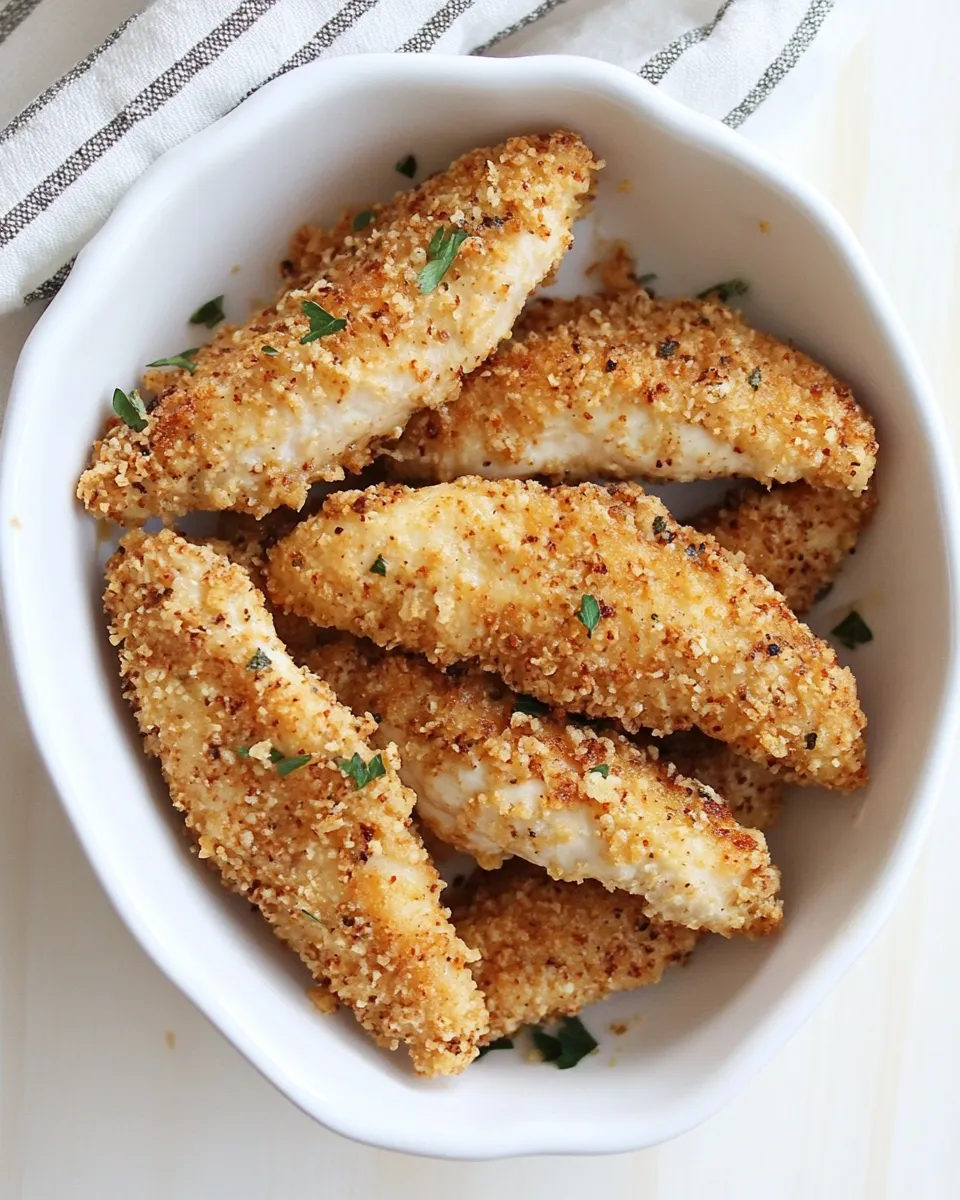
Step 8: Serve and Enjoy
Once cooked, remove from the oven and let them cool for a few minutes. Serve with your favorite dipping sauces, and enjoy your pickle brined chicken tenders!
Low-Carb/Keto Alternatives
If you’re following a low-carb or keto diet, you can still enjoy these delicious chicken tenders. Here are some alternatives to make them keto-friendly:
- Use almond flour or crushed pork rinds instead of bread crumbs for the breading.
- Ensure the dill pickle juice is sugar-free, as some brands may contain added sugars.
- Serve with low-carb dipping sauces, like a homemade ranch or garlic aioli.
Pro Perspective
- For an extra kick, consider adding a teaspoon of cayenne pepper or paprika to the breadcrumb mixture.
- If you have time, let the chicken tenders marinate overnight for an even deeper flavor.
- Experiment with different types of pickles—spicy dill or bread and butter pickles can provide a unique twist.
- Try baking the tenders in an air fryer for an even crispier texture.
Freezer-Friendly Notes
These pickle brined chicken tenders can be made ahead and stored in the freezer. Here’s how:
- After breading, arrange the chicken tenders on a baking sheet and freeze until solid.
- Once frozen, transfer them to a freezer-safe bag or container for up to 3 months.
- To cook from frozen, bake at 425°F (220°C) for an additional 5-10 minutes, or until cooked through.
Common Questions
Can I use chicken breasts instead of tenders?
Yes, you can use chicken breasts cut into strips instead of tenders. Just adjust the cooking time as needed, since they may take longer to cook through.
How long should I marinate the chicken?
For optimal flavor, marinate the chicken for at least 1 hour, but you can leave it in the pickle juice for up to 4 hours for a more intense flavor.
Can I bake these chicken tenders instead of frying them?
Absolutely! Baking is a healthier option, and the recipe provided is designed specifically for baking.
What dipping sauces pair well with pickle brined chicken tenders?
Some great dipping sauces include ranch, honey mustard, or a spicy sriracha mayo. You can also serve them with extra pickle juice for a tangy dip!
Final Thoughts
Pickle brined chicken tenders are a delightful take on a classic dish that brings a burst of flavor and tenderness to your table. Easy to prepare and versatile, they make for a perfect meal any day of the week. Whether you’re enjoying them on their own, in a sandwich, or tossed in a salad, these tenders will surely be a hit with everyone. Don’t hesitate to experiment with different seasonings and dips to make this dish your own. Happy cooking!
Pickle Brined Chicken Tenders
Ingredients
Equipment
Method
- In a large bowl, combine the chicken tenders and dill pickle juice. Ensure the chicken is fully submerged. Cover and refrigerate for at least 1 hour, or up to 4 hours for maximum flavor.
- Preheat your oven to 425°F (220°C). This high temperature will help create a crispy exterior.
- In a mixing bowl, whisk together the large egg, egg white, Kosher salt, and freshly ground black pepper. In another bowl, combine the seasoned bread crumbs and seasoned panko bread crumbs.
- Remove the chicken tenders from the pickle juice, letting any excess liquid drip off. Dip each tender into the egg mixture, ensuring it’s fully coated, then dredge it in the breadcrumb mixture, pressing lightly to adhere.
- Place the breaded chicken tenders on a baking sheet lined with parchment paper. Make sure they are spaced apart for even cooking.
- Lightly spray the tops of the chicken tenders with olive oil spray. This helps achieve a golden brown color during baking.
- Bake the chicken tenders in the preheated oven for 15-20 minutes, or until they are cooked through and golden brown. Flip them halfway through for even crispness.
- Once cooked, remove from the oven and let them cool for a few minutes. Serve with your favorite dipping sauces, and enjoy your pickle brined chicken tenders!
Notes
- For an extra kick, add a teaspoon of cayenne pepper or paprika to the breadcrumb mixture.
- Let the chicken tenders marinate overnight for an even deeper flavor.
- Experiment with different types of pickles for unique twists.
- Try baking the tenders in an air fryer for a crispier texture.