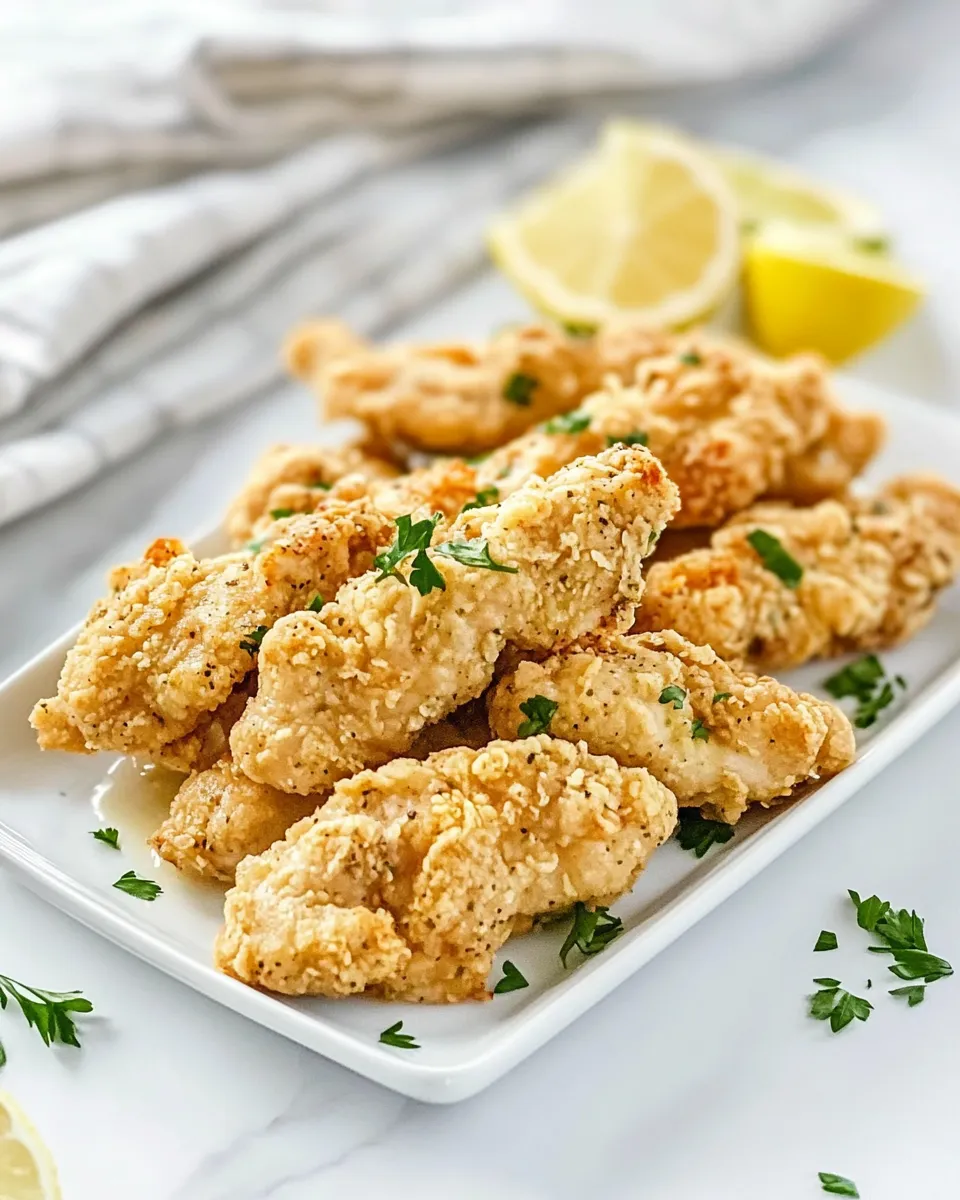
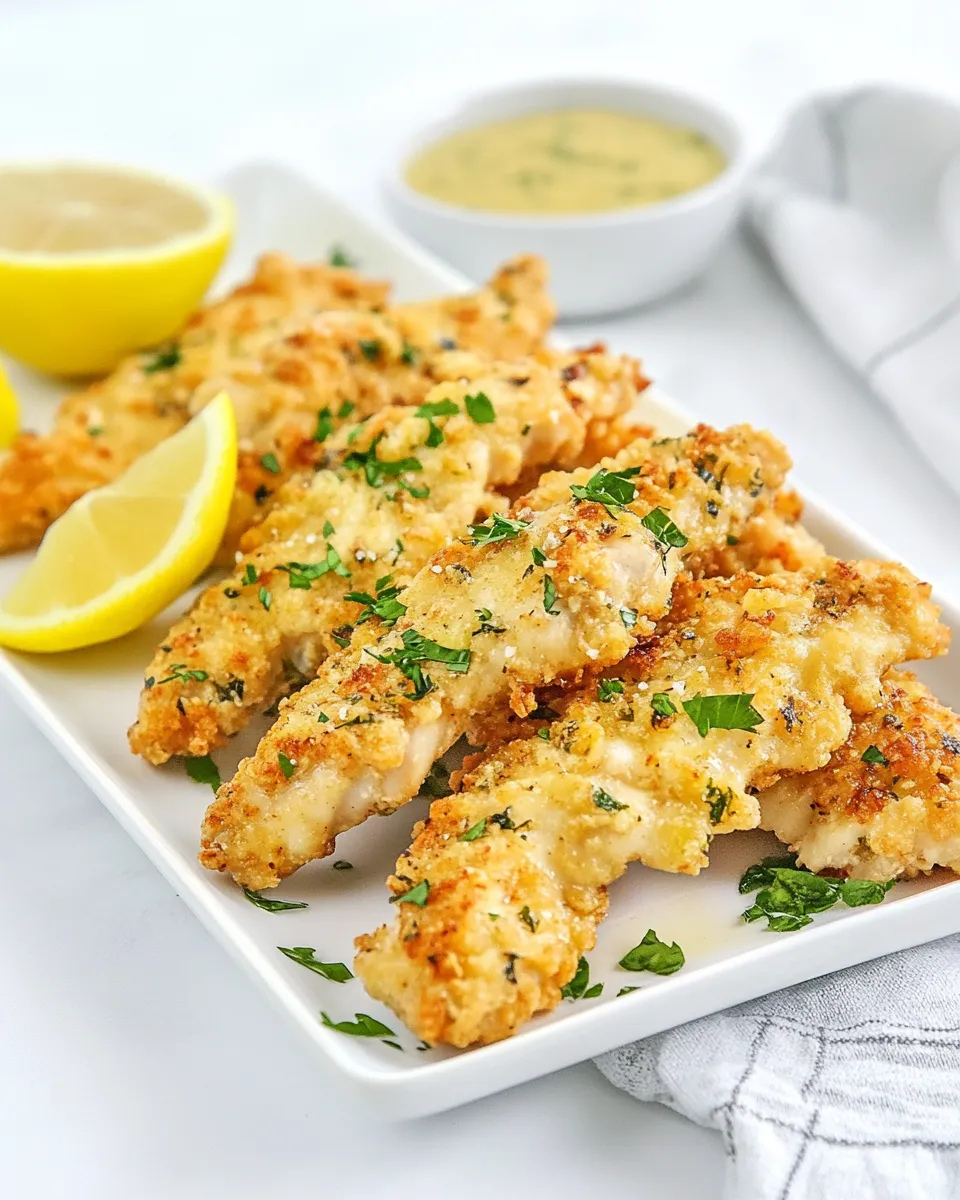
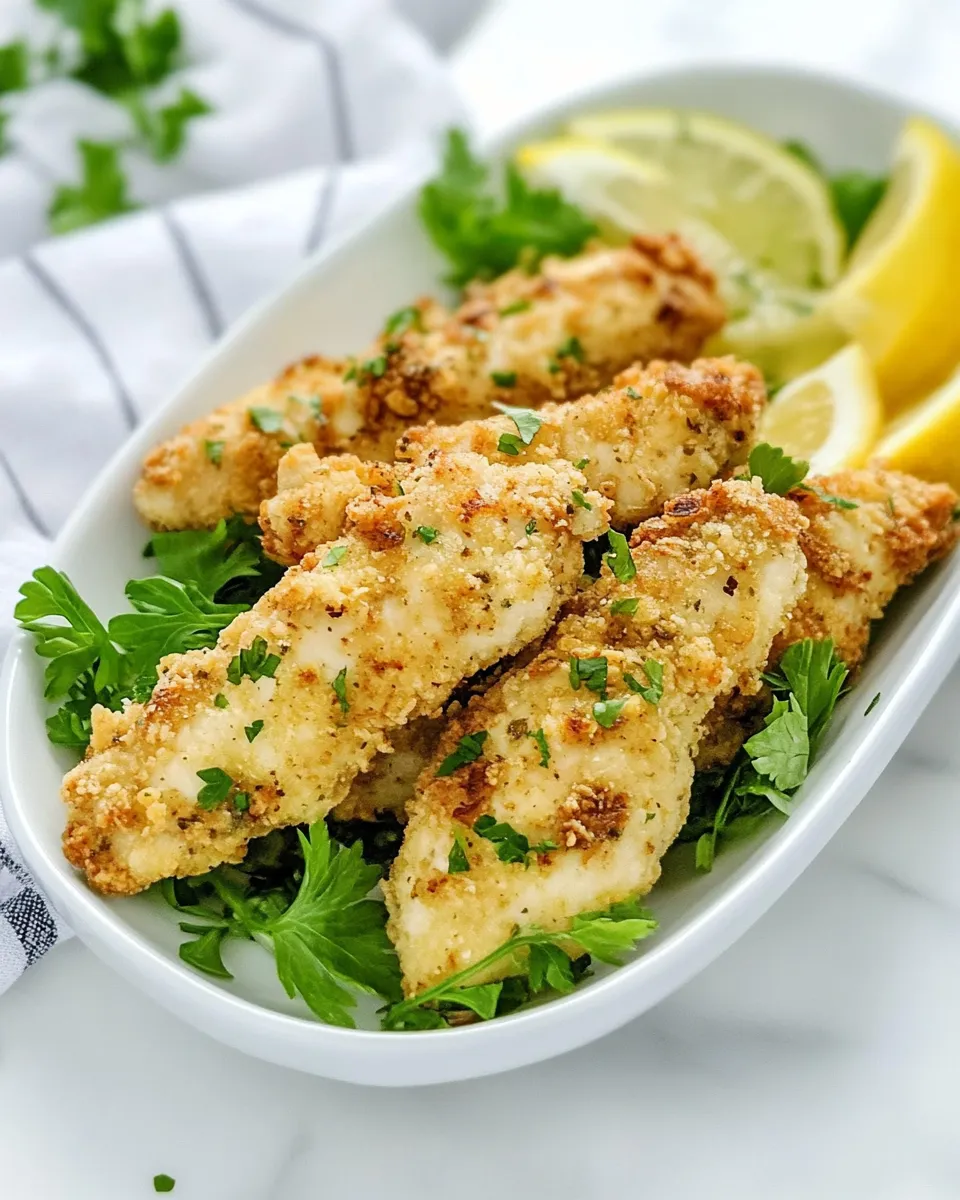
Piada Chicken Tenders
If you’re looking for a delicious and easy-to-make chicken dish that can please everyone at your table, look no further than Piada Chicken Tenders. These crispy, tender pieces of chicken are marinated in buttermilk for an extra layer of flavor and moisture, then coated in a perfectly seasoned mixture that creates a delightful crunch when fried. Perfect for dipping in your favorite sauces or enjoying as part of a hearty meal, these chicken tenders are sure to become a staple in your home.
Why It Works Every Time

The secret to achieving the perfect Piada Chicken Tenders lies in the buttermilk marinade. This not only tenderizes the chicken but also infuses it with flavor. The combination of cake flour and cornstarch in the breading creates a light and crispy texture that holds up wonderfully during frying. Plus, the addition of fresh parsley adds a pop of color and flavor, making these chicken tenders not only tasty but also visually appealing.
Ingredient Breakdown
To make Piada Chicken Tenders, you’ll need the following ingredients:
- 1 pound chicken tenders – Choose fresh, high-quality chicken for the best flavor and texture.
- 2 cups buttermilk – This is essential for marinating the chicken, ensuring it’s juicy and tender.
- Vegetable oil for frying – A neutral oil is perfect for frying, as it allows the flavors of the chicken to shine.
- 1 cup cake flour – This provides a light and airy coating that crisps beautifully.
- 1/2 cup cornstarch – Cornstarch helps to create an extra-crispy texture.
- 1 1/2 teaspoons salt – Essential for enhancing the overall flavor of the chicken.
- 1/2 teaspoon ground black pepper – Adds a bit of spice without overpowering the dish.
- 1 tablespoon chopped fresh parsley – For a fresh, herby finish that brightens up the dish.
Essential Tools for Success
To prepare your Piada Chicken Tenders, gather the following essential tools:
- Large mixing bowl – For marinating the chicken in buttermilk.
- Deep frying pan or Dutch oven – Ideal for frying to ensure even cooking.
- Slotted spoon or spider – For safely removing chicken tenders from hot oil.
- Cooking thermometer – To check the oil temperature for perfect frying.
- Paper towels – For draining excess oil after frying.
How to Prepare Piada Chicken Tenders
Step 1: Marinate the Chicken
Begin by placing the chicken tenders in a large mixing bowl. Pour the buttermilk over the chicken, ensuring all pieces are well-coated. Cover and refrigerate for at least 1 hour, or overnight for maximum flavor and tenderness.
Step 2: Prepare the Coating
In a separate bowl, mix together the cake flour, cornstarch, salt, and black pepper. Whisk until well combined. This mixture will provide a beautiful, crispy exterior for your chicken.
Step 3: Heat the Oil
In a deep frying pan or Dutch oven, pour in enough vegetable oil to reach a depth of at least 2 inches. Heat the oil to 350°F (175°C). Use a cooking thermometer to ensure the oil is at the right temperature for frying.
Step 4: Coat the Chicken
Once the chicken has marinated and the oil is hot, remove the chicken tenders from the buttermilk, allowing any excess to drip off. Dredge each tender in the flour mixture, ensuring an even coating. Shake off any excess flour.
Step 5: Fry the Chicken
Carefully place the coated chicken tenders in the hot oil, working in batches to avoid overcrowding. Fry for about 4-5 minutes on each side, or until golden brown and cooked through. Use a slotted spoon to transfer the cooked chicken to a plate lined with paper towels to drain excess oil.
Step 6: Garnish and Serve
Once all the chicken tenders are fried, sprinkle them with chopped fresh parsley for a burst of color and flavor. Serve hot with your favorite dipping sauces or alongside a fresh salad or side dish.
Seasonal Adaptations
You can easily adapt Piada Chicken Tenders to suit the seasons or your personal taste preferences:
- Summer – Serve with a refreshing cucumber salad and a zesty lemon dipping sauce.
- Fall – Pair with roasted sweet potatoes and a tangy honey mustard sauce.
- Winter – Enjoy with creamy mashed potatoes and a warm gravy for a comfort food experience.
- Spring – Serve alongside a bright, citrusy slaw for a light and fresh meal.
Pro Tips & Notes
- For even crispier chicken tenders, double-dip them by returning them to the buttermilk after the first coating of flour, then coat again in the flour mixture.
- Make sure the oil temperature remains consistent while frying. If it drops too low, the chicken will absorb too much oil and become greasy.
- If you prefer a spicier flavor, add cayenne pepper or paprika to the flour mixture for an extra kick.
- These chicken tenders are also fantastic when baked. Preheat the oven to 425°F (220°C), place the coated tenders on a baking sheet, and bake for about 20 minutes, flipping halfway through.
Store, Freeze & Reheat
If you have leftovers (which is rare!), store them in an airtight container in the refrigerator for up to 3 days. To freeze, let the chicken tenders cool completely, then place them in a single layer on a baking sheet. Once frozen, transfer to a freezer bag and store for up to 3 months.
To reheat, place the tenders in a preheated oven at 350°F (175°C) for about 10-15 minutes until heated through, or until they reach your desired level of crispiness. Avoid microwaving, as this can make them soggy.
Ask & Learn
Can I use regular chicken breasts instead of tenders?
Absolutely! You can cut chicken breasts into strips to create your own tenders. Just adjust the cooking time as needed, since thicker pieces will require longer to cook through.
What can I use instead of buttermilk?
If you don’t have buttermilk, you can make a substitute by mixing 2 cups of milk with 2 tablespoons of vinegar or lemon juice. Let it sit for about 5 minutes before using.
How can I make these tenders gluten-free?
To make gluten-free Piada Chicken Tenders, substitute regular cake flour with a gluten-free all-purpose flour blend, and ensure that your cornstarch is certified gluten-free.
What dipping sauces pair well with these chicken tenders?
Some great dipping sauces include honey mustard, ranch dressing, buffalo sauce, or a creamy garlic aioli. Feel free to get creative and try your favorite sauces!
Serve & Enjoy
Now that you’ve mastered the art of making Piada Chicken Tenders, it’s time to gather your loved ones and enjoy this delightful dish together. Whether you’re serving them at a family dinner, a casual gathering, or simply indulging in a cozy night in, these chicken tenders are guaranteed to impress. Their crispy exterior and juicy interior make them a standout dish that everyone will rave about.
Elevate your meal by pairing these tenders with a fresh salad, crispy fries, or seasonal vegetables. Don’t forget to have a selection of dipping sauces on hand for an extra burst of flavor. So go ahead, whip up a batch of Piada Chicken Tenders, and enjoy every delicious bite!
Piada Chicken Tenders
Ingredients
Equipment
Method
- Step 1: Marinate the Chicken - Place the chicken tenders in a large mixing bowl. Pour the buttermilk over the chicken, ensuring all pieces are well-coated. Cover and refrigerate for at least 1 hour, or overnight for maximum flavor and tenderness.
- Step 2: Prepare the Coating - In a separate bowl, mix together the cake flour, cornstarch, salt, and black pepper. Whisk until well combined.
- Step 3: Heat the Oil - In a deep frying pan or Dutch oven, pour in enough vegetable oil to reach a depth of at least 2 inches. Heat the oil to 350°F (175°C).
- Step 4: Coat the Chicken - Remove the chicken tenders from the buttermilk, allowing excess to drip off. Dredge each tender in the flour mixture, ensuring an even coating.
- Step 5: Fry the Chicken - Carefully place the coated chicken tenders in the hot oil, frying for about 4-5 minutes on each side, or until golden brown and cooked through.
- Step 6: Garnish and Serve - Sprinkle the fried chicken tenders with chopped fresh parsley and serve hot with your favorite dipping sauces.
Notes
- For extra crispy tenders, double-dip them in buttermilk and flour.
- Maintain consistent oil temperature for best frying results.
- Add cayenne pepper for a spicier flavor.
- These tenders can also be baked at 425°F for about 20 minutes.
- Store leftovers in an airtight container in the refrigerator for up to 3 days.