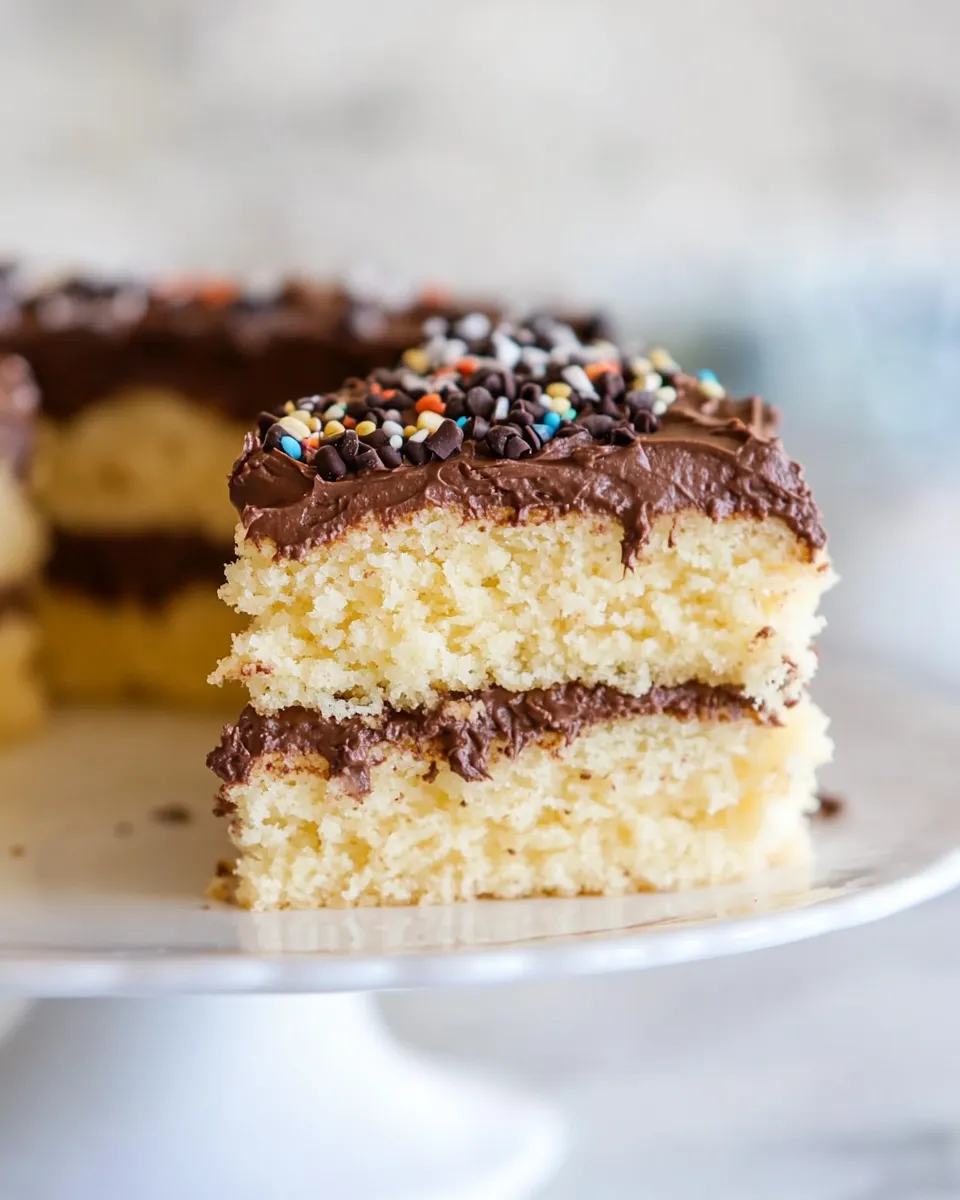
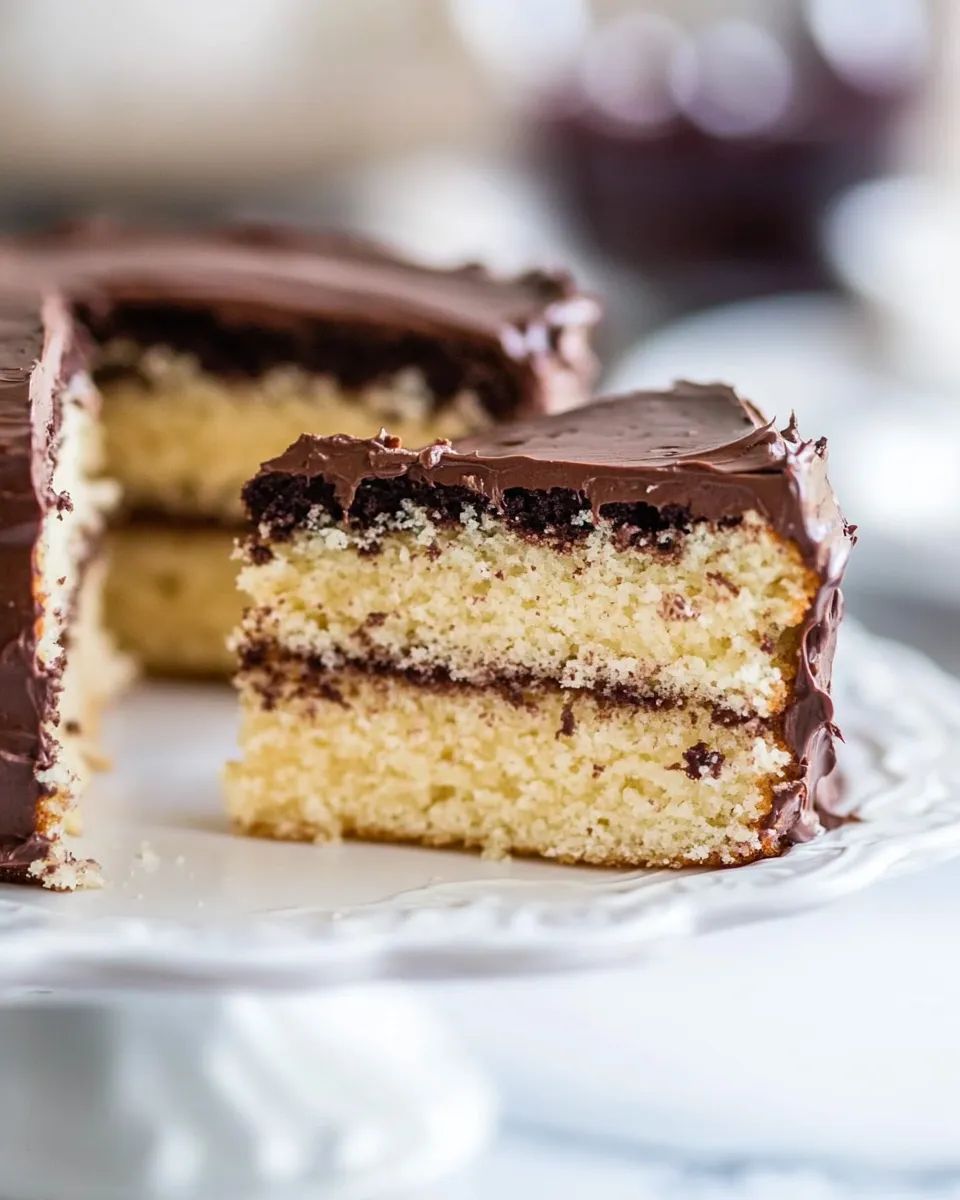
Yellow Cake with Chocolate Frosting (From Scratch!)
There’s something incredibly nostalgic about a classic yellow cake with rich chocolate frosting. It’s the kind of dessert that often graces birthday parties, family gatherings, and celebrations of all sorts. When made from scratch, this cake becomes an indulgent treat that balances the buttery sweetness of the yellow cake with the deep, luscious flavor of chocolate frosting. Today, I’ll guide you through the process of creating this delightful dessert in your own kitchen. Get ready to impress your friends and family with this homemade masterpiece!
Why This Yellow Cake with Chocolate Frosting (From Scratch!) Stands Out

This yellow cake is more than just a pretty face! What makes this Yellow Cake with Chocolate Frosting (From Scratch!) truly special is its moist texture, perfect crumb, and the delightful contrast between the fluffy cake and smooth frosting. The combination of high-quality ingredients like real butter, fresh eggs, and buttermilk ensures a cake that is not only delicious but also memorable. Plus, making it from scratch allows you to customize the flavors to suit your own tastes or those of your loved ones.
What to Buy
Before we dive into the baking process, let’s gather the ingredients. Here’s what you’ll need for the cake and frosting:
- 2 cups (281.25g) all-purpose flour
- 2 teaspoons baking powder
- 1 teaspoon baking soda
- 1 teaspoon salt
- 1 cup (113.5g) unsalted butter, at room temperature
- 1 ½ cups (300g) granulated sugar
- 3 large eggs, at room temperature
- 1 teaspoon vanilla extract
- 1 cup (300ml) buttermilk, at room temperature
- 20 tablespoons unsalted butter, at cool room temperature (for frosting)
- 1 cup (120g) powdered sugar
- ¾ cup (64.5g) Dutch-processed cocoa
- Pinch of salt
- 1 cup (255.75ml) light corn syrup
- 1 teaspoon vanilla extract (for frosting)
- 8 ounces (226.8ml) milk or semisweet chocolate, melted and cooled slightly
Gear Checklist
Gathering the right tools will make your baking process smoother. Here’s what you’ll need:
- Stand Mixer or Hand Mixer – For creaming the butter and sugar.
- Round Cake Pans – 9-inch pans work best for this recipe.
- Wire Cooling Racks – Essential for cooling your cakes evenly.
- Food Processor – Handy for blending the ingredients if you prefer a more uniform texture.
- Large Icing Spatula – Perfect for spreading that luscious chocolate frosting evenly.
Build Yellow Cake with Chocolate Frosting (From Scratch!) Step by Step
Now that we have everything ready, let’s get baking! Follow these simple steps to create your Yellow Cake with Chocolate Frosting (From Scratch!).
Step 1: Preheat Your Oven
Begin by preheating your oven to 350°F (175°C). This ensures that your cake bakes evenly.
Step 2: Prepare Your Pans
Grease and flour your round cake pans to prevent sticking. You can also line the bottoms with parchment paper for extra assurance.
Step 3: Mix the Dry Ingredients
In a medium bowl, whisk together the all-purpose flour, baking powder, baking soda, and salt. Set this mixture aside.
Step 4: Cream the Butter and Sugar
In your stand mixer, beat the unsalted butter and granulated sugar on medium speed until the mixture is light and fluffy, about 3-4 minutes.
Step 5: Add the Eggs and Vanilla
Add the eggs, one at a time, mixing well after each addition. Then, stir in the vanilla extract until combined.
Step 6: Incorporate the Dry Ingredients and Buttermilk
Gradually add the dry ingredients to the butter mixture, alternating with the buttermilk. Start and end with the flour mixture, mixing just until combined. Be careful not to overmix!
Step 7: Bake the Cakes
Divide the batter evenly between the prepared cake pans. Bake in the preheated oven for 25-30 minutes, or until a toothpick inserted in the center comes out clean.
Step 8: Cool the Cakes
Once baked, remove the cakes from the oven and let them cool in the pans for about 10 minutes. Then transfer them to wire cooling racks to cool completely.
Step 9: Prepare the Chocolate Frosting
In a large bowl, beat the cool unsalted butter until creamy. Gradually add the powdered sugar, Dutch-processed cocoa, and a pinch of salt. Mix until combined. Add the light corn syrup, vanilla extract, and melted chocolate. Beat until the frosting is smooth and fluffy.
Step 10: Frost the Cake
Once the cakes are completely cool, place one layer on a serving plate. Spread a generous amount of frosting on top, then place the second layer on top and frost the top and sides of the cake. Use a large icing spatula for a smooth finish.
Step 11: Serve and Enjoy!
Slice your beautiful yellow cake with chocolate frosting, serve, and watch your loved ones delight in every bite!
Fresh Takes Through the Year
This Yellow Cake with Chocolate Frosting (From Scratch!) can be adapted for various occasions and seasons:
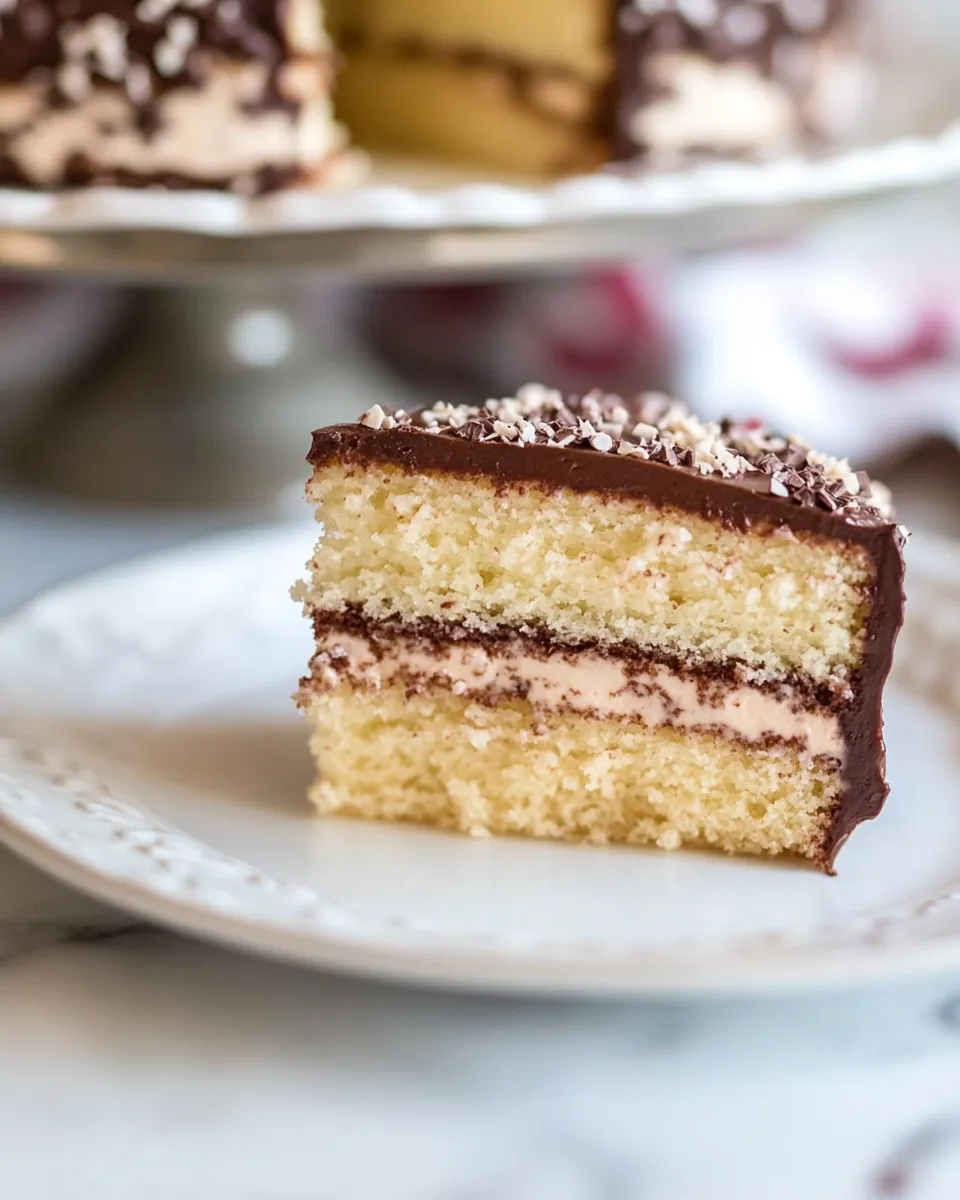
- Add fresh fruit like strawberries or raspberries between the layers for a refreshing twist.
- Incorporate a layer of chocolate ganache for an extra indulgent treat.
- Swap the chocolate frosting for a cream cheese frosting for a tangy flavor contrast.
- Decorate with seasonal sprinkles or edible flowers for festive occasions.
Troubles You Can Avoid
Baking can sometimes come with its challenges. Here are some common issues and how to avoid them:
- Overmixing the batter can lead to a dense cake. Mix just until combined.
- Not using room temperature ingredients can affect the texture. Make sure your butter, eggs, and buttermilk are at room temperature before starting.
- Underbaking may result in a gooey center. Always check doneness with a toothpick.
- Letting the cakes cool completely before frosting is crucial to prevent melting the frosting.
Storing, Freezing & Reheating
To keep your Yellow Cake with Chocolate Frosting (From Scratch!) fresh:
- Store leftovers in an airtight container at room temperature for up to 3 days.
- For longer storage, wrap the cake tightly in plastic wrap and freeze for up to 3 months.
- To thaw, place the cake in the refrigerator overnight before serving.
- Reheat individual slices in the microwave for a few seconds if you prefer your cake warm.
Top Questions & Answers
Can I use cake flour instead of all-purpose flour?
Yes, you can use cake flour for a lighter texture, but you may need to adjust the amount slightly, as cake flour is more absorbent.
What can I substitute for buttermilk?
If you don’t have buttermilk, you can make a substitute by mixing 1 cup of milk with 1 tablespoon of vinegar or lemon juice. Let it sit for about 5 minutes before using.
How should I store the cake after frosting?
Keep the frosted cake covered at room temperature for up to 3 days. If you need to store it longer, refrigerate it, but make sure it’s in an airtight container to prevent it from drying out.
Can I make this cake ahead of time?
Absolutely! You can bake the cake layers a day in advance. Just wrap them tightly in plastic wrap and store them at room temperature. Frost them the day you plan to serve.
Ready to Cook?
Now that you have a comprehensive guide to making Yellow Cake with Chocolate Frosting (From Scratch!), it’s time to roll up your sleeves and get baking! Whether it’s a special occasion or just a sweet craving, this cake is sure to delight everyone. Enjoy the process, and most importantly, the delicious results!
Yellow Cake with Chocolate Frosting (From Scratch!)
Ingredients
Equipment
Method
- Step 1: Preheat your oven to 350°F (175°C).
- Step 2: Grease and flour your round cake pans.
- Step 3: In a medium bowl, whisk together the flour, baking powder, baking soda, and salt.
- Step 4: Beat the butter and sugar on medium speed until light and fluffy, about 3-4 minutes.
- Step 5: Add the eggs one at a time, mixing well after each addition. Stir in the vanilla extract.
- Step 6: Gradually add dry ingredients to the butter mixture, alternating with buttermilk.
- Step 7: Divide the batter between the prepared pans and bake for 25-30 minutes.
- Step 8: Let the cakes cool in the pans for about 10 minutes, then transfer to wire racks.
- Step 9: Beat the butter until creamy, then gradually add powdered sugar, cocoa, and salt. Mix until combined, then add corn syrup, vanilla, and melted chocolate.
- Step 10: Once the cakes are cool, frost the top of one layer, place the second layer on top, then frost the top and sides of the cake.
- Step 11: Slice and serve to enjoy!
Notes
- Use room temperature ingredients for a better texture.
- Try adding fresh fruit between the layers for a refreshing twist.
- Wrap leftovers in plastic wrap to keep them fresh for longer.