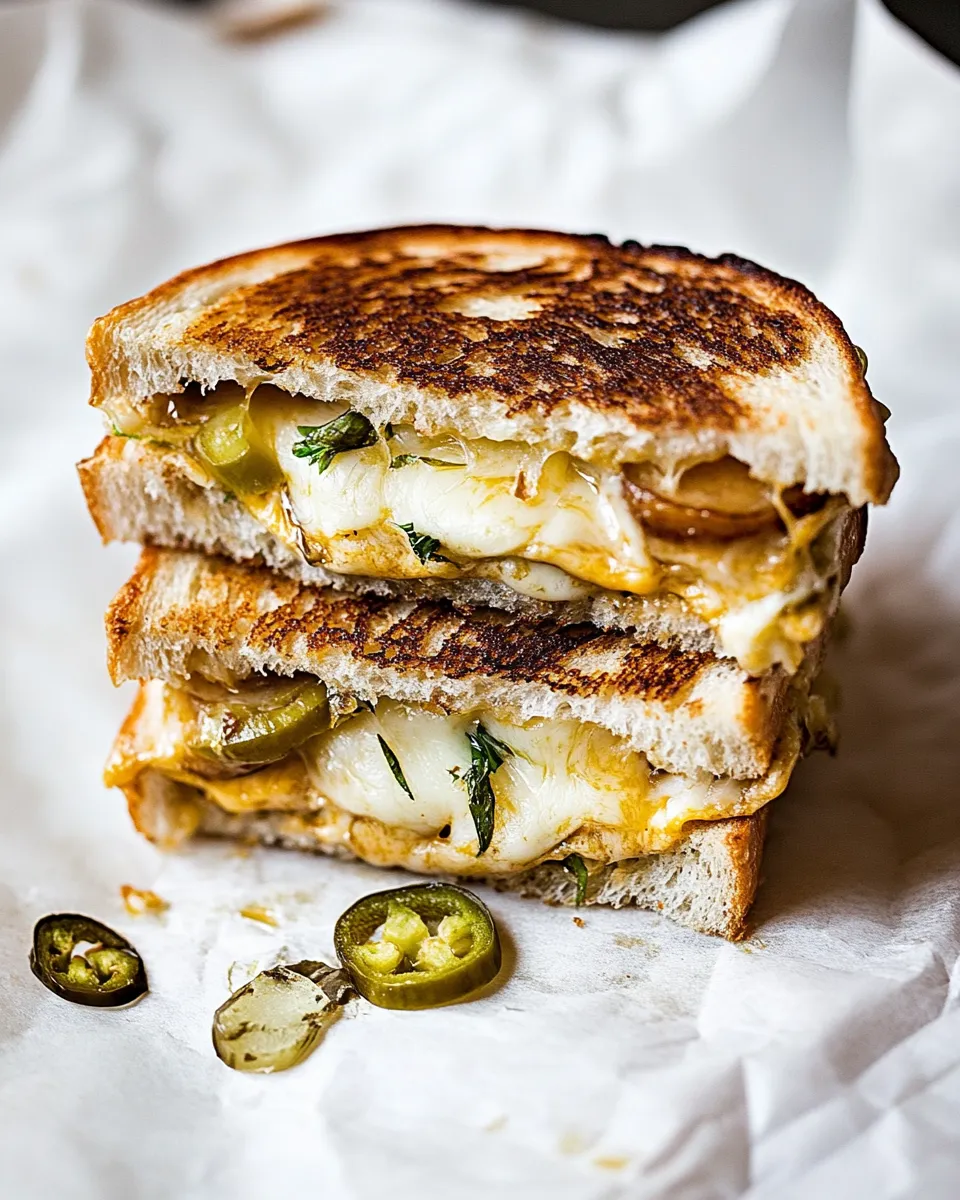
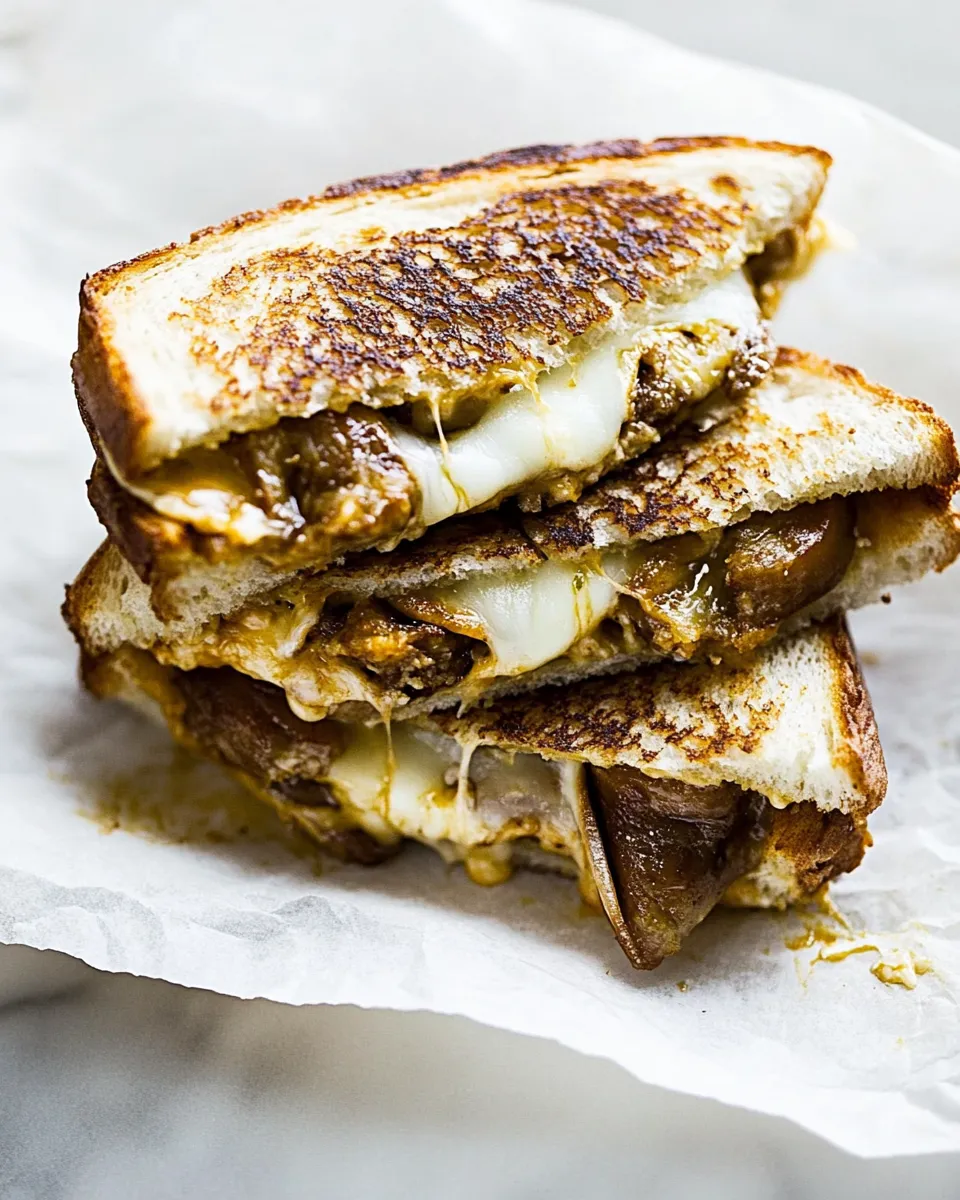
Ultimate Kids Grilled Cheese
There’s something magical about a grilled cheese sandwich, especially when you take it up a notch for the kids. The Ultimate Kids Grilled Cheese isn’t just any ordinary sandwich; it’s a gooey, crispy delight that combines the comforting flavors of cheese and chicken with a twist of barbecue sauce. It’s the perfect meal for lunch or dinner, and it will surely delight the little ones in your life. Let’s dive into why cooks rave about it, the ingredients you’ll need, and how to create this cheesy masterpiece.
Why Cooks Rave About It
Cooks everywhere are falling in love with the Ultimate Kids Grilled Cheese for several reasons. First, it’s incredibly easy to make, which is a win for busy parents. The combination of Fontina cheese and mozzarella sticks creates an ooey-gooey texture that kids absolutely adore. Plus, adding fried chicken tenders brings a delightful crunch and protein boost, making it a well-rounded meal. The hint of barbecue sauce elevates the flavor profile, ensuring that each bite is packed with excitement. Best of all, it’s a customizable dish that allows for creativity in the kitchen, ensuring that every kid can enjoy their perfect version of grilled cheese.
The Ingredient Lineup
To whip up the Ultimate Kids Grilled Cheese, gather the following ingredients:
- 2 pieces bread – Choose your favorite type, whether it’s white, whole grain, or sourdough.
- 2 tablespoons mayonnaise – This adds a creamy texture and helps with browning.
- 1 tablespoon barbecue sauce – Adds a sweet and tangy kick.
- 4 slices Fontina cheese – Melts beautifully and has a rich flavor.
- 2 pieces fried chicken tenders – Provides crunch and protein.
- 3 mozzarella sticks – For that extra gooeyness that kids love.
What You’ll Need (Gear)
Before you start cooking, make sure you have the following gear on hand:
- Non-stick skillet – Ensures even cooking and easy flipping.
- Spatula – Perfect for flipping the sandwich without making a mess.
- Knife – For spreading mayonnaise and cutting the sandwich.
- Plate – To serve the finished grilled cheese.
Cook Ultimate Kids Grilled Cheese Like This
Ready to get cooking? Follow these simple steps to create your Ultimate Kids Grilled Cheese.
Step 1: Prepare the Bread
Begin by spreading 1 tablespoon of mayonnaise on one side of each slice of bread. This will help create a golden, crispy crust when grilled.
Step 2: Assemble the Sandwich
On the non-mayo side of one slice, layer 2 slices of Fontina cheese, followed by the fried chicken tenders, and then the mozzarella sticks. Top it off with the remaining 2 slices of Fontina cheese for an extra cheesy experience.
Step 3: Add Barbecue Sauce
Drizzle the barbecue sauce over the mozzarella sticks for a sweet and tangy flavor boost before placing the second slice of bread on top, mayo side up.
Step 4: Heat the Skillet
Place your non-stick skillet over medium heat and allow it to warm up. Once hot, carefully place the assembled sandwich into the skillet.
Step 5: Grill to Perfection
Cook the sandwich for about 3-4 minutes on one side until golden brown. Use your spatula to gently press down on the sandwich to help the cheese melt.
Step 6: Flip and Finish Cooking
Once the first side is browned, carefully flip the sandwich and cook for an additional 3-4 minutes on the other side. Keep an eye on it to prevent burning.
Step 7: Get Ready to Serve
When both sides are crispy and the cheese is melted, remove the sandwich from the skillet and let it sit for a minute. This will allow the cheese to set slightly, making it easier to cut.
Step 8: Slice and Enjoy
Cut the sandwich in half or quarters for easy handling, and serve it warm. Watch as the melted cheese oozes out—it’s a moment kids will love!
Seasonal Adaptations
The Ultimate Kids Grilled Cheese is versatile and can be adapted for different seasons. Consider these ideas:
- Spring: Add fresh spinach or arugula for a pop of color and nutrition.
- Summer: Include slices of ripe tomatoes or fresh basil for a Caprese twist.
- Fall: Incorporate apple slices for a sweet crunch that pairs well with cheese.
- Winter: Mix in some sautéed mushrooms or caramelized onions for a cozy flavor.
Method to the Madness
To achieve the best results with your Ultimate Kids Grilled Cheese, here are a few tips to keep in mind:
- Use good quality bread that can hold up to the fillings without falling apart.
- Don’t rush the cooking process; medium heat is key to melting the cheese without burning the bread.
- Feel free to get creative with the fillings! Leftover meats, veggies, or different cheeses can add a personal touch.
- Allow the sandwich to rest for a minute after cooking to avoid a cheesy mess when cutting.
Prep Ahead & Store
If you want to save time during the week, you can prep some components ahead of time:
Feel free to cook the chicken tenders in advance and store them in the fridge. You can also pre-slice your cheeses and have your bread ready. However, it’s best to assemble and cook the grilled cheese fresh to maintain the perfect texture and gooeyness. If you have leftovers, they can be stored in an airtight container in the fridge for about 1-2 days. Reheat in the skillet for the best results.
Top Questions & Answers
Can I use different types of cheese for this grilled cheese?
Absolutely! While Fontina and mozzarella are delicious, feel free to experiment with your favorite cheeses like cheddar, gouda, or pepper jack for a unique twist.
Can I make this grilled cheese in the oven instead of on the stovetop?
Yes! Preheat your oven to 375°F (190°C), assemble the sandwich, and place it on a baking sheet. Bake for about 10-12 minutes, flipping halfway through, until golden and melted.
What can I serve with the Ultimate Kids Grilled Cheese?
This sandwich pairs wonderfully with a side of tomato soup, salad, or even some veggie sticks for a complete meal.
How do I make this grilled cheese healthier?
You can opt for whole grain bread, add more vegetables, or use less mayonnaise to reduce calories while still enjoying the flavors.
Bring It to the Table
The Ultimate Kids Grilled Cheese is more than just a meal; it’s an experience. With its cheesy goodness and crispy exterior, it’s a dish that brings smiles to faces and warmth to hearts. As you gather around the table to enjoy this delightful creation, you’ll likely find that the joy of cooking and eating together creates lasting memories. This grilled cheese is perfect for lunch, dinner, or even a fun snack, making it a staple in any household.
So grab your ingredients, gather your little helpers, and let the fun of cooking begin! The Ultimate Kids Grilled Cheese is waiting to be devoured, and it promises to be a hit with everyone at the table. Don’t forget to take a moment to appreciate the gooey goodness before it disappears!
Ultimate Kids Grilled Cheese
Ingredients
Equipment
Method
- Spread 1 tablespoon of mayonnaise on one side of each slice of bread.
- On the non-mayo side of one slice, layer 2 slices of Fontina cheese, followed by the fried chicken tenders, and then the mozzarella sticks. Top with the remaining 2 slices of Fontina cheese.
- Drizzle the barbecue sauce over the mozzarella sticks and place the second slice of bread on top, mayo side up.
- Place the non-stick skillet over medium heat and warm it up. Carefully place the sandwich into the skillet.
- Cook for about 3-4 minutes on one side until golden brown. Press down gently on the sandwich.
- Flip the sandwich and cook for an additional 3-4 minutes on the other side.
- Remove the sandwich from the skillet and let it sit for a minute before cutting.
- Cut the sandwich in half or quarters and serve warm.
Notes
- Use good quality bread that can hold up to the fillings.
- Don’t rush the cooking; medium heat is key for melting cheese.
- Get creative with fillings—try different meats, veggies, or cheeses!
- Let the sandwich rest for a minute after cooking to avoid a cheesy mess.