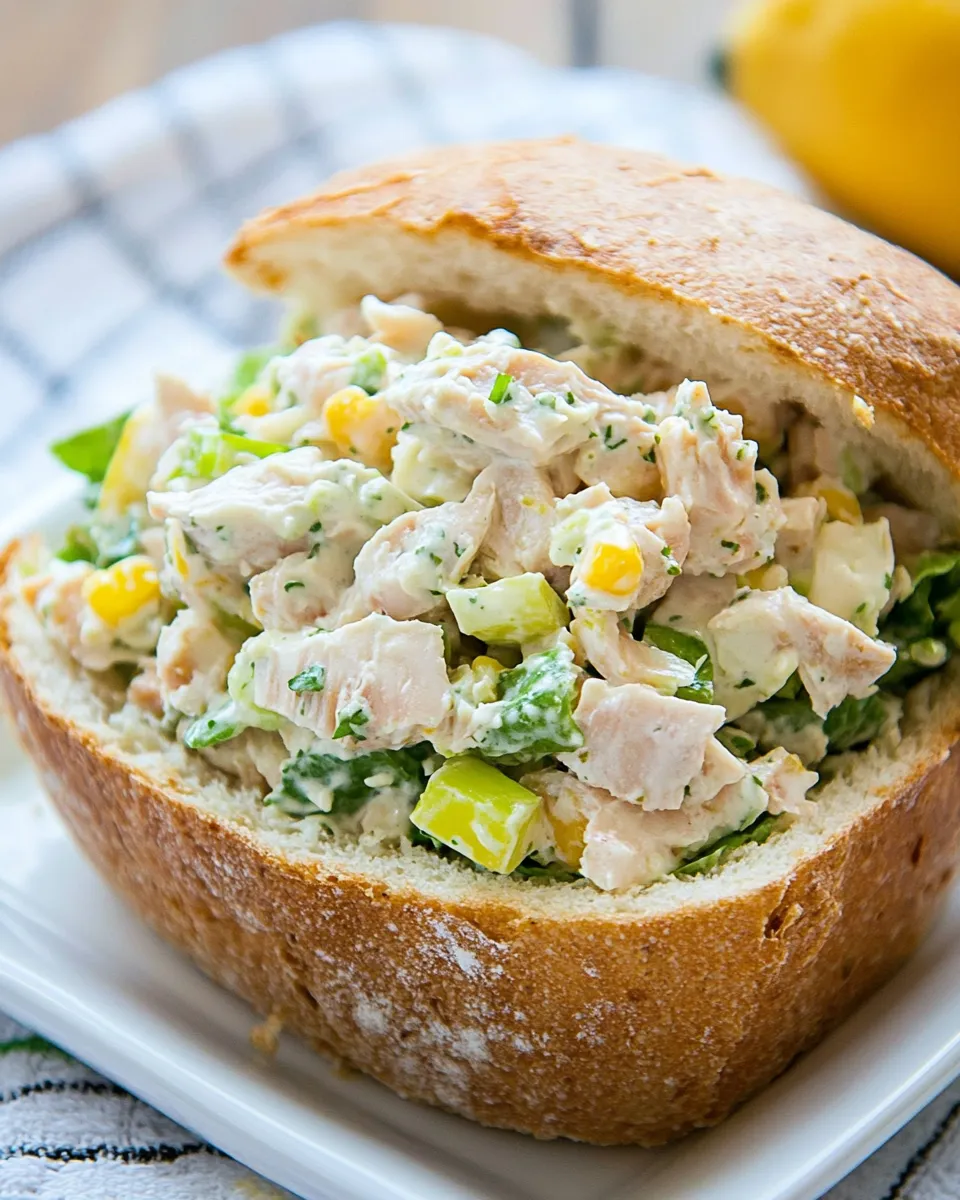
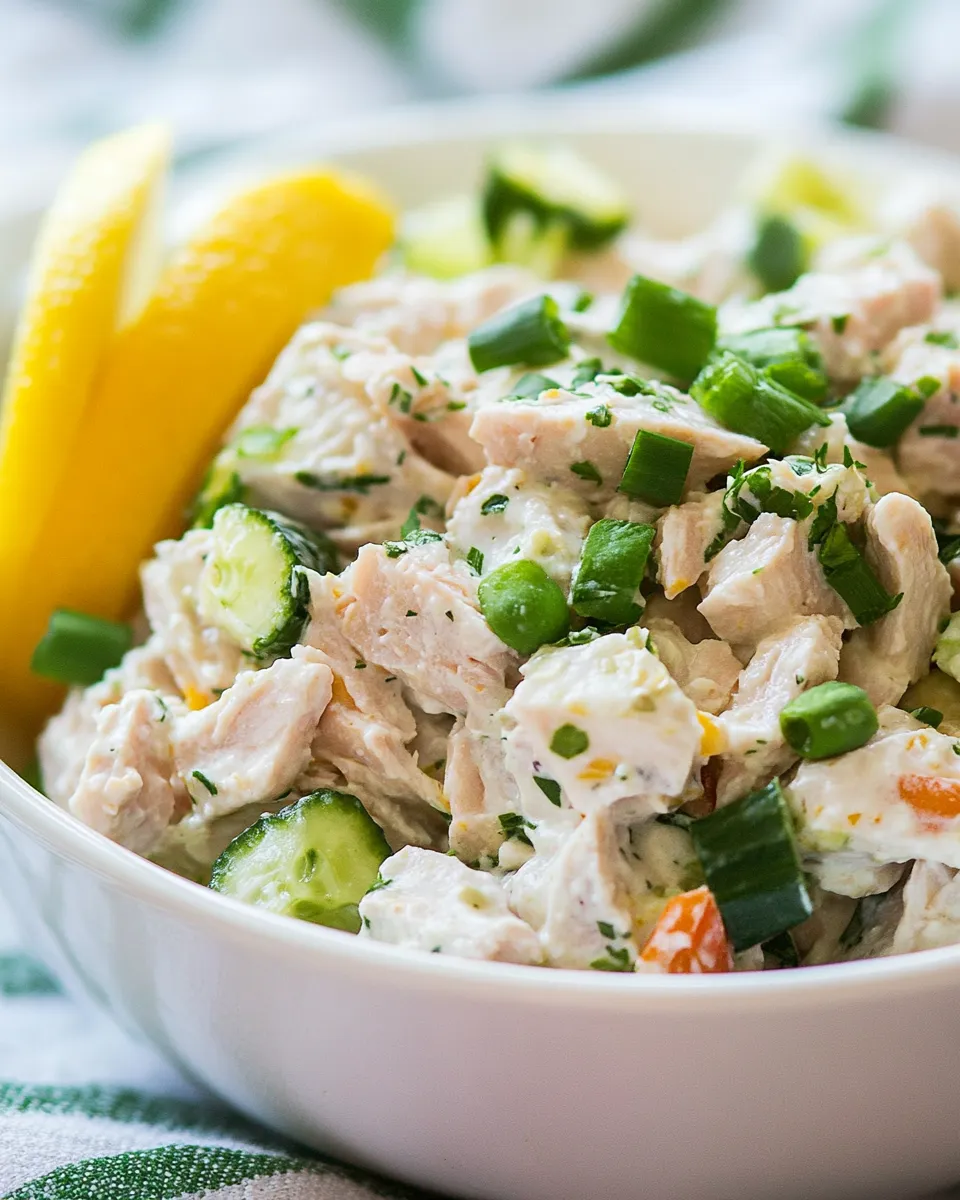
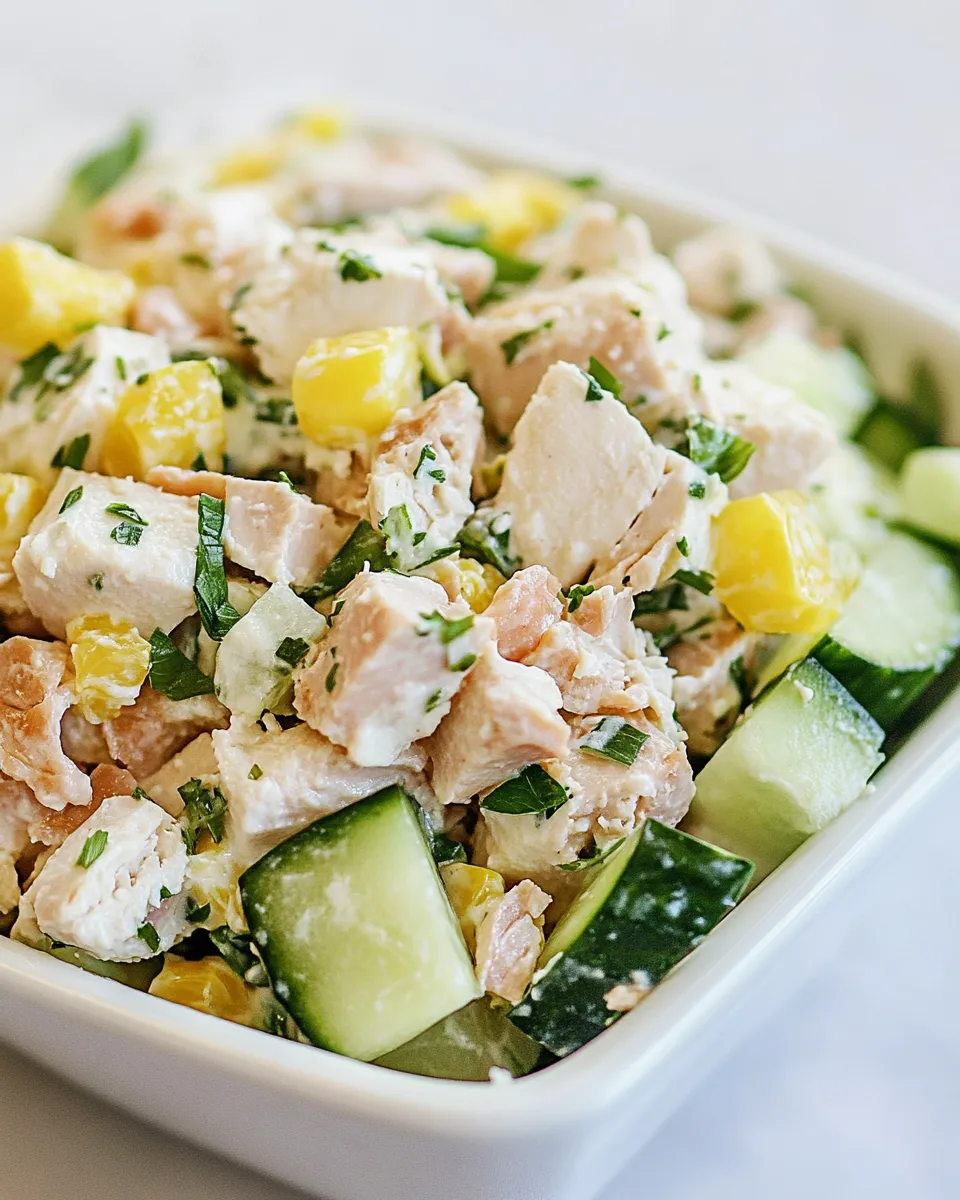
Tuna Salad Recipe
Tuna salad is one of those classic dishes that many of us grew up with. It’s versatile, packed with protein, and can be enjoyed in countless ways—on sandwiches, in lettuce wraps, or simply on its own. This Tuna Salad Recipe is easy to prepare and perfect for a quick lunch or a light dinner. With a delightful combination of creamy and crunchy textures, this dish is sure to please everyone at your table. Let’s dive into how to make this scrumptious tuna salad that is full of flavor and texture.
Why This Recipe Works
This Tuna Salad Recipe stands out because it combines the rich flavors of tuna with the crunch of fresh vegetables and the creaminess of mayo and sour cream. The boiled eggs add a wonderful creaminess and protein boost, while the baby dill pickles lend a tangy crunch that elevates the entire dish. The balance of ingredients ensures that every bite is satisfying and delicious. Plus, it’s quick to make, taking only about 15 minutes from start to finish.
What Goes In
To create this delightful Tuna Salad Recipe, you will need the following ingredients:
- 2 (5 oz) cans tuna in water, well drained
- 2 boiled eggs, peeled and diced
- 3 baby dill pickles, finely chopped
- 1 celery stick, finely chopped
- 1/4 cup yellow onion, finely chopped
- 1/4 cup mayonnaise
- 1/4 cup sour cream
- Fine sea salt, to taste
- Cracked black pepper, to taste
Gear Up: What to Grab
Before you start making your Tuna Salad Recipe, gather the following kitchen tools:
- Mixing bowl: A medium-sized bowl will help combine all the ingredients easily.
- Fork: For flaking the tuna and mixing the salad.
- Chopping board: To chop the vegetables and eggs safely.
- Knife: A sharp knife will make chopping easier.
- Measuring cups: To ensure you add the right amounts of mayonnaise and sour cream.
Tuna Salad Recipe: Step-by-Step Guide
Now that you have everything ready, let’s get started with the Tuna Salad Recipe!
Step 1: Prepare the Ingredients
Begin by boiling the eggs. Place them in a pot, cover with water, and bring to a boil. Once boiling, let them cook for about 10-12 minutes. Afterward, transfer the eggs to an ice bath to cool before peeling and dicing.
Step 2: Drain the Tuna
Open the cans of tuna and drain them thoroughly. Use a fork to flake the tuna into smaller pieces in a mixing bowl.
Step 3: Chop the Vegetables
Finely chop the baby dill pickles, celery stick, and yellow onion. Make sure the pieces are small enough to blend well with the tuna.
Step 4: Combine the Ingredients
In the mixing bowl with the flaked tuna, add the diced boiled eggs, chopped dill pickles, celery, and onion.
Step 5: Add Creaminess
Spoon in the mayonnaise and sour cream. Mix everything gently using a fork until all ingredients are well combined.
Step 6: Season to Taste
Sprinkle fine sea salt and cracked black pepper to your liking. Taste the mixture and adjust the seasoning if necessary.
Step 7: Chill and Serve
For the best flavor, cover the bowl with plastic wrap and chill your tuna salad in the refrigerator for at least 30 minutes. This allows the flavors to meld beautifully. Serve it on bread, in a wrap, or over a bed of greens.
Allergy-Friendly Swaps
If you have dietary restrictions or allergies, here are some swaps you can consider:
- Mayonnaise: Use vegan mayonnaise or Greek yogurt for a lighter version.
- Sour Cream: Substitute with dairy-free sour cream or plain yogurt.
- Tuna: For a vegetarian option, replace tuna with chickpeas or a plant-based tuna alternative.
- Onion: If you’re sensitive to onions, omit them or use green onions for a milder flavor.
Easy-to-Miss Gotchas
While making this Tuna Salad Recipe, keep these tips in mind to ensure your dish turns out perfectly:
- Ensure the tuna is well drained to prevent a watery salad.
- Chilling the salad enhances the flavors; don’t skip this step!
- Adjust the seasoning gradually—start with a little salt and pepper, then taste before adding more.
- Use fresh ingredients for the best flavor, especially the vegetables.
Meal Prep & Storage Notes
This Tuna Salad Recipe is perfect for meal prep! Here are some storage tips:
- Store in an airtight container in the refrigerator for up to 3 days.
- Keep the salad chilled until ready to serve to maintain freshness.
- If making ahead of time, consider adding fresh ingredients, like celery, just before serving for extra crunch.
- Do not freeze the salad, as the texture of the mayonnaise and sour cream will change once thawed.
Your Top Questions
Can I use fresh tuna instead of canned?
Absolutely! Fresh tuna can be grilled or seared and then flaked into the salad. Just make sure it’s fully cooked and seasoned well.
How can I make this recipe more flavorful?
Consider adding fresh herbs like dill or parsley, or a squeeze of lemon juice for brightness. A dash of hot sauce can also add a nice kick.
What can I serve with tuna salad?
Tuna salad pairs wonderfully with whole grain bread, crackers, or as a filling in lettuce wraps. It can also be served on a bed of greens for a refreshing salad.
Is this tuna salad low-carb?
Yes, this Tuna Salad Recipe is low in carbohydrates, making it a great option for low-carb diets. Enjoy it on its own or with low-carb accompaniments.
The Last Word
This Tuna Salad Recipe is a simple yet satisfying dish that can be enjoyed in a variety of ways. It’s a fantastic option for meal prep and can be customized to fit your taste preferences or dietary needs. With just a bit of chopping and mixing, you can create a delicious salad that’s not only nutritious but also comforting.
Tuna salad has a nostalgic quality that brings back memories of family gatherings and sunny picnics. As you prepare this recipe, take a moment to savor the process and think about all the wonderful meals you’ll enjoy with it. Whether you keep it classic or give it your own twist, this salad is bound to become a favorite.
Now that you have the recipe in hand, it’s time to gather your ingredients and whip up this delightful tuna salad! Enjoy each bite and share the joy of good food with your loved ones. Happy cooking!

Tuna Salad Recipe
Ingredients
Equipment
Method
- Begin by boiling the eggs. Place them in a pot, cover with water, and bring to a boil. Once boiling, let them cook for about 10-12 minutes. Afterward, transfer the eggs to an ice bath to cool before peeling and dicing.
- Open the cans of tuna and drain them thoroughly. Use a fork to flake the tuna into smaller pieces in a mixing bowl.
- Finely chop the baby dill pickles, celery stick, and yellow onion. Make sure the pieces are small enough to blend well with the tuna.
- In the mixing bowl with the flaked tuna, add the diced boiled eggs, chopped dill pickles, celery, and onion.
- Spoon in the mayonnaise and sour cream. Mix everything gently using a fork until all ingredients are well combined.
- Sprinkle fine sea salt and cracked black pepper to your liking. Taste the mixture and adjust the seasoning if necessary.
- For the best flavor, cover the bowl with plastic wrap and chill your tuna salad in the refrigerator for at least 30 minutes. This allows the flavors to meld beautifully. Serve it on bread, in a wrap, or over a bed of greens.
Notes
- Ensure the tuna is well drained to prevent a watery salad.
- Chilling the salad enhances the flavors; don’t skip this step!
- Use fresh ingredients for the best flavor, especially the vegetables.