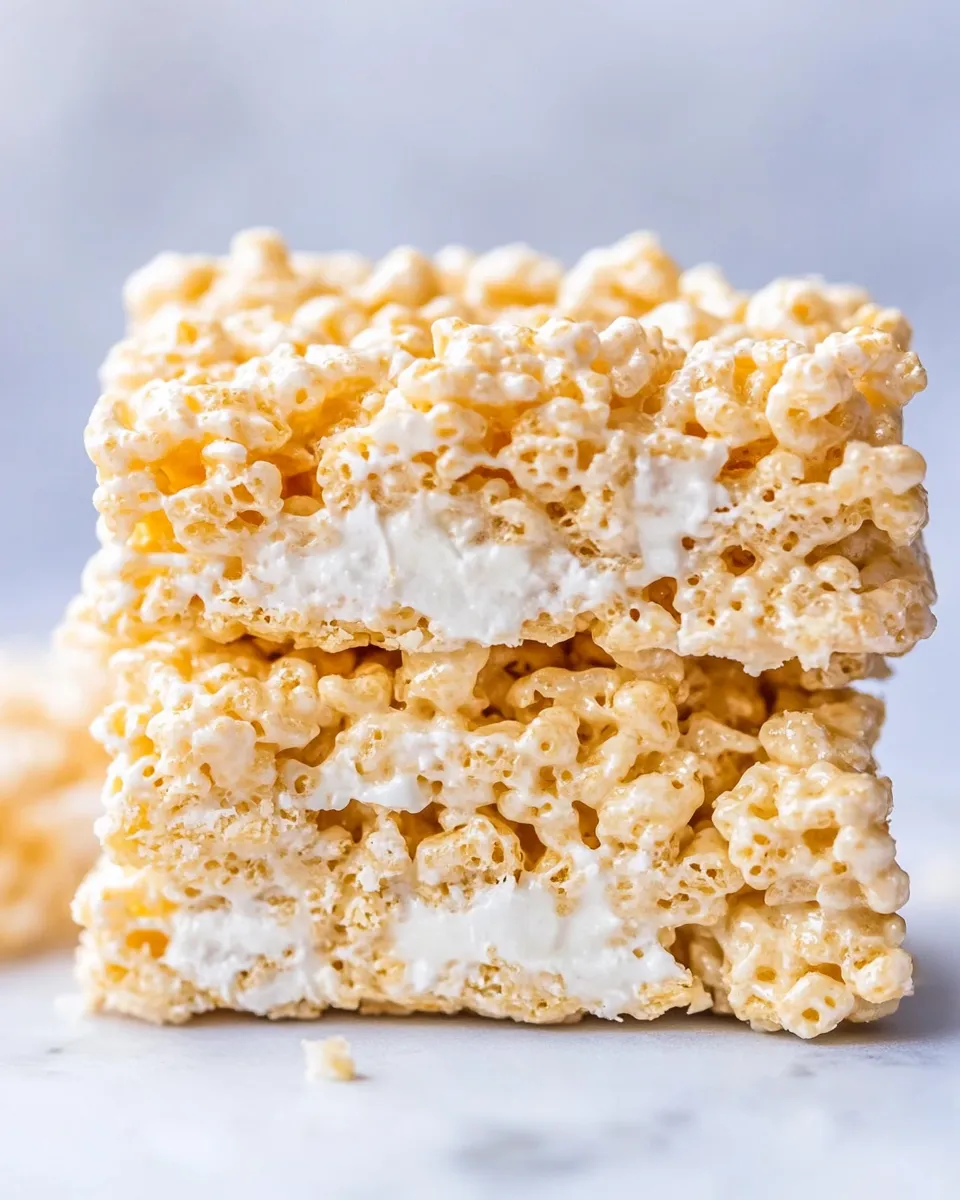
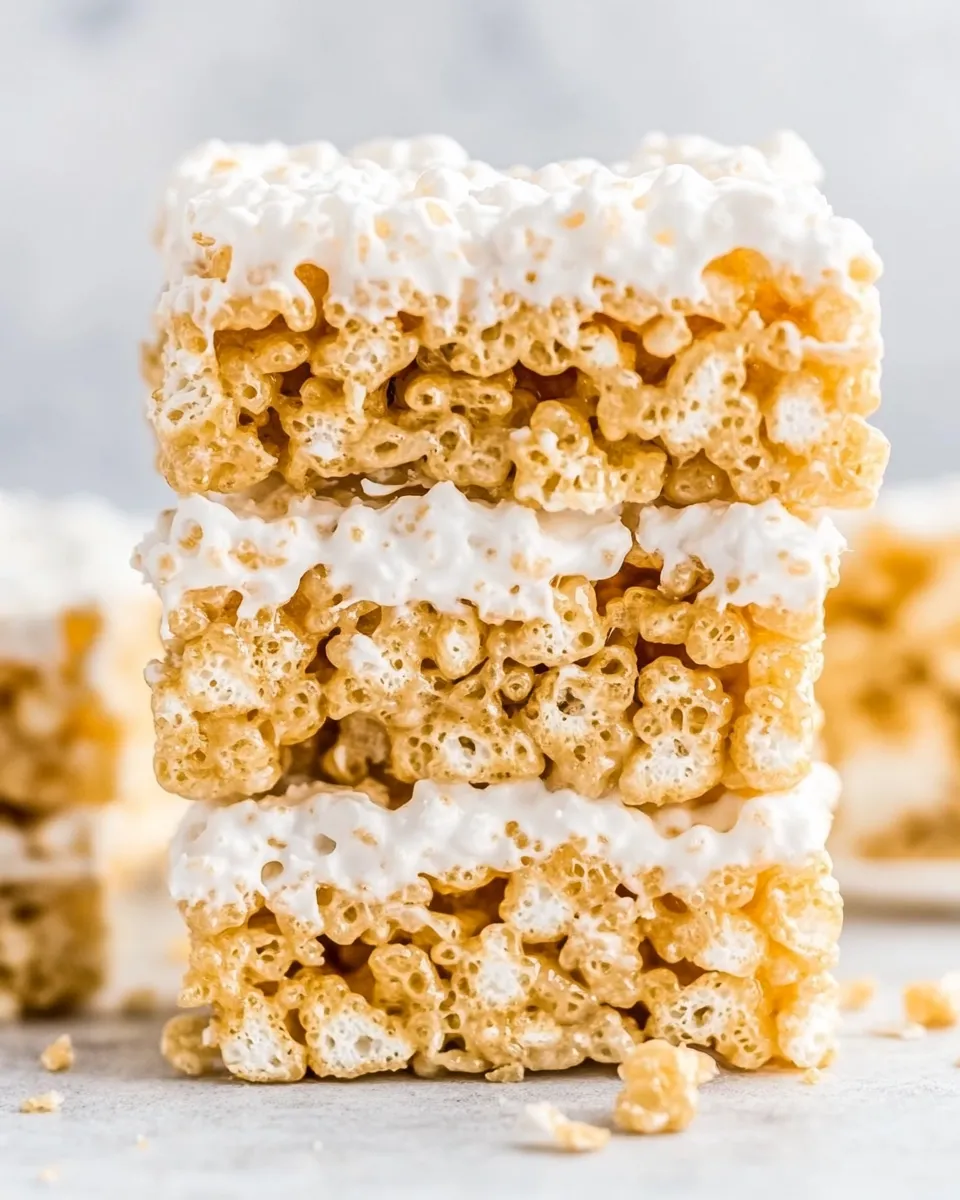
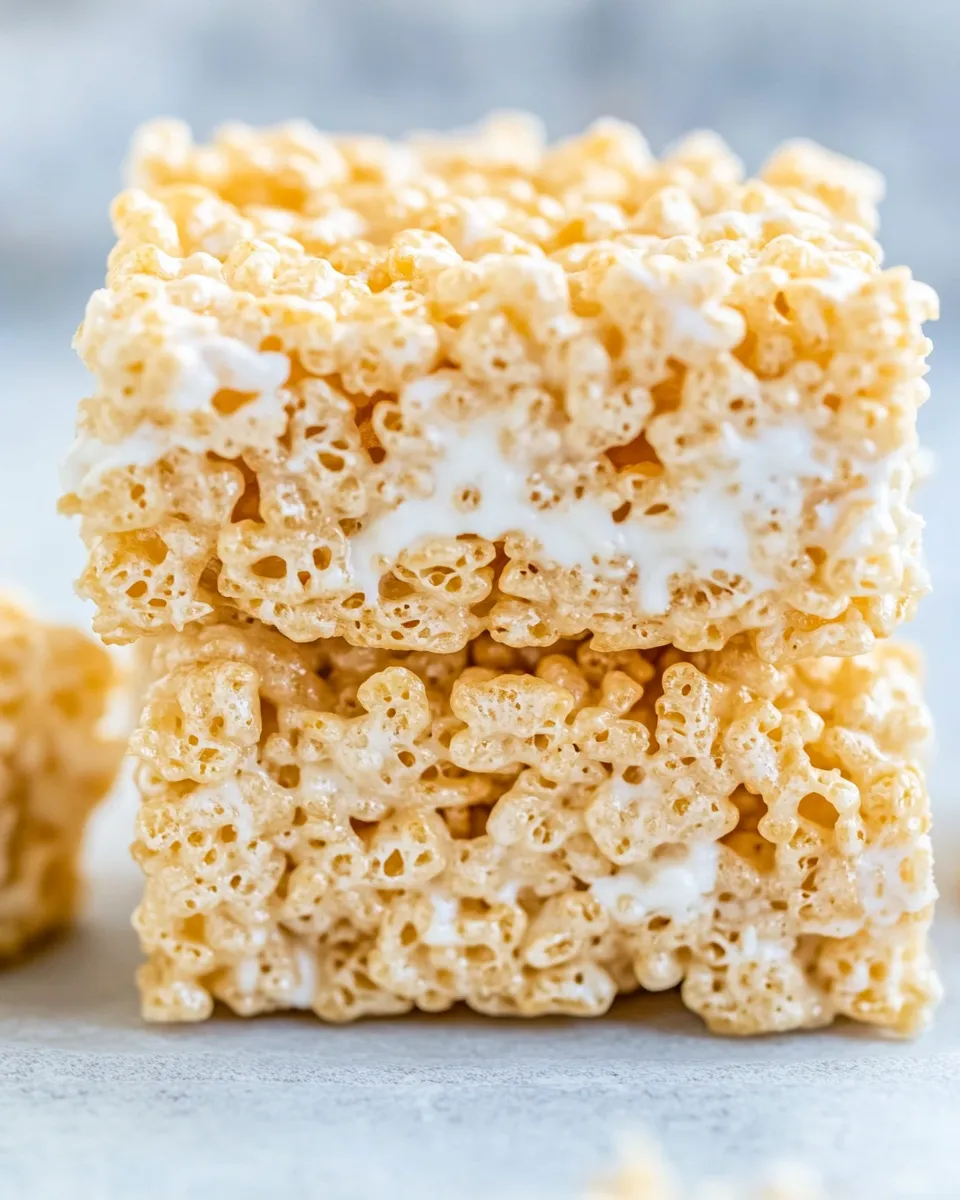
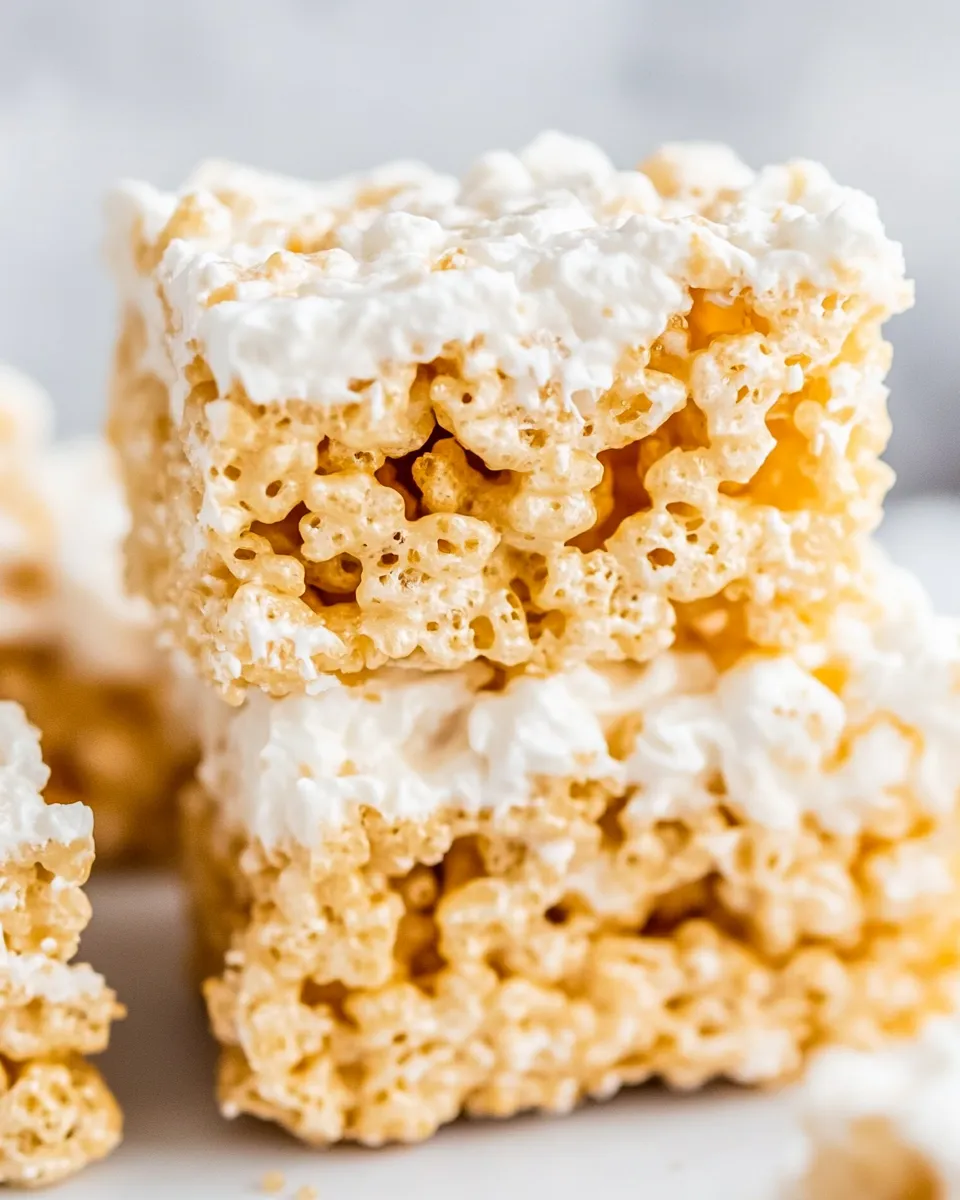
The BEST Rice Krispie Treats
If you’re searching for a nostalgic treat that never fails to delight, look no further than The BEST Rice Krispie Treats. This classic dessert is a staple in many households, offering a perfect combination of gooey marshmallows and crispy cereal. Whether you’re making them for a party, a school event, or just for a cozy night in, these treats are sure to please everyone. With just a few simple ingredients and an easy method, you can whip up a batch of these scrumptious bars that will have everyone asking for seconds!
Why This Recipe is a Keeper
This recipe stands out for several reasons. First and foremost, it delivers a chewy texture that strikes the perfect balance between crispy and gooey. Using mini marshmallows guarantees that every bite is packed with that sweet marshmallow flavor, while the generous amount of butter adds richness. Plus, with only four ingredients, you can make these treats quickly and effortlessly, making them perfect for last-minute gatherings or satisfying sweet cravings. Trust me, once you’ve tasted The BEST Rice Krispie Treats, you’ll want to keep this recipe in your back pocket for years to come.
What You’ll Gather
- 9 cups (237g) Rice Krispies cereal
- 20 ounces (566g) mini marshmallows, divided
- 8 tablespoons (113g) unsalted butter
- 1 teaspoon (15ml) vanilla extract
Prep & Cook Tools
- Large saucepan: For melting the butter and marshmallows.
- Wooden spoon or spatula: Ideal for stirring the mixture until combined.
- 9×13-inch baking pan: To hold the Rice Krispie Treats as they set.
- Parchment paper (optional): For easier cleanup and removal of the treats.
Directions: The BEST Rice Krispie Treats
Step 1: Melt the Butter and Marshmallows
Begin by placing the unsalted butter and 16 ounces of mini marshmallows into a large saucepan over low heat. Stir occasionally until the mixture is completely melted and smooth. This usually takes about 5 minutes.
Step 2: Add Vanilla Extract
Once the butter and marshmallow mixture is melted, remove it from the heat and stir in the vanilla extract. This adds a wonderful flavor that enhances the sweetness of the treats.
Step 3: Combine with Rice Krispies
In a large mixing bowl, pour the melted marshmallow mixture over the Rice Krispies cereal. Use your wooden spoon or spatula to gently fold the cereal into the melted marshmallow until it is evenly coated. Be careful not to crush the cereal too much; you want to maintain that delightful crunch!
Step 4: Incorporate the Remaining Marshmallows
Once the Rice Krispies are fully coated, fold in the remaining 4 ounces of mini marshmallows. This step adds extra gooeyness to each bite, making these treats even more irresistible.
Step 5: Press into the Baking Pan
Line a 9×13-inch baking pan with parchment paper or lightly grease it. Transfer the mixture into the pan, using your hands (dampened slightly to prevent sticking) or a spatula to press it down evenly. Ensure the mixture is compact and level for perfect bars.
Step 6: Allow to Set
Let the Rice Krispie Treats sit at room temperature for at least 30 minutes to an hour. This will help them firm up and make cutting easier.
Step 7: Cut and Serve
Once set, remove the treats from the pan (if using parchment paper) and cut them into squares or rectangles. Serve immediately or store them for later. Enjoy The BEST Rice Krispie Treats with friends and family!
Adaptations for Special Diets
- Vegan: Substitute unsalted butter with a vegan butter alternative and ensure the marshmallows are vegan-friendly.
- Gluten-free: Use certified gluten-free Rice Krispies.
- Nut-free: This recipe is naturally nut-free, making it safe for those with nut allergies.
- Lower sugar: Use sugar-free marshmallows for a reduced-sugar treat, though the texture may differ slightly.
Flavor Logic
The beauty of The BEST Rice Krispie Treats lies in their simplicity. The buttery marshmallow mixture provides a sweet and creamy base, while the Rice Krispies add a satisfying crunch. The addition of vanilla extract elevates the flavor profile without overpowering the classic taste. This recipe allows for customization as well; you can easily add mix-ins like chocolate chips, sprinkles, or even peanut butter to create your own unique twist on this beloved dessert!
Save for Later: Storage Tips
To keep your Rice Krispie Treats fresh and delicious, store them in an airtight container at room temperature. They will stay good for about 3 to 5 days. If you’d like to keep them longer, you can freeze them. Wrap each treat individually in plastic wrap and place them in a freezer-safe bag. They can be frozen for up to 3 months. When you’re ready to indulge, simply thaw them at room temperature or pop them in the microwave for a few seconds to regain that gooey texture!
Your Top Questions
Can I use regular marshmallows instead of mini marshmallows?
Yes, you can use regular marshmallows, but using mini marshmallows allows for a more even distribution throughout the treats, resulting in a better texture.
How can I make my Rice Krispie Treats softer?
To achieve softer treats, use a bit more marshmallows and do not over-press the mixture into the pan. This will keep them chewy rather than overly firm.
Can I add flavors to the Rice Krispie Treats?
Absolutely! You can mix in different extracts such as almond or coconut or add cocoa powder for a chocolate-flavored version. Get creative with your additions!
What’s the best way to cut Rice Krispie Treats?
Use a sharp, non-serrated knife and spray it with a little cooking spray to prevent sticking. Cut them into squares or rectangles for easy serving.
Next Steps
Now that you have a foolproof recipe for The BEST Rice Krispie Treats, it’s time to gather your ingredients and get started. This delightful treat is perfect for any occasion, whether you’re celebrating a birthday, hosting a bake sale, or simply enjoying a sweet moment at home. Don’t forget to share your delicious creations with friends and family—they’ll be amazed at how easy and tasty these treats are!
With just a few simple ingredients and a little bit of time, you’ll have a batch of nostalgic goodness that everyone will love. Enjoy the process, savor each bite, and remember: the best moments are often made around the kitchen!
The BEST Rice Krispie Treats
Ingredients
Equipment
Method
- Begin by placing the unsalted butter and 16 ounces of mini marshmallows into a large saucepan over low heat. Stir occasionally until the mixture is completely melted and smooth. This usually takes about 5 minutes.
- Once the butter and marshmallow mixture is melted, remove it from the heat and stir in the vanilla extract. This adds a wonderful flavor that enhances the sweetness of the treats.
- In a large mixing bowl, pour the melted marshmallow mixture over the Rice Krispies cereal. Use your wooden spoon or spatula to gently fold the cereal into the melted marshmallow until it is evenly coated. Be careful not to crush the cereal too much; you want to maintain that delightful crunch!
- Once the Rice Krispies are fully coated, fold in the remaining 4 ounces of mini marshmallows. This step adds extra gooeyness to each bite, making these treats even more irresistible.
- Line a 9x13-inch baking pan with parchment paper or lightly grease it. Transfer the mixture into the pan, using your hands (dampened slightly to prevent sticking) or a spatula to press it down evenly. Ensure the mixture is compact and level for perfect bars.
- Let the Rice Krispie Treats sit at room temperature for at least 30 minutes to an hour. This will help them firm up and make cutting easier.
- Once set, remove the treats from the pan (if using parchment paper) and cut them into squares or rectangles. Serve immediately or store them for later. Enjoy The BEST Rice Krispie Treats with friends and family!
Notes
- Store in an airtight container at room temperature for 3 to 5 days.
- Freeze individually wrapped treats for up to 3 months.
- For softer treats, use more marshmallows and avoid over-pressing the mixture.