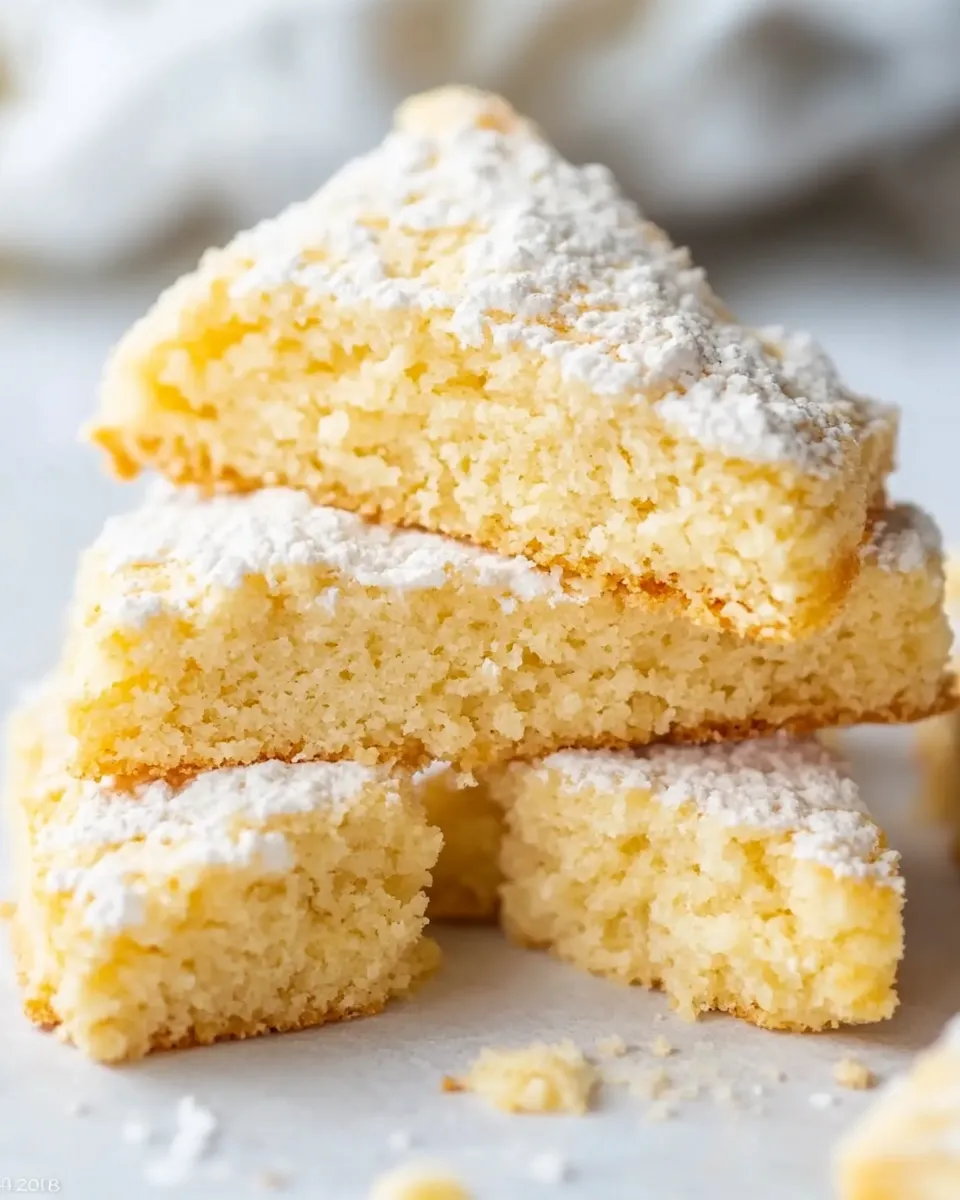
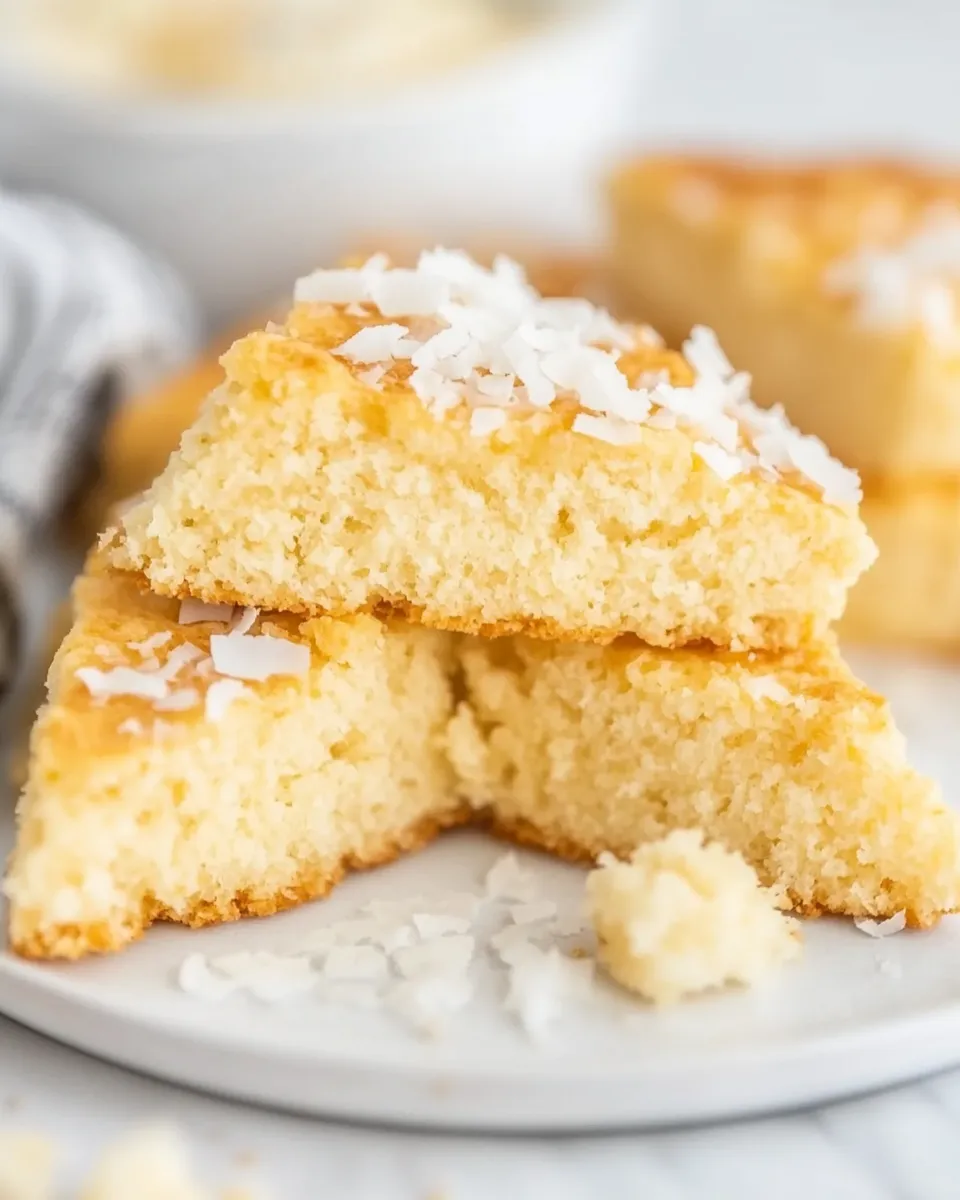
The BEST Coconut Flour Scones
If you’re on the hunt for a delightful treat that is both gluten-free and incredibly tasty, look no further! These BEST Coconut Flour Scones are a game changer, perfectly fluffy and packed with the tropical goodness of coconut. Whether you’re enjoying them for breakfast, brunch, or a sweet afternoon snack, these scones will have you swooning with every bite. With a glorious combination of coconut flour and desiccated coconut, these scones bring a unique texture and flavor that just can’t be beaten. Let’s dive into this delicious recipe!
Why You’ll Love This Recipe
These scones are not just another baked good; they are a testament to how versatile coconut flour can be! Here are a few reasons why you’ll absolutely adore this recipe:
- Gluten-Free Delight: Perfect for those who are gluten-sensitive or simply want to try something new.
- Simple Ingredients: Made with natural and wholesome ingredients you likely already have at home.
- Quick to Prepare: You can whip these up in no time, making them a fantastic option for unexpected guests.
- Flavorful Twist: The combination of coconut flour and desiccated coconut creates a unique, rich flavor.
What You’ll Gather
To make the BEST Coconut Flour Scones, you’ll need the following ingredients:
- 1 cup coconut flour (60g, measure with scales if possible)
- 1 cup desiccated coconut (75g)
- 1 cup granulated sweetener (50g)
- 2 large eggs (room temperature)
- ½ cup butter (76g, melted and cooled)
- 1 teaspoon vanilla extract
- 1.5 teaspoons baking powder
- 1 egg yolk (beaten, for brushing)
- Shredded coconut (for sprinkling)
What You’ll Need (Gear)
Before you start baking, gather these essential tools:
- Mixing bowls: For combining your dry and wet ingredients.
- Measuring cups and spoons: Accurate measurements are key to perfect scones.
- Whisk: To beat the eggs and mix ingredients smoothly.
- Baking sheet: Line with parchment paper for easy cleanup.
- Oven: Preheated to ensure even baking.
Mastering The BEST Coconut Flour Scones: How-To
Now that you have everything ready, let’s get to the fun part—making the BEST Coconut Flour Scones!
Step 1: Preheat the Oven
Preheat your oven to 350°F (175°C). This ensures that your scones bake evenly and rise beautifully.
Step 2: Combine Dry Ingredients
In a large mixing bowl, whisk together the coconut flour, desiccated coconut, granulated sweetener, and baking powder. This will ensure that all the dry ingredients are well incorporated.
Step 3: Mix Wet Ingredients
In another bowl, beat the eggs, melted butter, and vanilla extract until well combined. The mixture should be smooth and slightly frothy.
Step 4: Combine Wet and Dry Mixtures
Pour the wet ingredients into the bowl with the dry ingredients. Mix until just combined. Be careful not to overmix, as this can make your scones dense.
Step 5: Shape the Dough
Using your hands, gently form the dough into a round disc about 1 inch thick. This will give you that classic scone shape. Cut the disc into wedges, or use a cookie cutter for fun shapes.
Step 6: Prepare for Baking
Place the scone wedges on a lined baking sheet. Brush the tops with the beaten egg yolk, then sprinkle shredded coconut over the top for an extra crunch and beautiful presentation.
Step 7: Bake
Bake in the preheated oven for 20-25 minutes, or until the scones are golden brown and a toothpick inserted into the center comes out clean.
Step 8: Cool and Serve
Once baked, remove the scones from the oven and let them cool on a wire rack for a few minutes. Enjoy them warm or at room temperature with your favorite spread!
Substitutions by Category
If you need to make any adjustments, here are some substitutions you can consider:
- Coconut Flour: You can use almond flour, but note that the texture and flavor will change significantly.
- Desiccated Coconut: Unsweetened shredded coconut can be used as an alternative.
- Granulated Sweetener: Substitute with coconut sugar or maple syrup (adjust quantities accordingly).
- Butter: Coconut oil or ghee can be used in place of butter for a dairy-free option.
Pitfalls & How to Prevent Them
Baking can sometimes be tricky, but here are some common pitfalls and how to avoid them:
- Dense Scones: Be careful not to overmix the dough. Mix until just combined for a lighter texture.
- Too Dry: Coconut flour absorbs a lot of moisture. Make sure your wet ingredients are at room temperature.
- Burnt Bottoms: Use parchment paper on your baking sheet to prevent sticking and burning.
- Uneven Baking: Make sure to space your scones evenly on the baking sheet to ensure even heat distribution.
Keep-It-Fresh Plan
To keep your BEST Coconut Flour Scones fresh and delicious, follow these tips:
- Storage: Store in an airtight container at room temperature for up to 2 days, or in the refrigerator for up to a week.
- Freezing: These scones freeze beautifully! Wrap them in plastic wrap and place them in a freezer bag for up to 3 months. Thaw at room temperature before serving.
- Reheating: Warm them in the oven at 300°F (150°C) for about 10 minutes for that fresh-baked taste.
Handy Q&A
Can I use a different sweetener?
Absolutely! You can use coconut sugar or maple syrup, just be sure to adjust the quantities, as liquid sweeteners will require reducing other liquids in the recipe.
Can I make these scones dairy-free?
Yes! Simply substitute the butter with coconut oil or ghee for a delicious dairy-free version of these BEST Coconut Flour Scones.
Do I have to use desiccated coconut?
While desiccated coconut adds texture and flavor, you can skip it if you prefer a smoother scone. Just make sure to adjust the moisture accordingly!
What can I serve with these scones?
These scones are delightful on their own but pair wonderfully with fresh fruit, clotted cream, or your favorite jam for an extra treat!
Bring It to the Table
Now that you have mastered the art of making the BEST Coconut Flour Scones, it’s time to bring them to your table! Whether you are hosting a brunch or simply indulging in a quiet moment with a cup of tea, these scones are sure to impress. Their light and fluffy texture, combined with the rich flavors of coconut, will leave your guests asking for seconds.
Baking is not just about nourishing your body; it’s also about creating memories and sharing joy with loved ones. So gather your friends and family, serve up these delectable scones, and enjoy the smiles they bring. Happy baking!

The BEST Coconut Flour Scones
Ingredients
Equipment
Method
- Preheat your oven to 350°F (175°C). This ensures that your scones bake evenly and rise beautifully.
- In a large mixing bowl, whisk together the coconut flour, desiccated coconut, granulated sweetener, and baking powder. This will ensure that all the dry ingredients are well incorporated.
- In another bowl, beat the eggs, melted butter, and vanilla extract until well combined. The mixture should be smooth and slightly frothy.
- Pour the wet ingredients into the bowl with the dry ingredients. Mix until just combined. Be careful not to overmix, as this can make your scones dense.
- Using your hands, gently form the dough into a round disc about 1 inch thick. This will give you that classic scone shape. Cut the disc into wedges, or use a cookie cutter for fun shapes.
- Place the scone wedges on a lined baking sheet. Brush the tops with the beaten egg yolk, then sprinkle shredded coconut over the top for an extra crunch and beautiful presentation.
- Bake in the preheated oven for 20-25 minutes, or until the scones are golden brown and a toothpick inserted into the center comes out clean.
- Once baked, remove the scones from the oven and let them cool on a wire rack for a few minutes. Enjoy them warm or at room temperature with your favorite spread!
Notes
- Store in an airtight container at room temperature for up to 2 days.
- These scones freeze well; wrap them in plastic and place in a freezer bag for up to 3 months.
- For a dairy-free option, substitute butter with coconut oil or ghee.