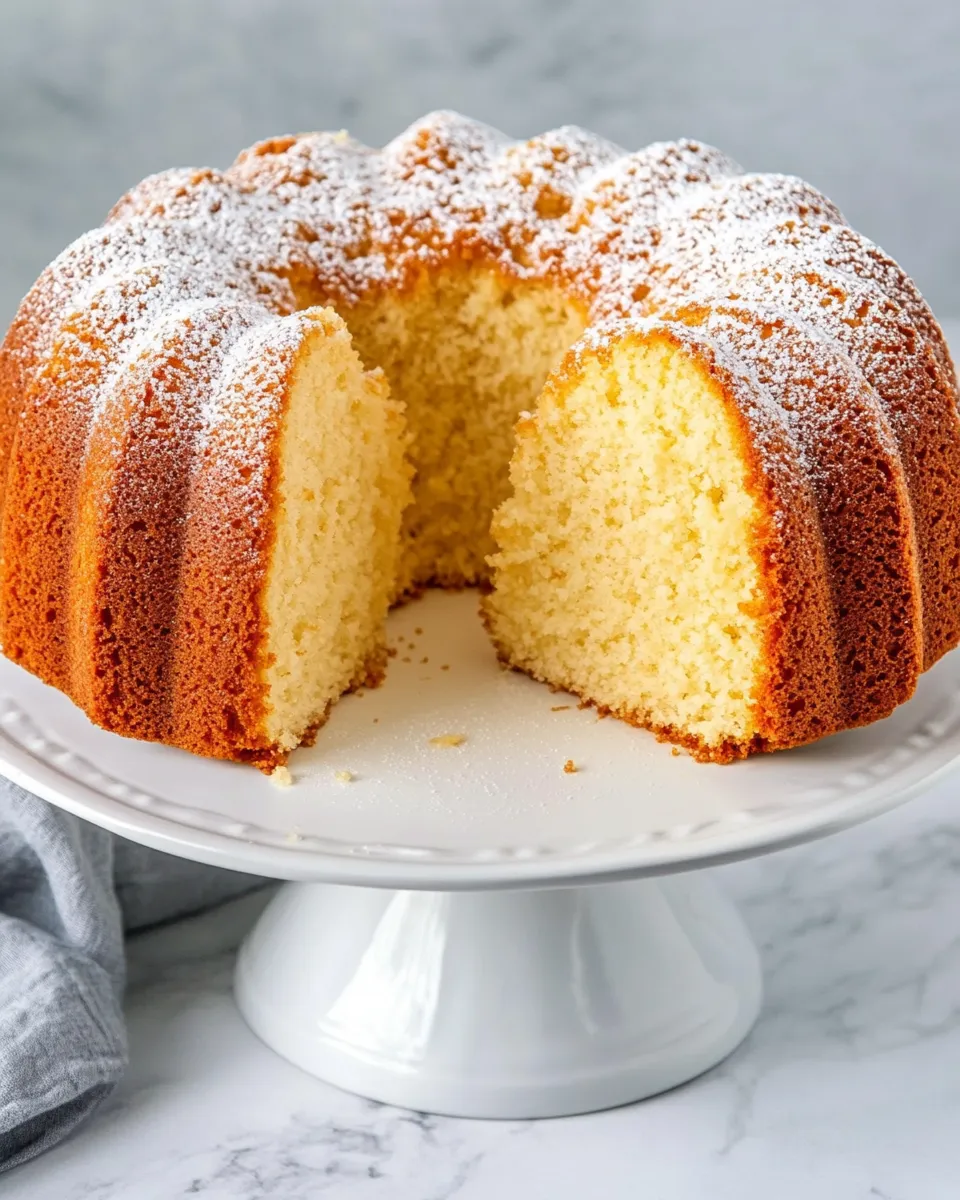
Sour Cream Pound Cake
If you’re hunting for a delectable dessert that strikes the perfect balance between richness and moisture, look no further than Sour Cream Pound Cake. This cake is a classic, beloved for its tender crumb and buttery flavor, making it an ideal companion for coffee or tea, or simply enjoyed on its own. The use of sour cream not only adds a subtle tang but also contributes to the cake’s incredible moistness. Whether you’re baking for a special occasion or simply treating yourself, this Sour Cream Pound Cake is sure to impress.
Why This Recipe Belongs in Your Rotation

Sour Cream Pound Cake is an essential recipe for several reasons. First and foremost, it’s incredibly versatile. You can enjoy it plain, dusted with powdered sugar, or topped with fresh fruit and whipped cream. The dense yet fluffy texture makes it a fantastic base for various toppings, and its flavor profile is rich enough to stand alone. Plus, it’s straightforward to make, requiring just a few pantry staples. Once you master this cake, it will undoubtedly become a go-to in your baking repertoire.
Shopping List
- 3 cups all-purpose flour
- 1 teaspoon baking soda
- 1/2 teaspoon salt
- 1 cup butter, softened
- 2 cups granulated sugar
- 6 large eggs, at room temperature
- 4 teaspoons vanilla extract
- 1 cup sour cream
What You’ll Need (Gear)
- Mixing bowls: For combining ingredients.
- Electric mixer: To cream the butter and sugar effectively.
- Measuring cups and spoons: Precision is key in baking.
- 9×5-inch loaf pan: The perfect size for the pound cake.
- Cooling rack: To cool the cake evenly after baking.
Method: Sour Cream Pound Cake

Step 1: Preheat Your Oven
Begin by preheating your oven to 325°F (160°C). This will ensure that your Sour Cream Pound Cake bakes evenly and achieves that perfect golden-brown crust.
Step 2: Prepare the Pan
Grease your 9×5-inch loaf pan with butter or non-stick spray, and lightly dust it with flour. This will help the cake slide out effortlessly once it’s baked.
Step 3: Combine Dry Ingredients
In a medium bowl, whisk together the 3 cups all-purpose flour, 1 teaspoon baking soda, and 1/2 teaspoon salt. This step is crucial as it ensures that the leavening agent is evenly distributed throughout the flour.
Step 4: Cream Butter and Sugar
In a large mixing bowl, use an electric mixer to cream 1 cup softened butter and 2 cups granulated sugar together until the mixture is light and fluffy. This usually takes about 4-5 minutes. The air whipped into the butter will contribute to the cake’s lovely texture.
Step 5: Add Eggs and Vanilla
Add 6 large eggs one at a time, mixing well after each addition. Then, stir in 4 teaspoons vanilla extract. This will enhance the flavor profile of your Sour Cream Pound Cake.
Step 6: Incorporate Sour Cream
Now, it’s time to add the 1 cup sour cream to the mixture. Beat until combined. The sour cream is what makes this cake so incredibly moist, so don’t skip this step!
Step 7: Mix in Dry Ingredients
Gradually add the dry ingredient mixture to the wet ingredients, mixing just until combined. Be careful not to overmix, as this can lead to a denser cake.
Step 8: Pour and Smooth
Pour the batter into your prepared loaf pan, smoothing the top with a spatula. Give the pan a gentle tap on the counter to release any air bubbles.
Step 9: Bake
Bake your Sour Cream Pound Cake in the preheated oven for about 60-70 minutes, or until a toothpick inserted into the center comes out clean. The baking time may vary depending on your oven, so keep an eye on it.
Step 10: Cool
Once baked, remove the cake from the oven and let it cool in the pan for about 15 minutes. Then, transfer it to a cooling rack to cool completely. This helps maintain the cake’s moistness.
Seasonal Adaptations

- Spring: Add lemon zest for a fresh, citrusy flavor that complements the cake beautifully.
- Summer: Top with fresh berries and whipped cream for a delightful treat.
- Fall: Incorporate spices like cinnamon or nutmeg for a warm, cozy flavor.
- Winter: Drizzle with a simple glaze made from powdered sugar and milk for an elegant finish.
Notes from the Test Kitchen
The key to a successful Sour Cream Pound Cake lies in using room temperature ingredients. This helps in achieving a better emulsion, leading to a lighter texture. Also, for an extra burst of flavor, consider using high-quality vanilla extract.
- Ensure your butter is softened but not melted for the best texture.
- Don’t skip the cooling step; it allows the cake to set properly.
- Feel free to experiment with different extracts, such as almond or lemon, for a unique twist.
Freezer-Friendly Notes
If you find yourself with leftover Sour Cream Pound Cake (though it’s hard to resist!), it freezes beautifully. Wrap slices in plastic wrap and then place them in an airtight container or freezer bag. They will keep well for up to three months. Just thaw at room temperature when you’re ready to enjoy another slice!
Quick Q&A
Can I use Greek yogurt instead of sour cream?
Yes! Greek yogurt works wonderfully as a substitute for sour cream and will provide a similar texture and tanginess.
Why is my pound cake dense?
A dense pound cake might be a result of overmixing the batter or using cold ingredients. Be sure to mix until just combined and use room temperature ingredients.
How do I know when my cake is done?
The best way to check is by inserting a toothpick into the center. If it comes out clean or with a few crumbs attached, your cake is ready!
Can I add mix-ins like chocolate chips or nuts?
Absolutely! Feel free to fold in chocolate chips, nuts, or dried fruit at the end of mixing for added texture and flavor.
Final Bite
Sour Cream Pound Cake is a timeless delight that brings warmth and comfort in every bite. Its rich, buttery texture paired with a hint of tang from the sour cream creates a cake that’s perfect for any occasion. Whether you serve it as a simple afternoon snack, a dessert for a gathering, or even as a breakfast treat, it’s sure to be a hit. So, roll up your sleeves, gather your ingredients, and get ready to indulge in this beautiful cake that truly celebrates the joy of baking.
With its straightforward method and mouthwatering results, this Sour Cream Pound Cake will surely find a permanent spot in your baking rotation. Trust me; once you taste it, you’ll understand why it’s a beloved classic. Happy baking!
Sour Cream Pound Cake
Ingredients
Equipment
Method
- Step 1: Preheat your oven to 325°F (160°C).
- Step 2: Grease your 9x5-inch loaf pan with butter or non-stick spray, and lightly dust it with flour.
- Step 3: In a medium bowl, whisk together the flour, baking soda, and salt.
- Step 4: In a large mixing bowl, cream the butter and sugar together until light and fluffy.
- Step 5: Add the eggs one at a time, mixing well after each addition, then stir in the vanilla extract.
- Step 6: Beat in the sour cream until combined.
- Step 7: Gradually mix in the dry ingredients until just combined.
- Step 8: Pour the batter into the prepared loaf pan and smooth the top.
- Step 9: Bake for about 60-70 minutes or until a toothpick comes out clean.
- Step 10: Let the cake cool in the pan for 15 minutes before transferring to a cooling rack.
Notes
- Use room temperature ingredients for the best texture.
- Don’t skip the cooling step to maintain moistness.
- Experiment with different extracts for a unique twist.