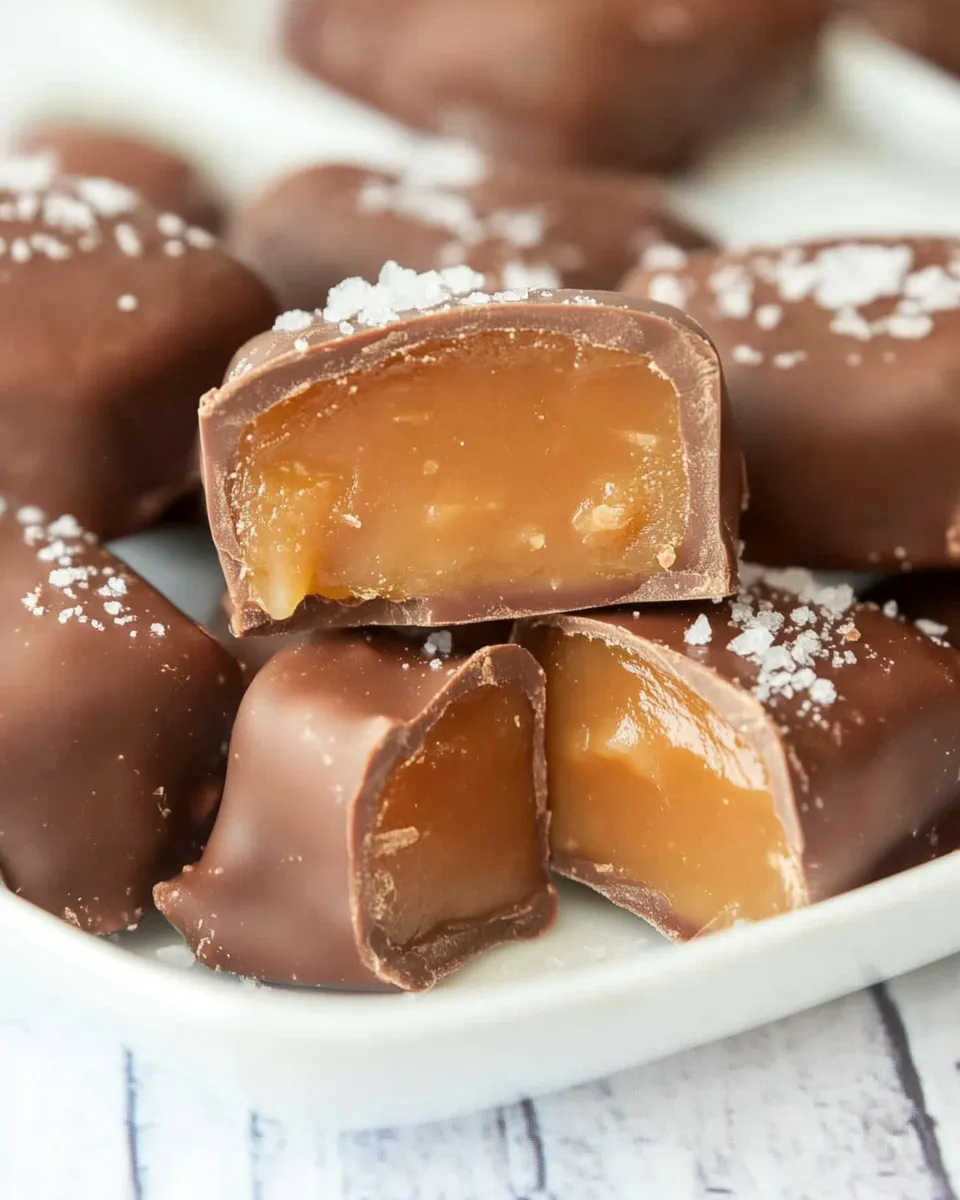
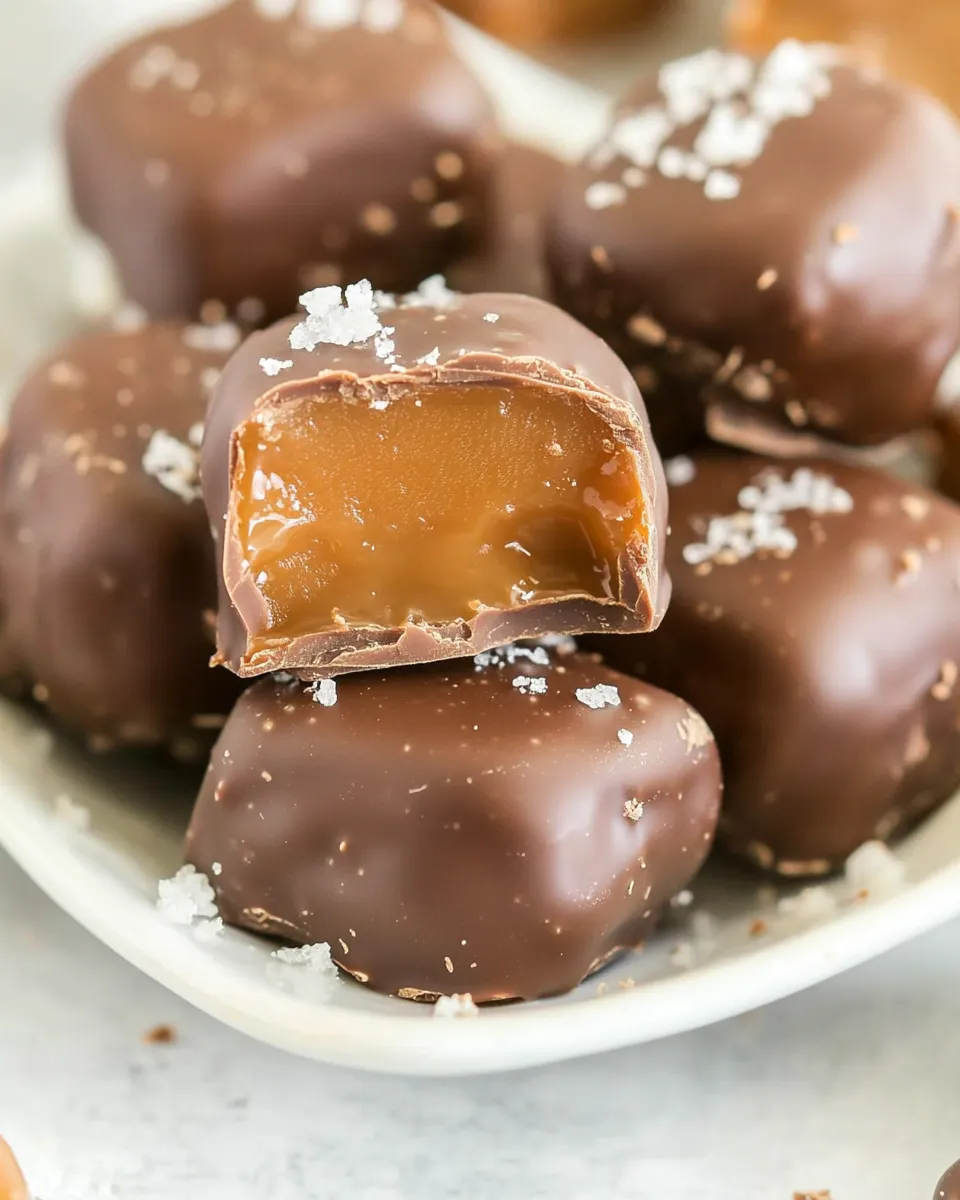
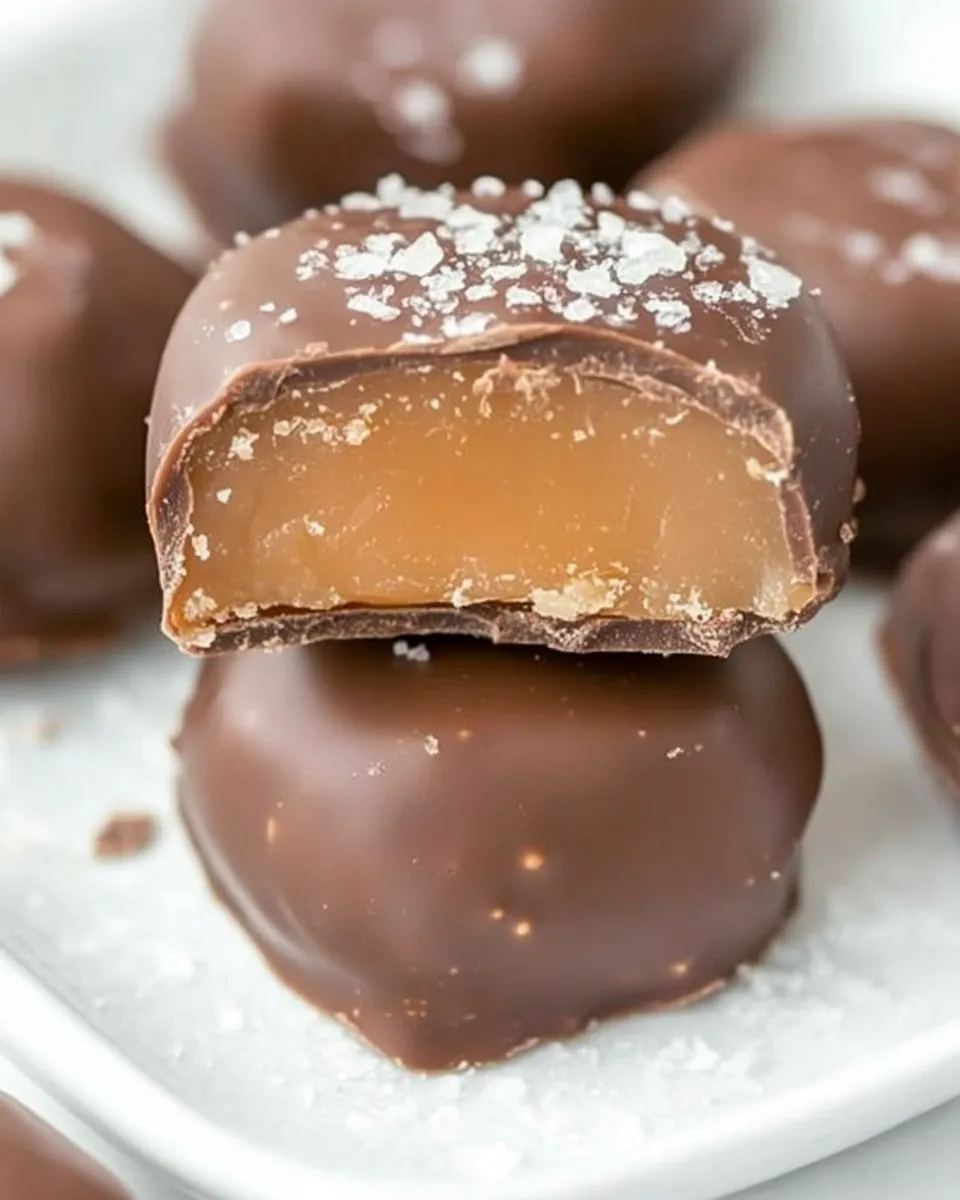
Salted Chocolate Covered Caramels
There’s something utterly indulgent about a salted chocolate covered caramel. The sweet, buttery softness of homemade caramel, paired with rich, melty chocolate and a hint of sea salt, creates a treat that’s simply irresistible. Whether you’re crafting these delightful confections for a special occasion or simply to satisfy your sweet tooth, this recipe is sure to impress. Let’s dive into the world of salted chocolate covered caramels and learn how to make them from scratch.
Why This Recipe Works
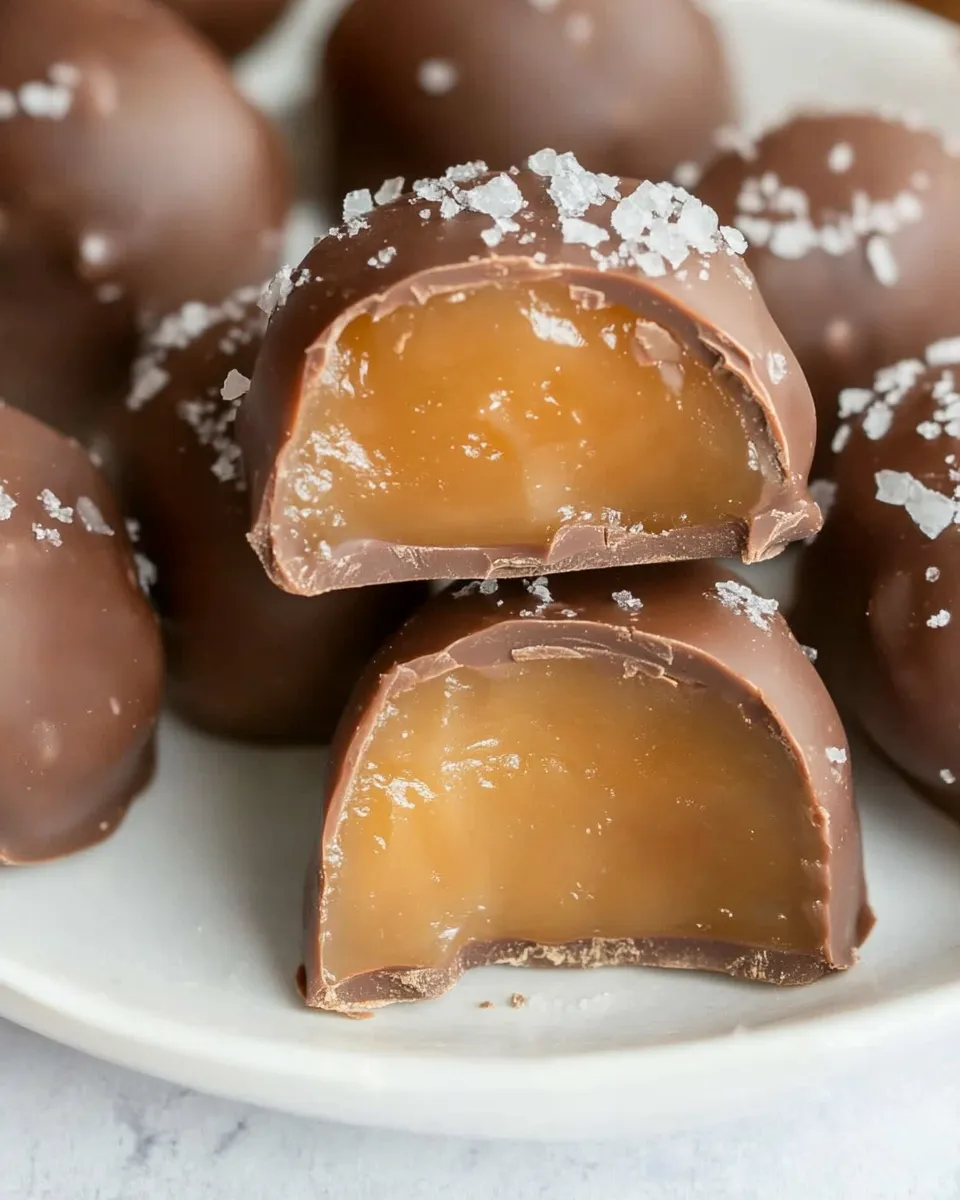
This recipe for salted chocolate covered caramels is a perfect balance of flavors and textures. The smooth, creamy caramel melts in your mouth while the chocolate coating provides a satisfying crunch. The sprinkle of sea salt enhances the sweetness of the caramel and adds a sophisticated touch. By making the caramels from scratch, you can ensure they are perfectly soft and chewy, creating a delectable contrast with the firm chocolate coating.
Ingredient Breakdown
To make these delicious salted chocolate covered caramels, you’ll need the following ingredients:
- 1 batch homemade soft caramels (about 80 bite-size caramels): This is the star of the show! A soft, buttery caramel forms the base of this treat.
- 6-7 ounces Hershey’s chocolate bars (or other high-quality chocolate bar for melting): Choose a chocolate that you enjoy eating on its own, as it will play a major role in the flavor of the finished product. Dark, milk, or semi-sweet chocolate works beautifully.
- Sea salt: A finishing touch that elevates the flavors and gives a delightful crunch.
Equipment at a Glance
To create your salted chocolate covered caramels, gather the following equipment:
- Double boiler: Essential for melting chocolate without burning it.
- Silicone spatula: For stirring and scraping the sides of the bowl.
- Baking sheet: To place the caramels on while they cool and set.
- Parchment paper: To line the baking sheet and prevent sticking.
- Chocolate dipping tool or fork: A helpful tool for dipping the caramels in chocolate.
Stepwise Method: Salted Chocolate Covered Caramels
Step 1: Prepare Your Workstation
Start by preparing a baking sheet lined with parchment paper. This will be where your chocolate-covered caramels will cool and set.
Step 2: Melt the Chocolate
Using a double boiler, melt the chocolate over simmering water. Stir occasionally with a silicone spatula until fully melted and smooth. Be careful not to let any water get into the chocolate, as this can cause it to seize.
Step 3: Dip the Caramels
Once the chocolate is melted, take a piece of homemade caramel and dip it into the chocolate, ensuring it is fully coated. Use a chocolate dipping tool or a fork to help with this process. Allow any excess chocolate to drip off.
Step 4: Place on Baking Sheet
Carefully place the chocolate-coated caramel onto the prepared baking sheet. Repeat this process for all the caramels.
Step 5: Add Sea Salt
Before the chocolate sets, sprinkle a pinch of sea salt on top of each caramel. This step is crucial as it enhances the flavor and gives that perfect salted finish.
Step 6: Let Them Set
Allow the salted chocolate covered caramels to sit at room temperature until the chocolate is completely set. If you’re in a hurry, you can place them in the refrigerator for faster setting.
Fit It to Your Goals
If you have dietary preferences or goals, consider the following adjustments:
- Vegan option: Use a plant-based chocolate and make sure your caramel recipe is vegan-friendly.
- Lower sugar: Experiment with sugar substitutes in your caramel recipe, but be cautious as it may alter the texture.
- Flavor variations: Add a splash of vanilla extract to the caramel or try flavored chocolates for a twist.
- Nutty addition: Sprinkle chopped nuts on top of the caramels before the chocolate sets for added crunch and flavor.
Recipe Notes & Chef’s Commentary
- Be patient when melting the chocolate; low heat is key to achieving a silky texture.
- Homemade caramels can be made ahead of time and stored until you’re ready to coat them in chocolate.
- If you find the chocolate thickens while dipping, gently reheat it to get it back to a smooth consistency.
- This recipe makes a large batch, perfect for sharing or gifting during holidays and special occasions.
Storage & Reheat Guide
Store your salted chocolate covered caramels in an airtight container at room temperature for up to two weeks. If you want to keep them longer, consider refrigerating them, though this may slightly alter the texture. Avoid freezing, as it can cause the chocolate to bloom and affect the appearance.
FAQ
Can I use different types of chocolate for coating?
Absolutely! You can use dark, milk, or white chocolate, depending on your preference. Just make sure it’s good quality for the best flavor.
What if my caramels are too hard?
If your caramels turned out hard, it may be due to overcooking the sugar. Try reducing the cooking time next time and keep a close eye on the temperature.
Can I add flavorings to the caramel?
Yes! Consider adding extracts like vanilla, almond, or even a hint of espresso to enhance the flavor of your caramels.
How do I prevent the chocolate from cracking?
Make sure the caramels are at room temperature before dipping them in chocolate. Rapid temperature changes can cause the chocolate to crack as it cools.
Ready, Set, Cook
Now that you have all the insights and instructions, it’s time to create your own batch of salted chocolate covered caramels. Gather your ingredients, roll up your sleeves, and enjoy the process of making these delightful treats. Your friends and family will be raving about them, and you’ll feel accomplished knowing you made them from scratch!
The combination of chewy caramel, smooth chocolate, and a touch of salt creates a perfect balance, making salted chocolate covered caramels a favorite for anyone with a sweet tooth. Whether you enjoy them as a snack or gift them to loved ones, these little bites of joy are sure to bring smiles all around. Happy cooking!
Salted Chocolate Covered Caramels
Ingredients
Equipment
Method
- Prepare a baking sheet lined with parchment paper for the chocolate-covered caramels to cool and set.
- Using a double boiler, melt the chocolate over simmering water, stirring occasionally with a silicone spatula until fully melted and smooth.
- Dip a piece of homemade caramel into the chocolate, ensuring it is fully coated, and allow excess chocolate to drip off.
- Carefully place the chocolate-coated caramel onto the prepared baking sheet and repeat this process for all caramels.
- Before the chocolate sets, sprinkle a pinch of sea salt on top of each caramel to enhance the flavor.
- Let the salted chocolate covered caramels sit at room temperature until the chocolate is completely set or refrigerate for faster setting.
Notes
- Be patient when melting chocolate; low heat is key for a silky texture.
- Homemade caramels can be made ahead of time and stored until ready to coat.
- If chocolate thickens while dipping, gently reheat to restore smoothness.