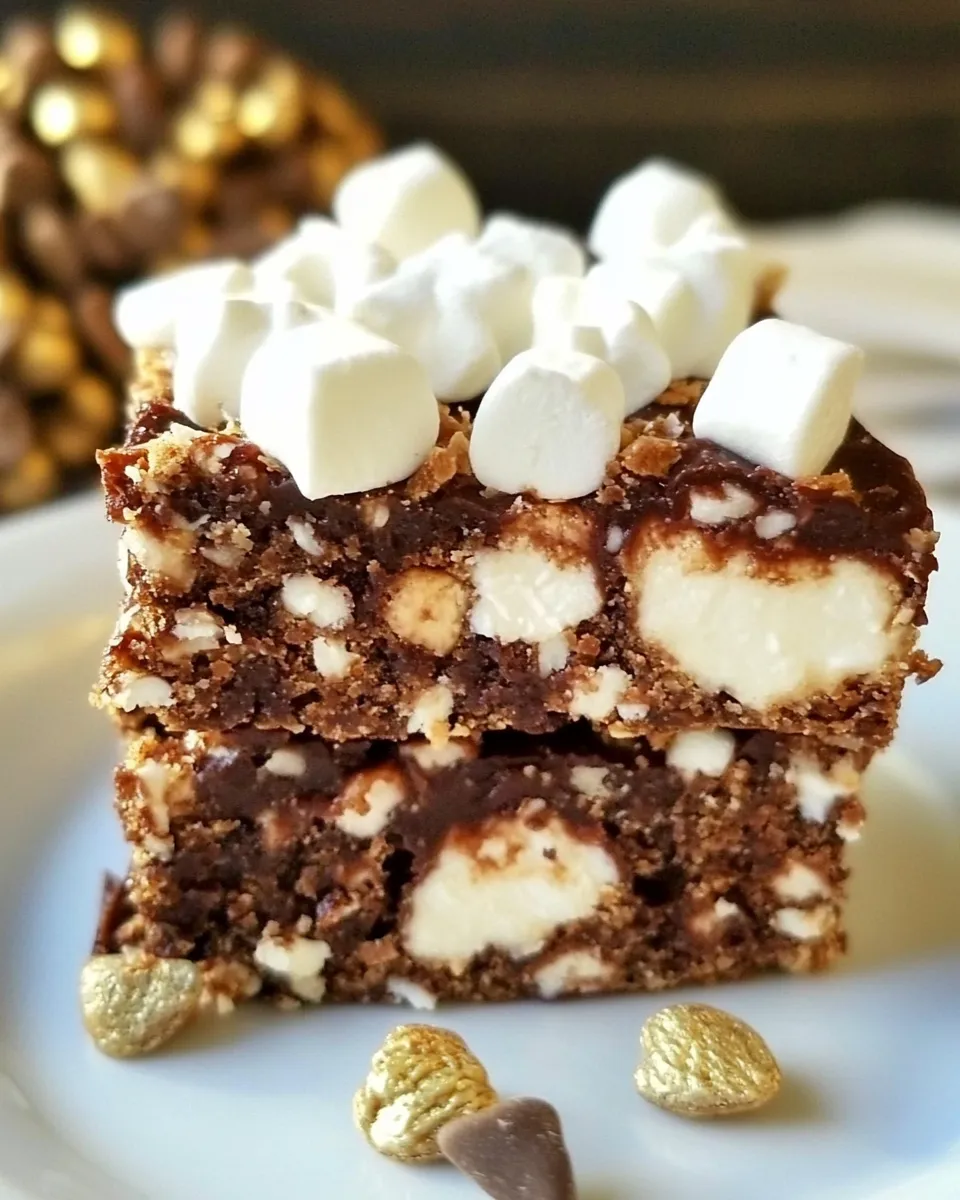
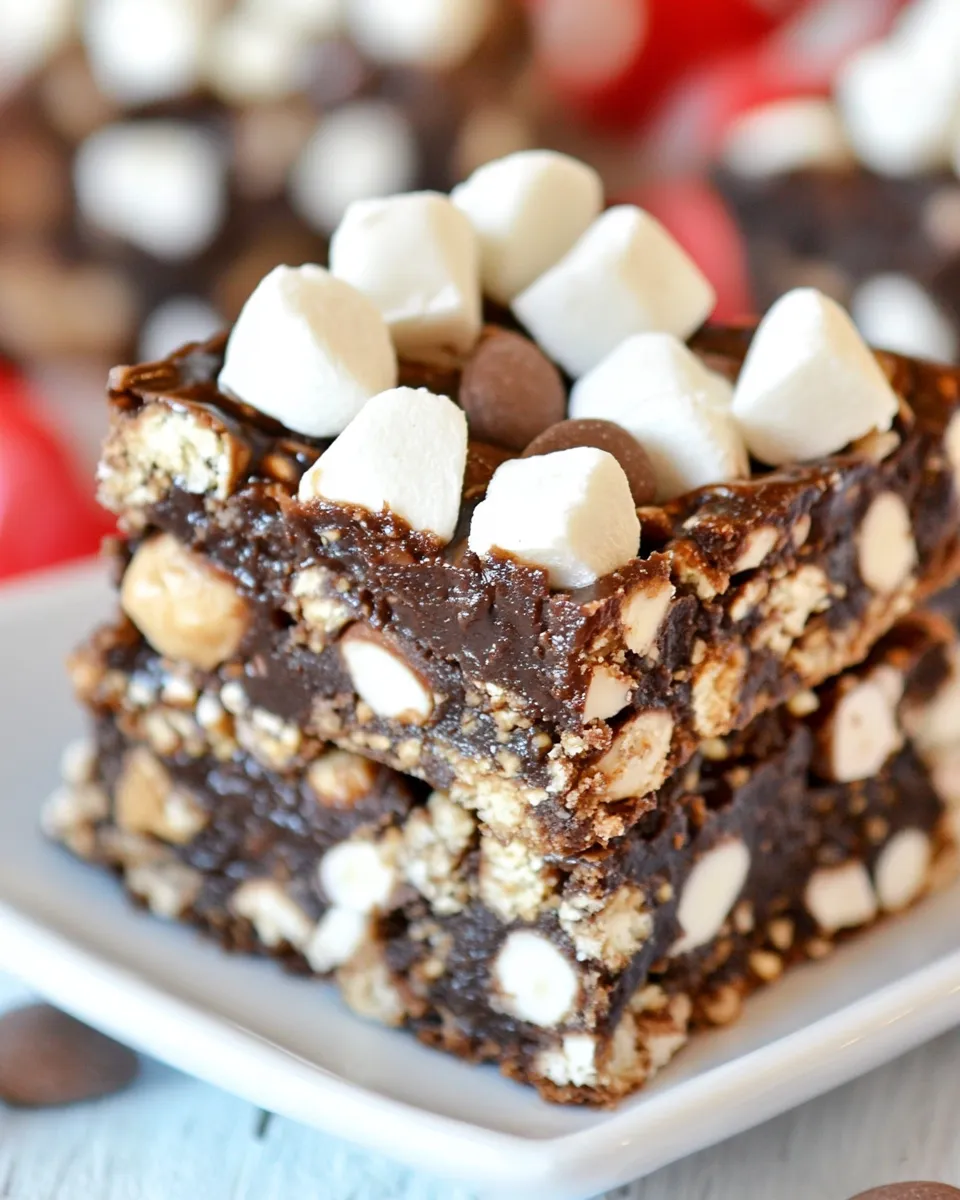
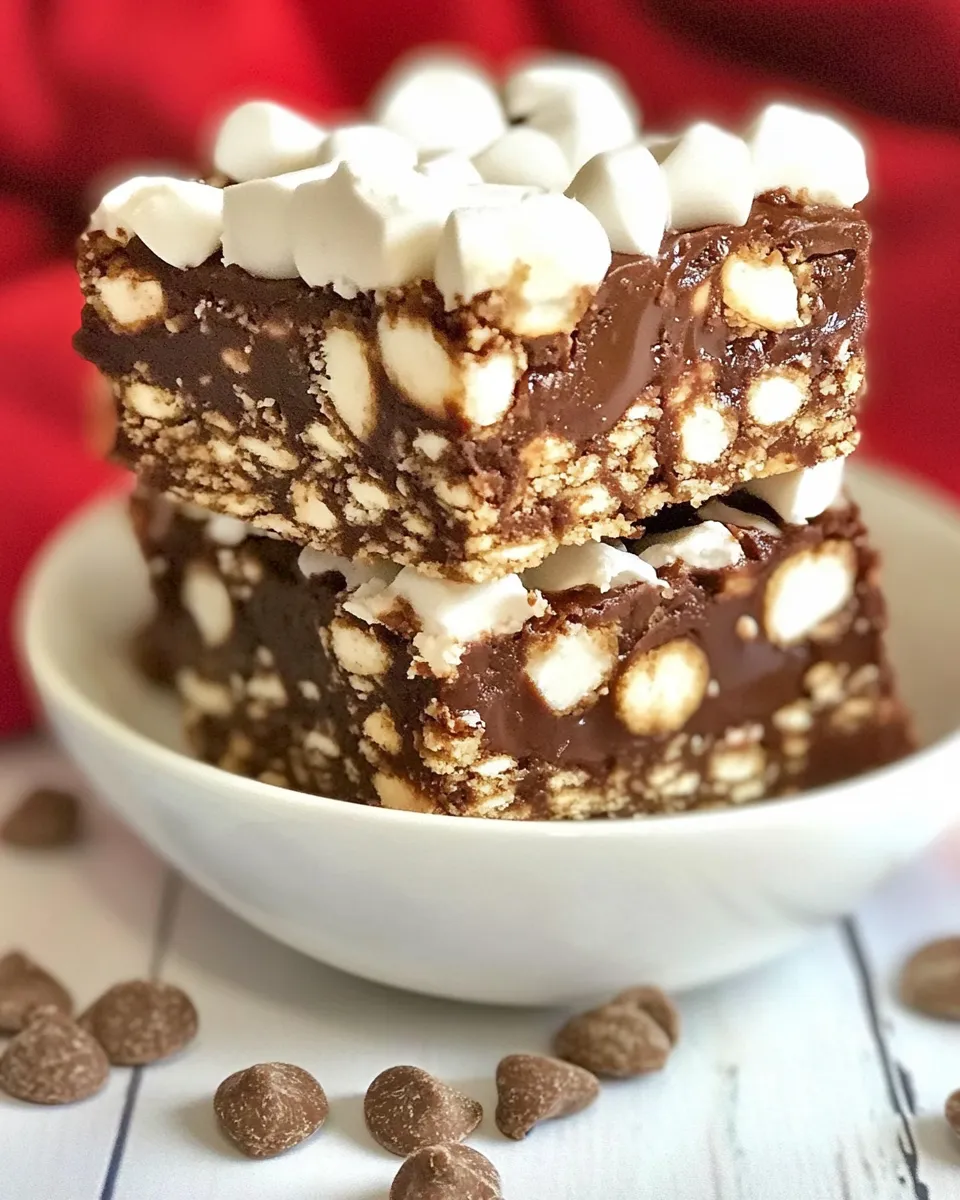
Rocky Road Smores Bars
Imagine sinking your teeth into a gooey, chocolatey treat that combines the best of s’mores and the classic Rocky Road ice cream. These Rocky Road Smores Bars are a delightful fusion of flavors and textures that will leave you craving more with every bite. Perfect for gatherings, dessert tables, or simply a cozy night in, these bars are easy to whip up and even easier to devour. Let’s dive into how you can make this decadent dessert that will quickly become a staple in your baking repertoire!
Why You’ll Keep Making It
Rocky Road Smores Bars are not just a dessert; they’re an experience. The combination of crunchy graham crackers, rich chocolate, and mini marshmallows creates a delightful balance of textures that is incredibly satisfying. These bars are versatile enough to satisfy both kids and adults, making them perfect for any occasion. Plus, they require minimal effort and are made with ingredients you likely already have in your pantry. Once you taste these bars, you’ll find yourself reaching for the recipe time and time again.
Ingredients at a Glance
- 3/4 cup bittersweet chocolate chips
- 1 cup unsalted butter
- 3 tbsp granulated sugar
- 2 tbsp light corn syrup
- 1 tbsp unsweetened cocoa powder
- 12 oz graham crackers, broken into small pieces (not crushed)
- 3/4 cup miniature marshmallows
- 1/4 cup semi-sweet chocolate chips
- 1/3 cup chopped almonds (optional)
- 1/4 cup white chocolate chips (optional)
Kitchen Gear Checklist
- Mixing bowls – for combining ingredients.
- 9×13 inch baking pan – to hold the bars while they bake.
- Spatula – for spreading and mixing ingredients evenly.
- Measuring cups and spoons – for accuracy in your recipe.
- Oven – to bake the bars to perfection.
- Parchment paper (optional) – for easy removal of bars from the pan.
From Start to Finish: Rocky Road Smores Bars
Step 1: Preheat the Oven
Preheat your oven to 350°F (175°C). This ensures that your bars will cook evenly and come out perfectly baked.
Step 2: Prepare the Pan
Line a 9×13 inch baking pan with parchment paper for easy removal of the bars later. Leave some overhang for easy lifting.
Step 3: Melt the Butter
In a medium saucepan over low heat, melt the unsalted butter. Stir occasionally to prevent it from burning.
Step 4: Mix in the Sugars and Cocoa
Once the butter is melted, add the granulated sugar, light corn syrup, and cocoa powder. Stir until well combined and the mixture is smooth.
Step 5: Add the Chocolate Chips
Remove the saucepan from the heat and add the bittersweet chocolate chips. Stir until the chocolate is completely melted and the mixture is glossy.
Step 6: Combine with the Graham Crackers
In a large mixing bowl, combine the broken graham crackers with the chocolate mixture. Stir until the graham crackers are evenly coated.
Step 7: Fold in the Marshmallows and Nuts
Gently fold in the miniature marshmallows, chopped almonds (if using), and semi-sweet chocolate chips. Be careful not to crush the marshmallows.
Step 8: Spread the Mixture in the Pan
Pour the mixture into the prepared baking pan and press it down evenly. Use a spatula to make sure it’s flat and compact.
Step 9: Bake the Bars
Bake in the preheated oven for approximately 20 minutes, or until the edges are golden brown. The center may look slightly underbaked, but it will set as it cools.
Step 10: Add White Chocolate Drizzle (Optional)
If you’re using white chocolate chips, melt them in a microwave-safe bowl in 20-second intervals until smooth. Drizzle over the top of the bars once they come out of the oven.
Step 11: Cool and Cut
Allow the bars to cool in the pan for at least 30 minutes before lifting them out using the parchment paper. Cut into squares and enjoy!
Spring–Summer–Fall–Winter Ideas
- Spring: Add fresh berries on top for a fruity twist.
- Summer: Serve with a scoop of vanilla ice cream for a delightful dessert.
- Fall: Incorporate pumpkin spice for a seasonal flavor.
- Winter: Mix in peppermint extract and top with crushed candy canes for a holiday treat.
Insider Tips
- For extra flavor, try using different types of chocolate chips, such as dark chocolate or milk chocolate.
- If you prefer a nut-free version, simply omit the almonds.
- To make these bars even more decadent, add a layer of caramel sauce before baking.
- Store the bars in an airtight container at room temperature for up to a week.
Leftovers & Meal Prep
These Rocky Road Smores Bars are perfect for meal prep! You can make a batch ahead of time and enjoy them throughout the week. Simply cut the bars and store them in an airtight container for easy grab-and-go snacks. If you want to keep them fresh for longer, consider freezing individual portions. Just wrap them tightly in plastic wrap and place them in a freezer-safe bag. They’ll be ready to enjoy whenever you get a sweet craving!
Frequently Asked Questions
Can I use gluten-free graham crackers for these bars?
Absolutely! Using gluten-free graham crackers is a great way to make these bars suitable for those with gluten sensitivities.
How do I store leftover Rocky Road Smores Bars?
Store them in an airtight container at room temperature for up to a week. If you want to keep them longer, you can freeze them for up to three months.
Can I make these bars ahead of time?
Yes! You can prepare these bars up to two days in advance. Just make sure to store them properly to keep them fresh.
What can I substitute for the chocolate chips?
If you’re looking for alternatives, you can use carob chips or a combination of different types of chocolate chips to suit your taste.
Make It Tonight
Now that you have the recipe and all the tips to create the perfect Rocky Road Smores Bars, it’s time to gather your ingredients and get baking! Whether you’re planning a cozy night in or a gathering with friends, these bars are sure to impress. With their rich chocolate flavor and delightful texture, you’ll be making these again and again. Grab your apron, and let’s make some delicious memories with these Rocky Road Smores Bars!

Rocky Road Smores Bars
Ingredients
Equipment
Method
- Preheat your oven to 350°F (175°C). This ensures that your bars will cook evenly and come out perfectly baked.
- Line a 9x13 inch baking pan with parchment paper for easy removal of the bars later. Leave some overhang for easy lifting.
- In a medium saucepan over low heat, melt the unsalted butter. Stir occasionally to prevent it from burning.
- Once the butter is melted, add the granulated sugar, light corn syrup, and cocoa powder. Stir until well combined and the mixture is smooth.
- Remove the saucepan from the heat and add the bittersweet chocolate chips. Stir until the chocolate is completely melted and the mixture is glossy.
- In a large mixing bowl, combine the broken graham crackers with the chocolate mixture. Stir until the graham crackers are evenly coated.
- Gently fold in the miniature marshmallows, chopped almonds (if using), and semi-sweet chocolate chips. Be careful not to crush the marshmallows.
- Pour the mixture into the prepared baking pan and press it down evenly. Use a spatula to make sure it’s flat and compact.
- Bake in the preheated oven for approximately 20 minutes, or until the edges are golden brown. The center may look slightly underbaked, but it will set as it cools.
- If you’re using white chocolate chips, melt them in a microwave-safe bowl in 20-second intervals until smooth. Drizzle over the top of the bars once they come out of the oven.
- Allow the bars to cool in the pan for at least 30 minutes before lifting them out using the parchment paper. Cut into squares and enjoy!
Notes
- For extra flavor, try using different types of chocolate chips, such as dark chocolate or milk chocolate.
- If you prefer a nut-free version, simply omit the almonds.
- To make these bars even more decadent, add a layer of caramel sauce before baking.