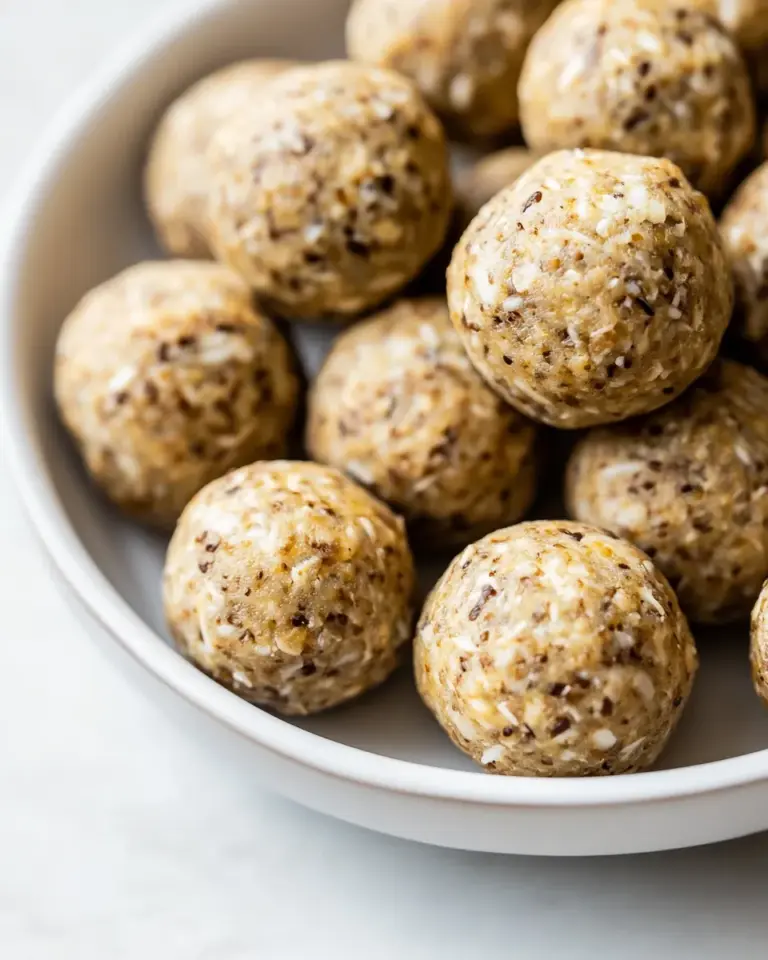
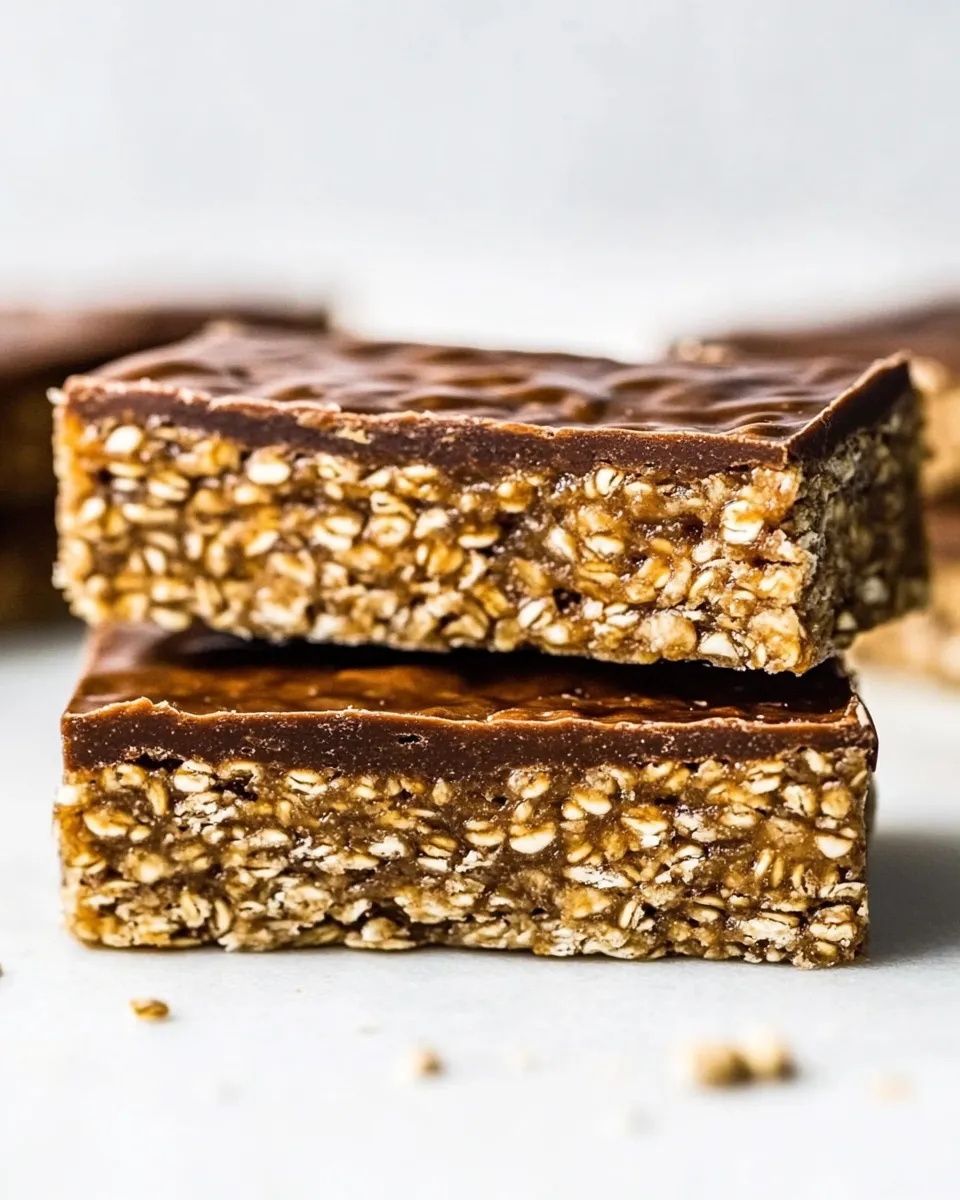
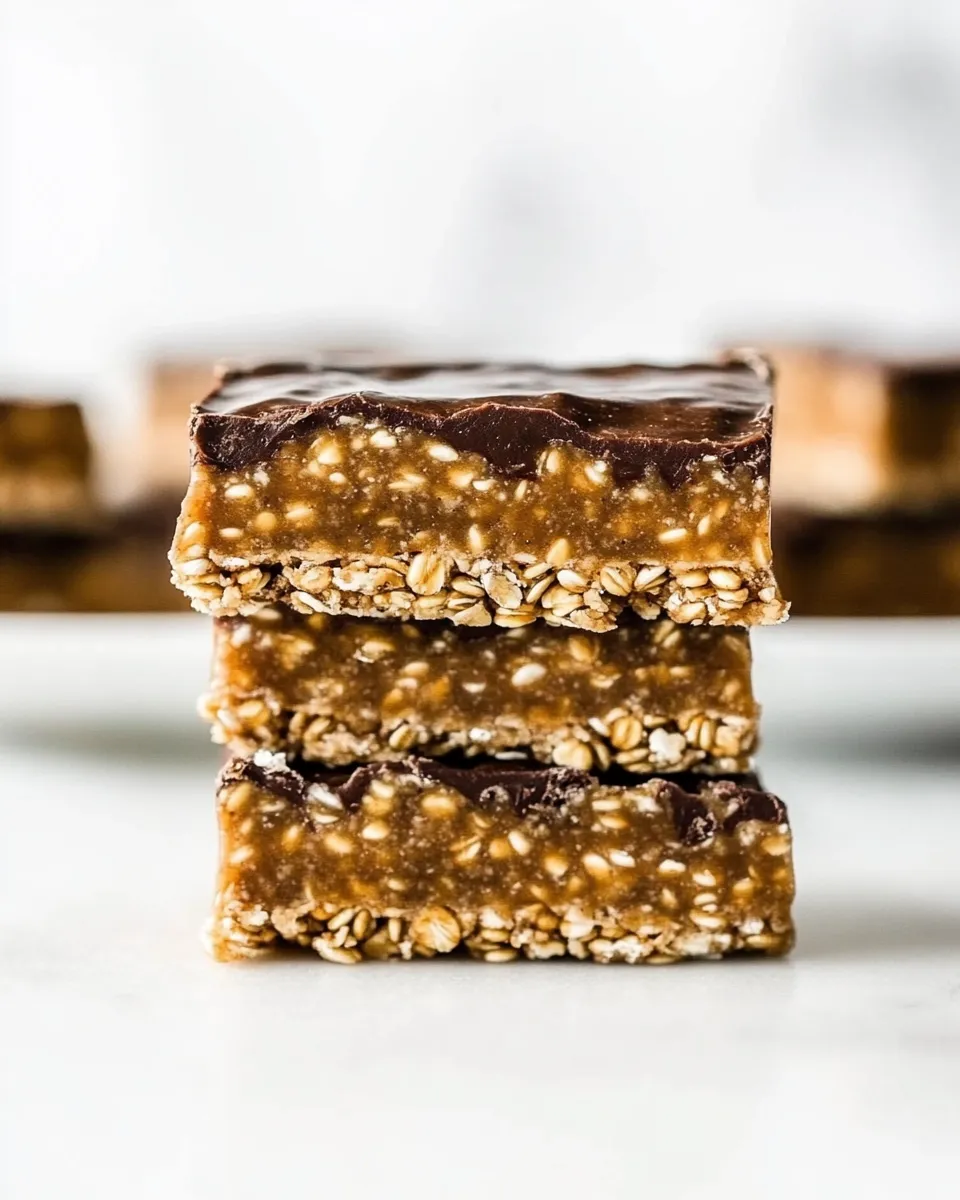
Quinoa Protein Bars
When it comes to snacking, we often find ourselves caught between the desire for something healthy and the craving for something delicious. Enter Quinoa Protein Bars. These little powerhouses are not only packed with nutrients but are also incredibly satisfying. With a delightful crunch from almonds and a hint of sweetness from dates and chocolate chips, they make for the perfect snack to fuel your day. Plus, they are incredibly easy to make, and you can customize them to suit your taste buds. Let’s dive into this wholesome recipe!
Why It Deserves a Spot
Quinoa Protein Bars are a fantastic addition to your diet for several reasons:
- Nutrient-Dense: Quinoa is a complete protein, providing all nine essential amino acids, making it an excellent source of plant-based protein.
- Natural Sweetness: Whole dates offer a natural sweetness without the need for refined sugar, making these bars a healthier alternative to store-bought snacks.
- Customizable: You can easily swap ingredients based on your preferences or what you have on hand, ensuring that your snack is always fresh and exciting.
- Easy to Make: With just a few simple steps, you can whip up a batch of these bars to keep on hand for busy days or post-workout fuel.
The Ingredient Lineup
To create these delicious Quinoa Protein Bars, you’ll need the following ingredients:
- 1/3 cup quinoa, pre-rinsed: This serves as the protein base and gives the bars a nice texture.
- 2/3 cup water: Necessary for cooking the quinoa.
- 16 whole dates, pitted, no sugar added: These dates provide natural sweetness and bind the ingredients together.
- 1/2 cup almonds, raw, with skin: A crunchy texture and healthy fats.
- 1/3 cup peanut butter, natural, crunchy: Adds richness and creaminess, though you can substitute almond butter if preferred.
- 1/4 cup chocolate chips: For a touch of indulgence and flavor.
- 1 tablespoon honey (optional): A little extra sweetness if desired, but optional based on your taste.
Equipment & Tools
Before you start whipping up your Quinoa Protein Bars, gather the following equipment:
- Medium saucepan: For cooking the quinoa.
- Food processor: To blend the dates and other ingredients smoothly.
- Mixing bowl: To combine all the ingredients.
- 9×9 inch baking pan: For setting the bars to cool and firm up.
- Parchment paper: To line the baking pan for easy removal of the bars.
How to Prepare Quinoa Protein Bars
With your ingredients and tools ready, it’s time to make your Quinoa Protein Bars. Follow these simple steps:
Step 1: Cook the Quinoa
In a medium saucepan, bring 2/3 cup of water to a boil. Add 1/3 cup of pre-rinsed quinoa, cover, and reduce heat to low. Let it simmer for about 15 minutes or until all the water is absorbed. Once done, fluff with a fork and set aside to cool.
Step 2: Prepare the Dates
While the quinoa cools, place the 16 pitted dates in your food processor and pulse until they form a sticky paste. This will act as a natural sweetener and binder for your bars.
Step 3: Mix Ingredients
In a mixing bowl, combine the cooled quinoa, date paste, 1/2 cup raw almonds, 1/3 cup peanut butter, and 1/4 cup chocolate chips. If you prefer a sweeter bar, add the optional tablespoon of honey. Stir everything together until well combined.
Step 4: Transfer to Baking Pan
Line your 9×9 inch baking pan with parchment paper for easy removal. Pour the mixture into the pan and press it down firmly using a spatula or your hands to create an even layer.
Step 5: Chill and Set
Place the pan in the refrigerator for at least 1 hour to allow the bars to firm up. This step is crucial for achieving the perfect texture.
Step 6: Cut and Serve
Once chilled, remove the bars from the pan using the parchment paper. Cut into squares or rectangles, depending on your preference. Enjoy immediately or store for later!
Budget & Availability Swaps
Creating your Quinoa Protein Bars can be budget-friendly and easy to adjust based on availability:
- If quinoa is hard to find or too pricey, consider using rolled oats as a substitute.
- Raw almonds can be swapped for any nuts you prefer, such as walnuts or pecans.
- Dates can be replaced with dried apricots or figs if you’re looking for a different flavor.
- For a nut-free option, use sunflower seed butter instead of peanut butter.
Pro Perspective
From a nutritional standpoint, these Quinoa Protein Bars are a superb choice for those looking to boost their protein intake while enjoying a wholesome snack. The combination of quinoa and nuts not only provides protein but also fiber, which can help keep you full longer. Plus, the natural sweetness from dates makes them a guilt-free treat. Feel free to experiment with different add-ins like chia seeds, flax seeds, or dried fruit to tailor them to your taste.
Keep-It-Fresh Plan
To ensure your Quinoa Protein Bars stay fresh and tasty, follow these tips:
- Store the bars in an airtight container in the refrigerator for up to two weeks.
- For longer storage, you can freeze the bars. Just wrap them tightly in plastic wrap and place them in a freezer-safe bag. They can last for up to three months in the freezer.
- When ready to eat, simply thaw in the refrigerator overnight or enjoy them straight from the freezer for a refreshing cold treat.
Ask the Chef
Can I use other nut butters instead of peanut butter?
Absolutely! Almond butter, cashew butter, or even sunflower seed butter are great alternatives that will work well in the recipe.
How do I ensure my bars don’t crumble when cutting?
Press the mixture firmly into the baking pan before chilling, and make sure to let them set in the refrigerator for a full hour, as this helps them hold together better.
Can I add protein powder to the recipe?
Yes! You can mix in a scoop of your favorite protein powder for an extra protein boost. Just be sure to adjust the wet ingredients slightly to maintain the right consistency.
What can I use instead of chocolate chips?
If you’re looking to skip chocolate, try adding dried fruits like cranberries, raisins, or coconut flakes for added flavor and texture.
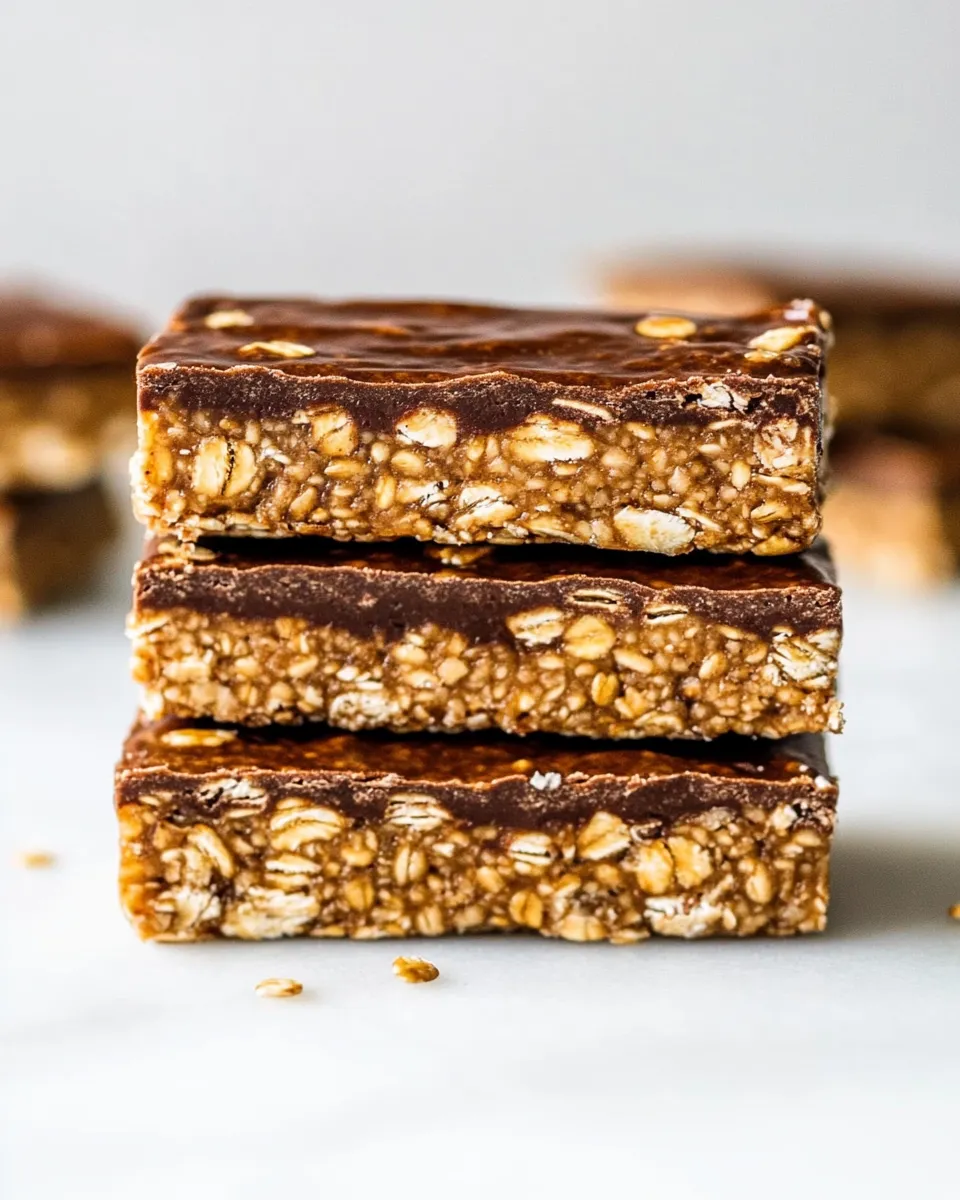
Serve & Enjoy
Now that you’ve created your very own Quinoa Protein Bars, it’s time to enjoy the fruits of your labor! These bars make for an excellent breakfast on-the-go, a post-workout snack, or a healthy afternoon pick-me-up. Share them with friends or keep them all to yourself—either way, you’ll be savoring a nutritious treat that fuels your body and delights your taste buds.
With just a bit of time and a handful of wholesome ingredients, you can make these delightful bars that are not only good for you but also incredibly satisfying. So, gather your ingredients, follow the steps, and treat yourself to a batch of Quinoa Protein Bars today!
Quinoa Protein Bars
Ingredients
Equipment
Method
- In a medium saucepan, bring 2/3 cup of water to a boil. Add 1/3 cup of pre-rinsed quinoa, cover, and reduce heat to low. Let it simmer for about 15 minutes or until all the water is absorbed. Once done, fluff with a fork and set aside to cool.
- While the quinoa cools, place the 16 pitted dates in your food processor and pulse until they form a sticky paste. This will act as a natural sweetener and binder for your bars.
- In a mixing bowl, combine the cooled quinoa, date paste, 1/2 cup raw almonds, 1/3 cup peanut butter, and 1/4 cup chocolate chips. If you prefer a sweeter bar, add the optional tablespoon of honey. Stir everything together until well combined.
- Line your 9x9 inch baking pan with parchment paper for easy removal. Pour the mixture into the pan and press it down firmly using a spatula or your hands to create an even layer.
- Place the pan in the refrigerator for at least 1 hour to allow the bars to firm up. This step is crucial for achieving the perfect texture.
- Once chilled, remove the bars from the pan using the parchment paper. Cut into squares or rectangles, depending on your preference. Enjoy immediately or store for later!
Notes
- Store the bars in an airtight container in the refrigerator for up to two weeks.
- For longer storage, you can freeze the bars wrapped tightly in plastic wrap for up to three months.
- When ready to eat, thaw in the refrigerator overnight or enjoy them straight from the freezer for a refreshing cold treat.