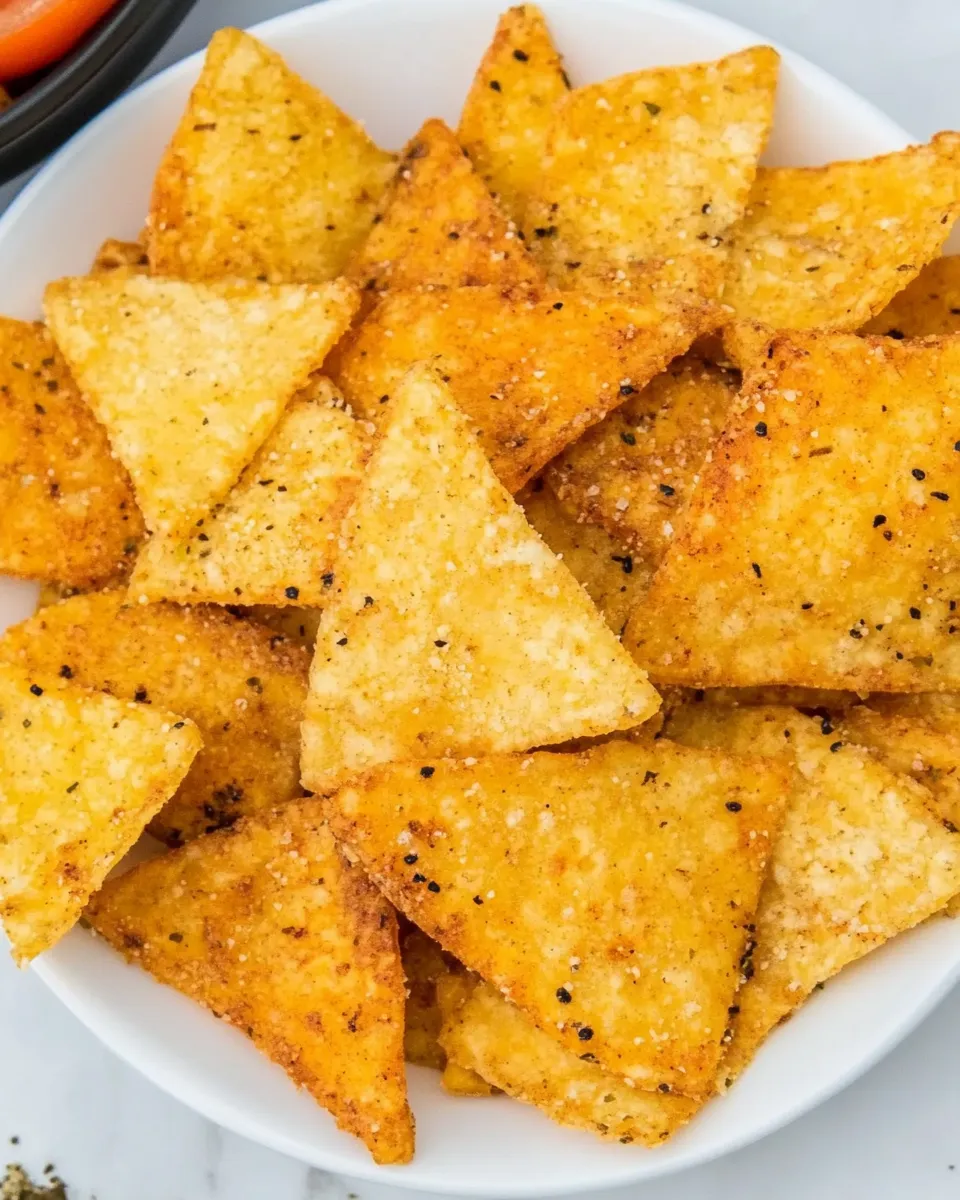
Pita Chips
There’s something undeniably satisfying about a crunchy snack, and these homemade Pita Chips are no exception. Perfectly crisped and seasoned, they make an ideal companion for your favorite dips or can be enjoyed straight out of the oven. With just a few simple ingredients, you can whip up a batch that’s fresher and tastier than any store-bought option. Let’s dive into the world of Pita Chips and discover how easy it is to create this delightful treat in your own kitchen.
Why This Recipe Works
This Pita Chips recipe is a winner for several reasons. First, it uses basic ingredients that you likely already have in your pantry. The combination of coconut oil and salt enhances the natural flavor of the pita, resulting in chips that are both savory and satisfying. Additionally, baking instead of frying keeps these chips lighter and healthier, allowing you to indulge without the guilt. Plus, they’re incredibly versatile—you can easily customize them with spices or herbs to fit your flavor preferences.
Gather These Ingredients
To make delicious Pita Chips, you’ll need the following ingredients:
- 3 pita rounds: These will be the base of your chips. Whole wheat or white pita works well.
- 1/2 teaspoon salt: This adds essential flavor to the chips.
- 2 teaspoons coconut oil, melted: This helps achieve that perfect crispiness while adding a subtle coconut flavor.
Kitchen Gear Checklist
Before you start, make sure you have the following kitchen gear:
- Oven: Essential for baking your Pita Chips.
- Baking sheet: A large one will accommodate all the pita rounds.
- Pizza cutter or knife: For cutting the pita into triangles.
- Mixing bowl: To combine the oil and salt before coating the pita.
- Brush or spoon: For spreading the coconut oil on the pita.
Pita Chips: From Prep to Plate
Step 1: Preheat the Oven
Start by preheating your oven to 400°F (200°C). This will ensure your Pita Chips bake evenly and become perfectly crisp.
Step 2: Prepare the Pita
Using a pizza cutter or a sharp knife, slice each pita round into 8 equal triangles. You can also cut them into smaller pieces if you prefer bite-sized chips.
Step 3: Mix the Oil and Salt
In a mixing bowl, combine the melted coconut oil and salt. Stir until well mixed. This will be the coating for your pita triangles.
Step 4: Coat the Pita Triangles
Place the pita triangles in the bowl with the oil mixture. Toss them gently until each piece is well coated. This step is crucial for ensuring that every chip is flavorful.
Step 5: Arrange on Baking Sheet
Spread the coated pita triangles in a single layer on a baking sheet. Make sure they aren’t overlapping to achieve maximum crispiness.
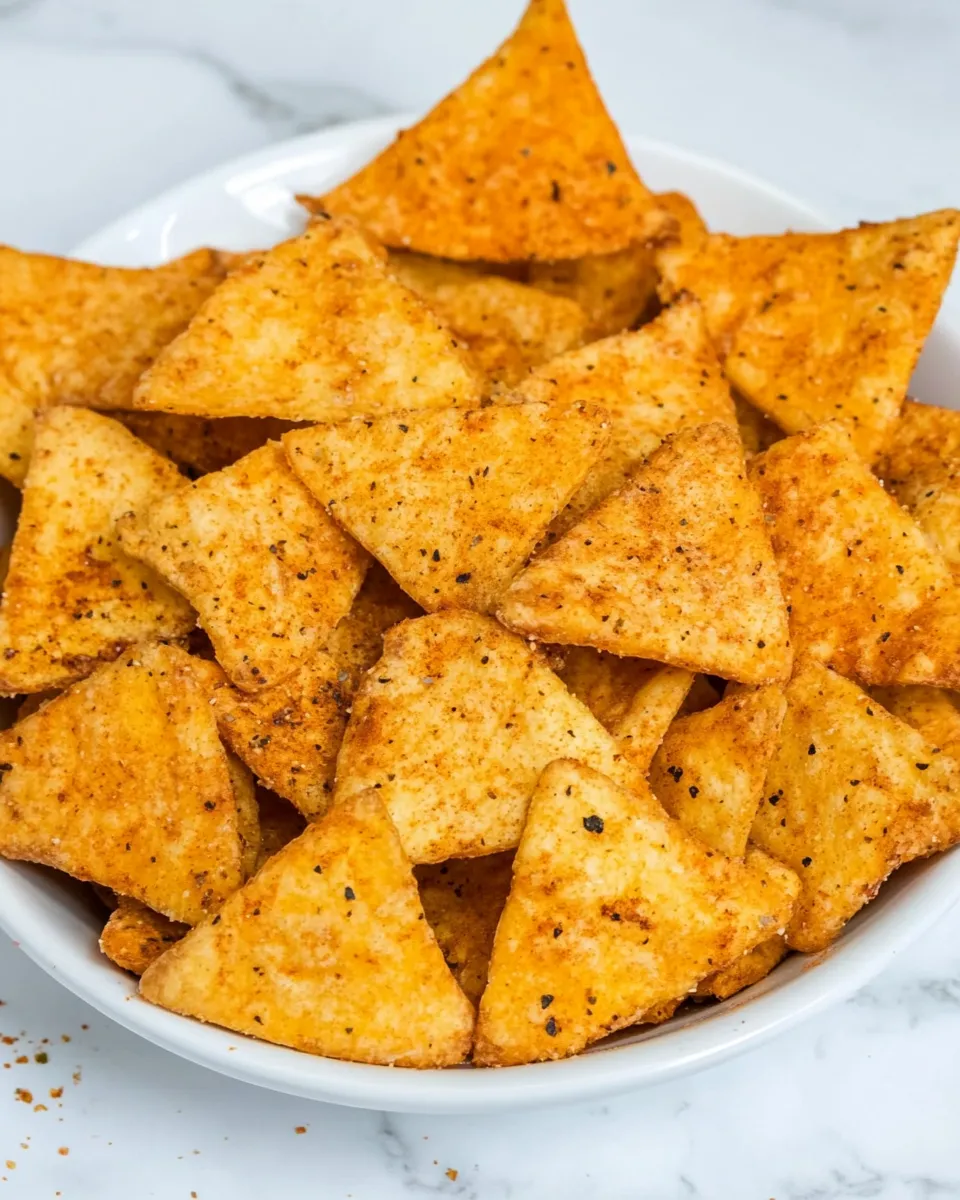
Step 6: Bake to Perfection
Bake the pita chips in the preheated oven for about 8-10 minutes, or until they are golden brown and crisp. Keep an eye on them to prevent burning, as oven temperatures can vary.
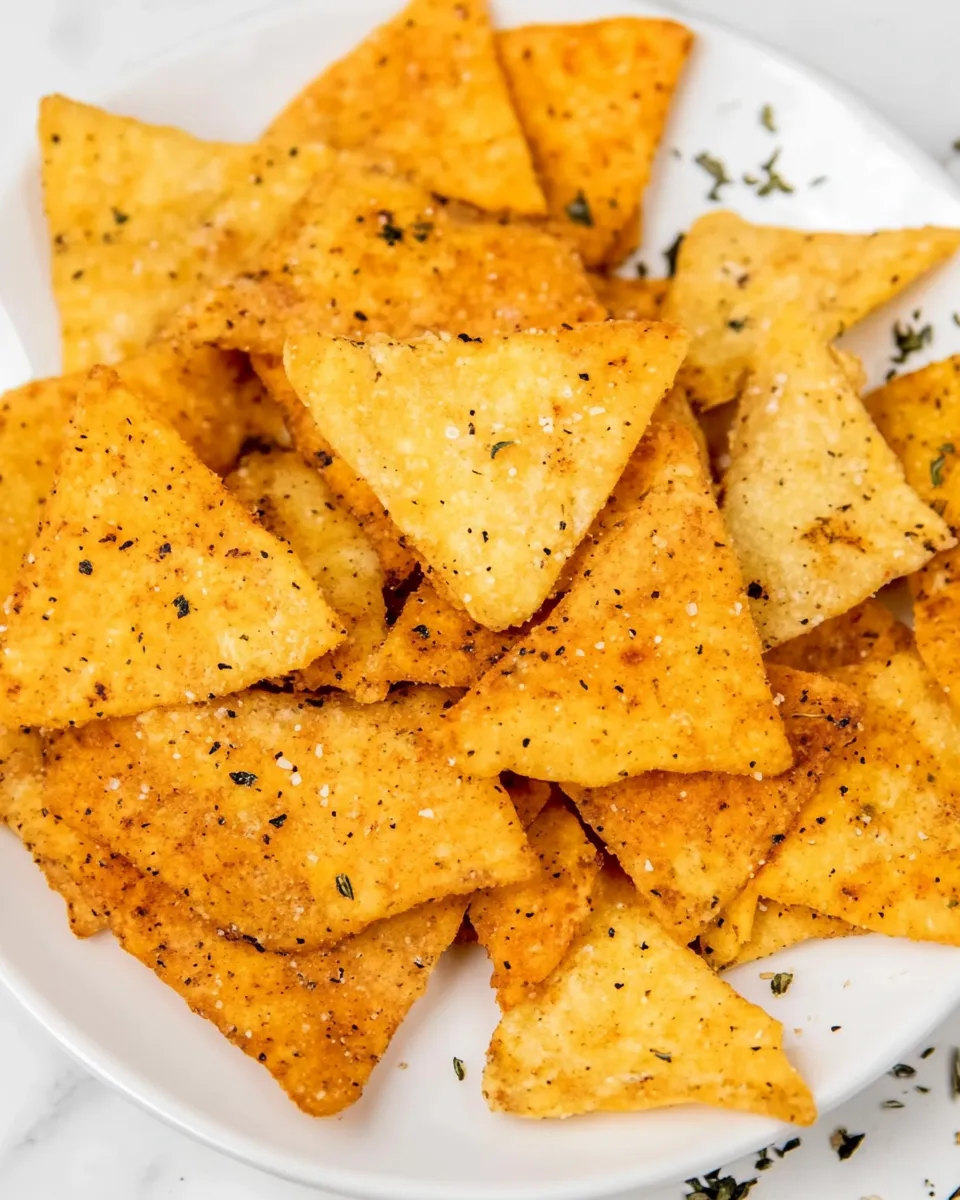
Step 7: Cool and Enjoy
Once baked, remove the Pita Chips from the oven and let them cool on the baking sheet. They will continue to harden as they cool. Serve them warm or store them for later!
Make It Fit Your Plan
If you want to customize your Pita Chips, consider the following options:
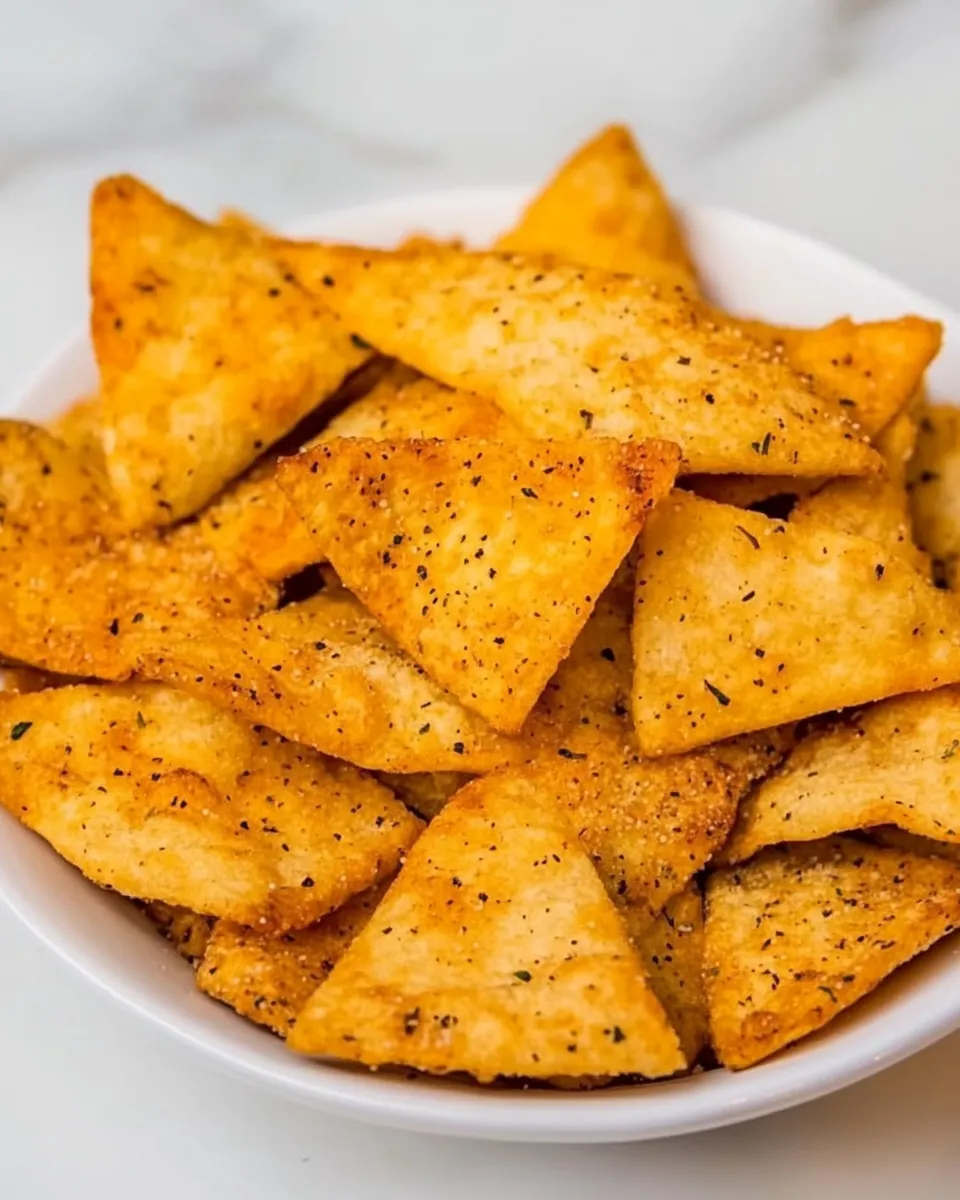
- Spice it up: Add your favorite spices like paprika, garlic powder, or cumin to the oil mixture for an extra flavor boost.
- Herb-infused: Toss in dried herbs such as oregano, thyme, or rosemary for an aromatic twist.
- Cheesy flavor: Sprinkle some nutritional yeast over the chips before baking for a cheesy taste without dairy.
- Sweet option: For a sweet variation, you can sprinkle cinnamon and a bit of sugar on the chips before baking.
Avoid These Mistakes
Creating the perfect Pita Chips is simple, but here are some common pitfalls to avoid:
- Overcrowding the baking sheet: If the chips are too close together, they won’t crisp up properly. Make sure they’re in a single layer.
- Not checking for doneness: Ovens can vary, so keep an eye on your chips during the last few minutes of baking to prevent burning.
- Skipping the oil: Skipping the oil can result in a dry chip. Ensure each triangle is well-coated for the best flavor and texture.
- Cutting uneven pieces: Try to cut the pita into even triangles to ensure uniform cooking.
Save for Later: Storage Tips
If you have leftovers (though they might not last long!), here are some storage tips for your Pita Chips:
- Cool completely: Make sure the chips are completely cooled before storing to prevent moisture buildup.
- Airtight container: Store your chips in an airtight container at room temperature for up to a week.
- Re-crisp if needed: If they lose their crunch, pop them back in a preheated oven at 350°F (175°C) for a few minutes to crisp them up again.
Your Questions, Answered
Can I use other types of oil instead of coconut oil?
Absolutely! Olive oil, avocado oil, or any neutral oil can be used as a substitute for coconut oil in this Pita Chips recipe.
Can I make these chips in advance?
Yes! You can prepare them in advance and store them in an airtight container. They make for a great snack ready to go whenever you need a crunch.
What dips go well with Pita Chips?
These chips pair wonderfully with hummus, tzatziki, guacamole, or even salsa. The possibilities are endless, so feel free to get creative!
Can I bake the chips at a lower temperature?
While you can bake them at a lower temperature, it may take longer for them to crisp up. The recommended temperature ensures they get that perfect crunch.
Let’s Eat
Now that you’ve mastered the art of making Pita Chips, it’s time to dig in! Whether you enjoy them on their own or with your favorite dip, these chips are sure to become a staple in your snack repertoire. Their versatility means you can always switch things up with different flavors, making each batch uniquely delicious. So, gather your ingredients, preheat that oven, and let the crunching begin!
Pita Chips
Ingredients
Equipment
Method
- Preheat your oven to 400°F (200°C) to ensure even baking.
- Slice each pita round into 8 equal triangles using a pizza cutter or knife.
- In a mixing bowl, combine the melted coconut oil and salt. Stir until well mixed.
- Coat the pita triangles in the oil mixture, tossing until each piece is well covered.
- Spread the coated pita triangles in a single layer on a baking sheet.
- Bake the pita chips for about 8-10 minutes until golden brown and crisp.
- Remove from the oven and let them cool on the baking sheet before serving.
Notes
- Customize with your favorite spices like paprika or garlic powder for an extra kick.
- Store in an airtight container to maintain freshness for up to a week.
- Re-crisp in the oven at 350°F (175°C) if they lose crunch.