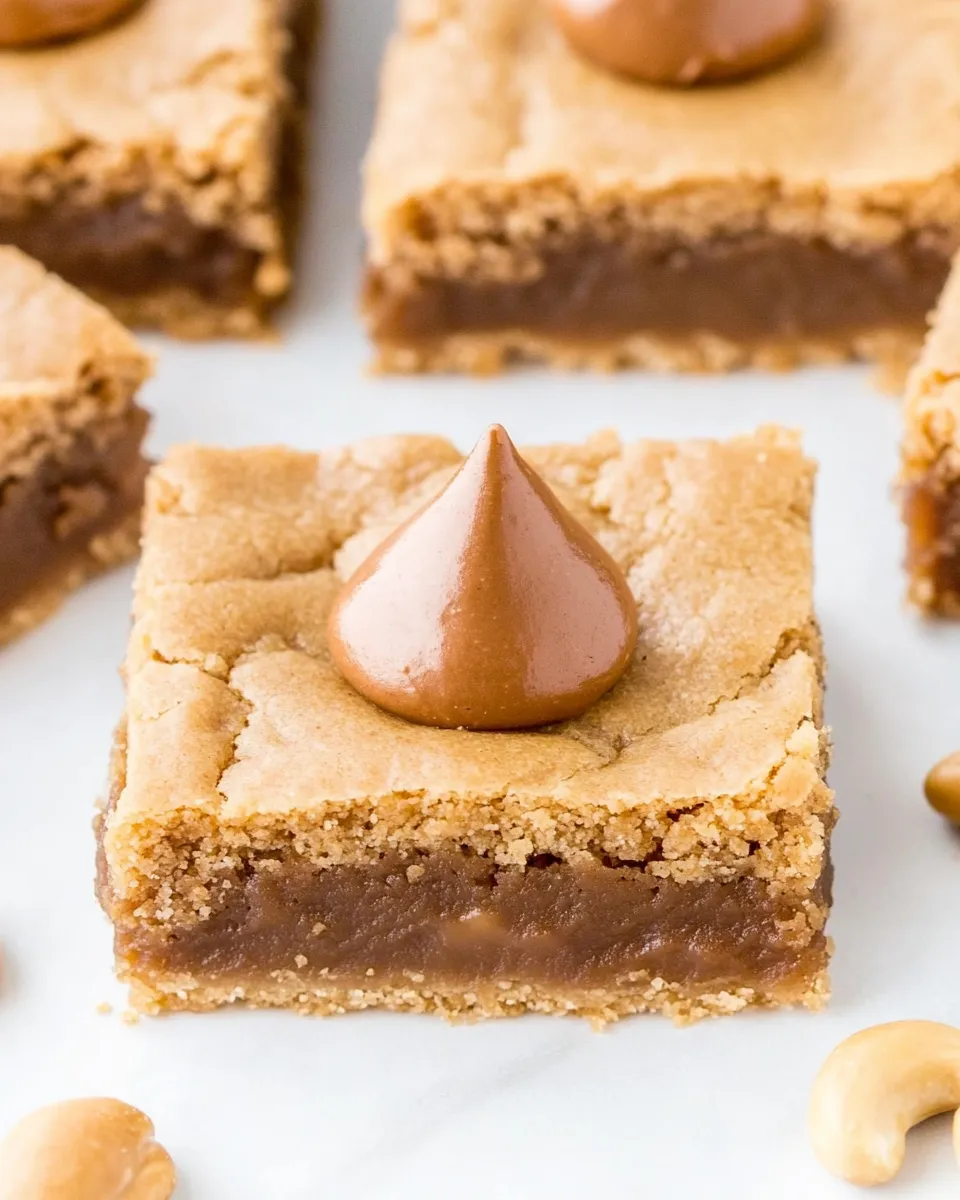
Peanut Butter Blossom Cookie Bars
If you’re looking for a dessert that combines the nostalgic flavors of childhood with the ease of modern baking, look no further than these delightful Peanut Butter Blossom Cookie Bars. Imagine biting into a soft, chewy cookie infused with rich peanut butter, topped with a luscious chocolate kiss that melts in your mouth. These bars are not only a treat for your taste buds but also a feast for the eyes. Perfect for parties, family gatherings, or simply as an indulgent snack at home, these bars are sure to become a favorite in your baking repertoire.
Why Cooks Rave About It
Peanut Butter Blossom Cookie Bars are the epitome of comfort food, offering a perfect blend of textures and flavors. The rich, nutty flavor of peanut butter paired with the sweet, creamy chocolate creates a harmonious balance that keeps you coming back for more. Unlike traditional cookies, these bars require less time and effort to prepare, making them an ideal choice for those busy days when you still want to impress. Plus, they are easily customizable—whether you want to add more chocolate, nuts, or even a sprinkle of sea salt on top, the possibilities are endless!
Ingredient List
- 1 cup unsalted butter, melted
- 1 cup peanut butter, I use Jif, Skippy, or similar; avoid natural PB that can separate and/or be too oily
- 1 large egg
- 1 cup light brown sugar, packed
- 1 tablespoon vanilla extract
- 1 cup all-purpose flour
- About 9 unwrapped chocolate Kisses, if you cut your bars smaller, you’ll need more Kisses
Tools & Equipment Needed
- Mixing Bowl: For combining your ingredients.
- Whisk or Electric Mixer: To ensure a smooth batter.
- Baking Pan: A 9×9 inch pan works best for these bars.
- Parchment Paper: For easy removal of the bars from the pan.
- Spatula: For spreading the batter evenly in the pan.
Peanut Butter Blossom Cookie Bars: From Prep to Plate
Step 1: Preheat Your Oven
Start by preheating your oven to 350°F (175°C). This ensures that your Peanut Butter Blossom Cookie Bars bake evenly.
Step 2: Prepare Your Baking Pan
Line a 9×9 inch baking pan with parchment paper. This will help you lift the bars out easily once they are baked and cooled.
Step 3: Mix Wet Ingredients
In a large mixing bowl, combine the melted unsalted butter and peanut butter. Whisk them together until the mixture is smooth and creamy. Then, add in the egg, light brown sugar, and vanilla extract. Mix until everything is well incorporated.
Step 4: Add Dry Ingredients
Gently fold in the all-purpose flour until just combined. Be careful not to overmix; you want the batter to remain light and airy.
Step 5: Bake the Bars
Pour the batter into your prepared baking pan and spread it evenly using a spatula. Bake in the preheated oven for 20-25 minutes or until the edges are golden brown and the center is set.
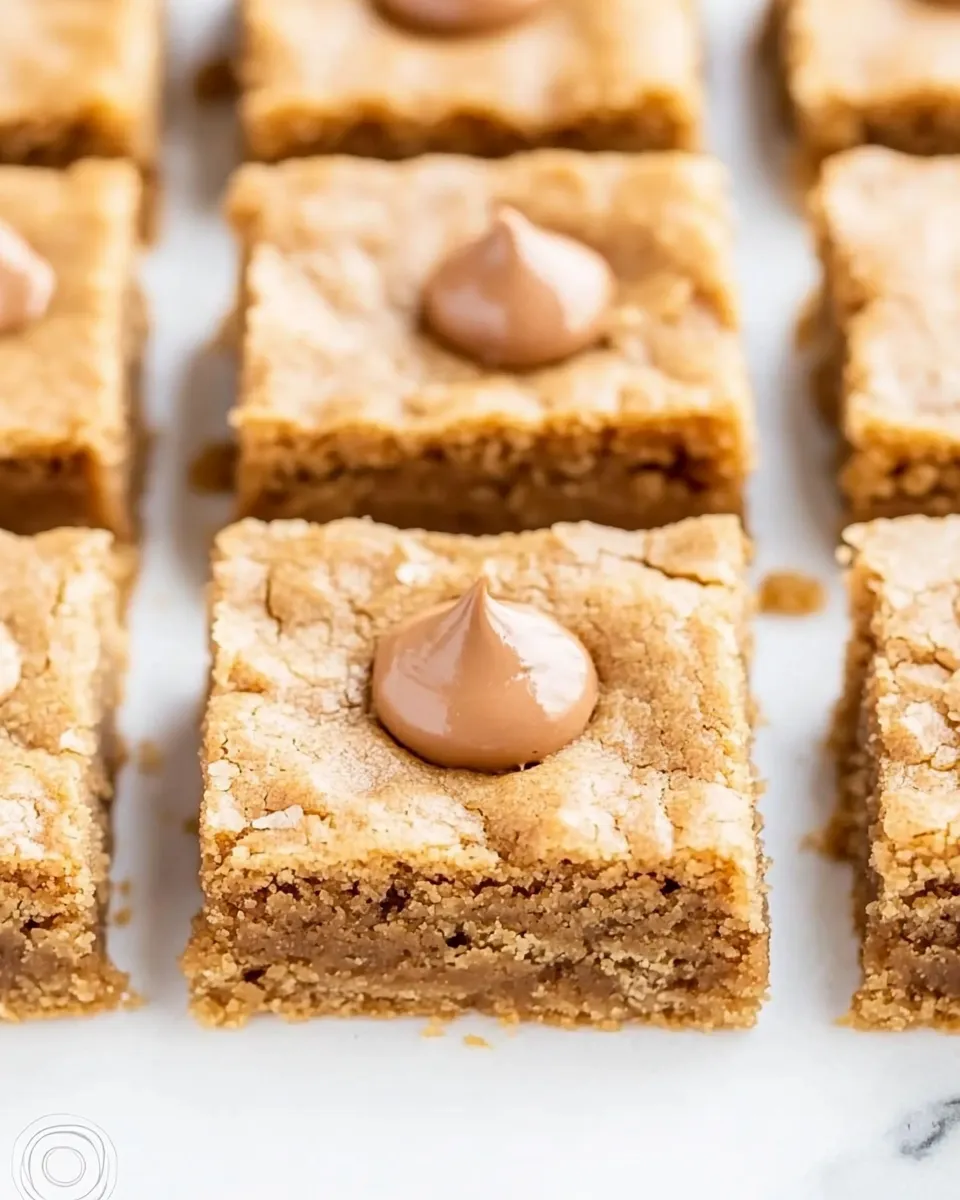
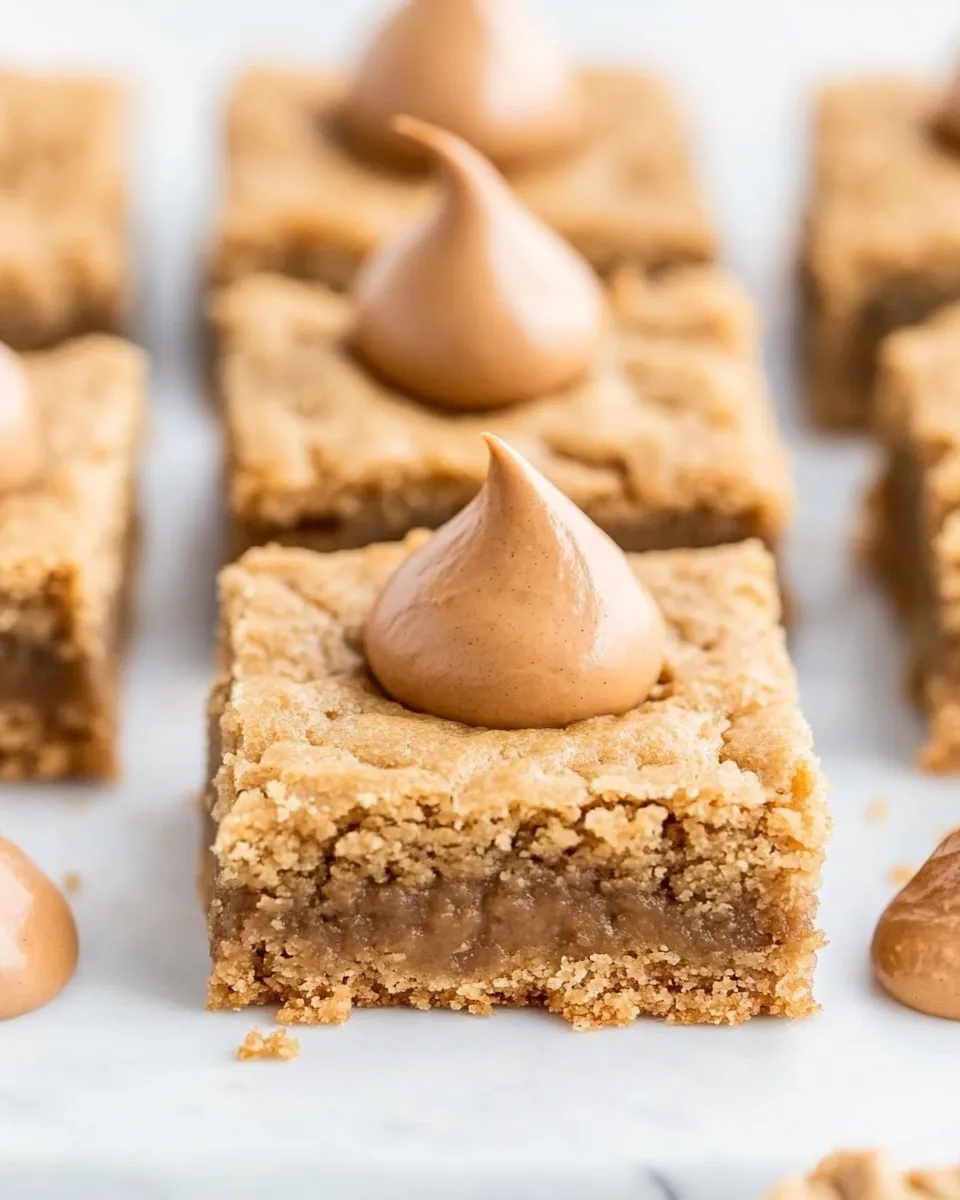
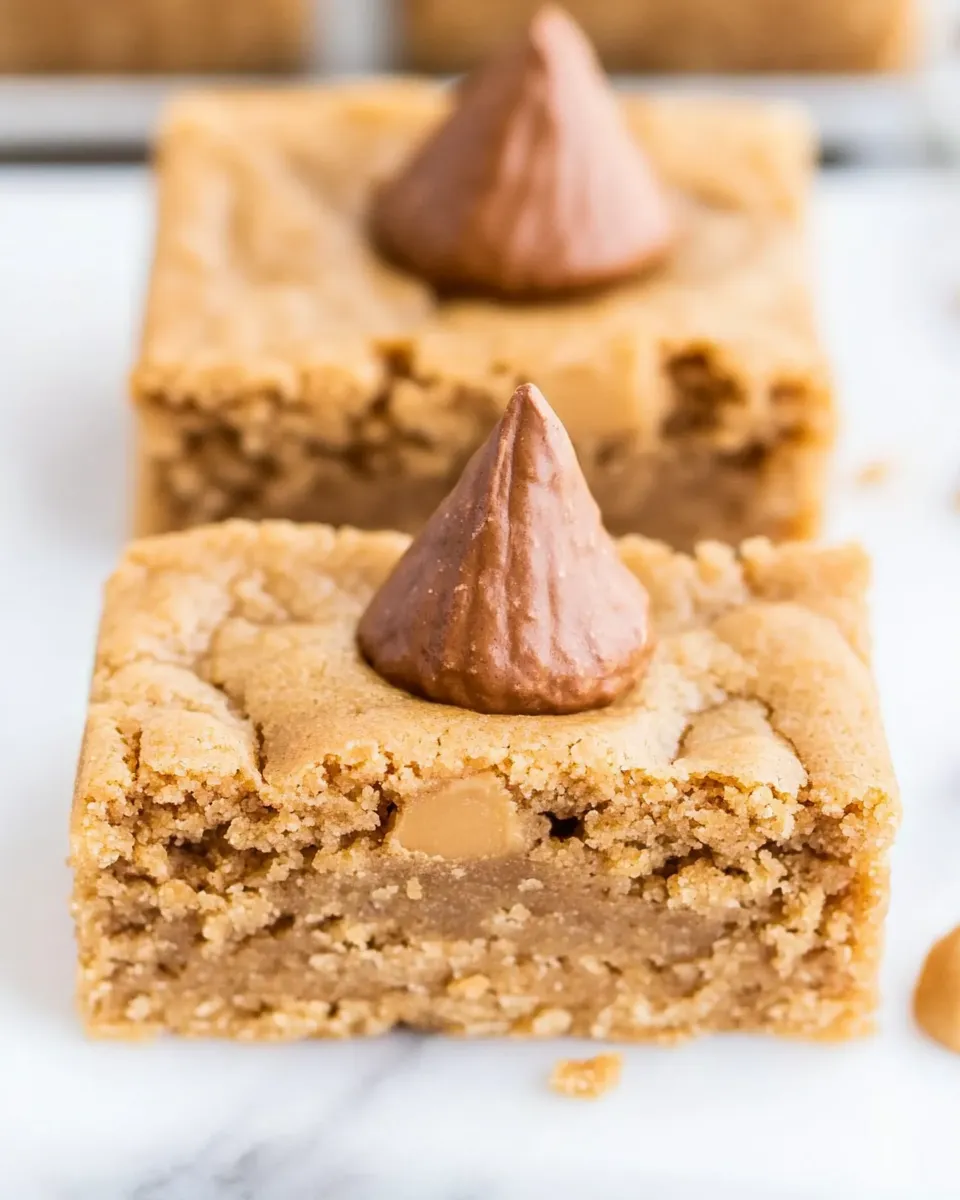
Step 6: Add the Chocolate Kisses
Once the bars are out of the oven, let them cool for about 5 minutes before placing the unwrapped chocolate Kisses on top. Gently press each Kiss into the warm bars, allowing them to melt slightly.
Step 7: Cool and Cut
Let the bars cool completely in the pan on a wire rack. Once cool, lift them out using the parchment paper and cut into squares or rectangles. Enjoy your delicious Peanut Butter Blossom Cookie Bars!
Make It Year-Round
- Seasonal Twists: Add in seasonal ingredients like crushed peppermint for the winter holidays or sprinkles for birthday celebrations.
- Nut Variations: Substitute peanut butter with almond or cashew butter for a different flavor profile.
- Chocolate Options: Use different types of chocolate candies or even drizzles to customize your bars.
- Healthier Alternatives: Experiment with whole wheat flour or natural sweeteners for a healthier version.
Behind the Recipe
Peanut Butter Blossom Cookie Bars are inspired by the classic peanut butter blossom cookies that many of us grew up loving. The transition from cookies to bars allows for a more convenient and quicker baking experience, maintaining all the delicious flavors of the original recipe. These bars are perfect for sharing, and their nostalgic taste brings a smile to everyone’s face.
Save for Later: Storage Tips
To keep your Peanut Butter Blossom Cookie Bars fresh, store them in an airtight container at room temperature. They can last for up to a week, but trust us, they probably won’t last that long! If you want to keep them for a longer time, you can freeze the bars. Just wrap them tightly in plastic wrap and place them in a freezer-safe container. They’ll stay fresh for up to three months. To enjoy, simply thaw at room temperature or pop them in the microwave for a few seconds to warm them up again.
Ask & Learn
Can I use crunchy peanut butter instead of smooth?
Yes, using crunchy peanut butter will add a delightful texture to the bars, giving you those little peanut pieces in every bite!
What can I substitute for chocolate Kisses?
If you don’t have chocolate Kisses, you can use chocolate chips, chunks, or even other candies like Reese’s Pieces for a fun twist.
Can I make these bars gluten-free?
Absolutely! Just swap out the all-purpose flour for a gluten-free flour blend, and you’ll have delicious gluten-free Peanut Butter Blossom Cookie Bars.
How do I know when the bars are done baking?
The edges should be golden brown, and a toothpick inserted into the center should come out clean or with just a few moist crumbs attached.
Final Bite
Peanut Butter Blossom Cookie Bars are a delightful treat that brings together the classic flavors of peanut butter and chocolate in a simple, easy-to-make format. Whether you’re baking for a special occasion or simply indulging yourself, these bars will surely satisfy your cravings and leave you dreaming of your next batch. So gather your ingredients, preheat your oven, and get ready to enjoy a slice of nostalgia with every bite. Happy baking!
Peanut Butter Blossom Cookie Bars
Ingredients
Equipment
Method
- Preheat your oven to 350°F (175°C) to ensure even baking.
- Line a 9x9 inch baking pan with parchment paper for easy removal.
- In a large mixing bowl, combine the melted butter and peanut butter, whisking until smooth. Add the egg, brown sugar, and vanilla, mixing until well combined.
- Gently fold in the flour until just combined to keep the batter light and airy.
- Pour the batter into the prepared pan and spread evenly. Bake for 20-25 minutes until the edges are golden brown and the center is set.
- Let the bars cool for about 5 minutes before pressing the chocolate Kisses into the top.
- Allow the bars to cool completely, then lift them out and cut into squares or rectangles.
Notes
- Store bars in an airtight container at room temperature for up to a week.
- Freeze bars wrapped in plastic wrap for up to three months.
- Try using crunchy peanut butter for added texture.