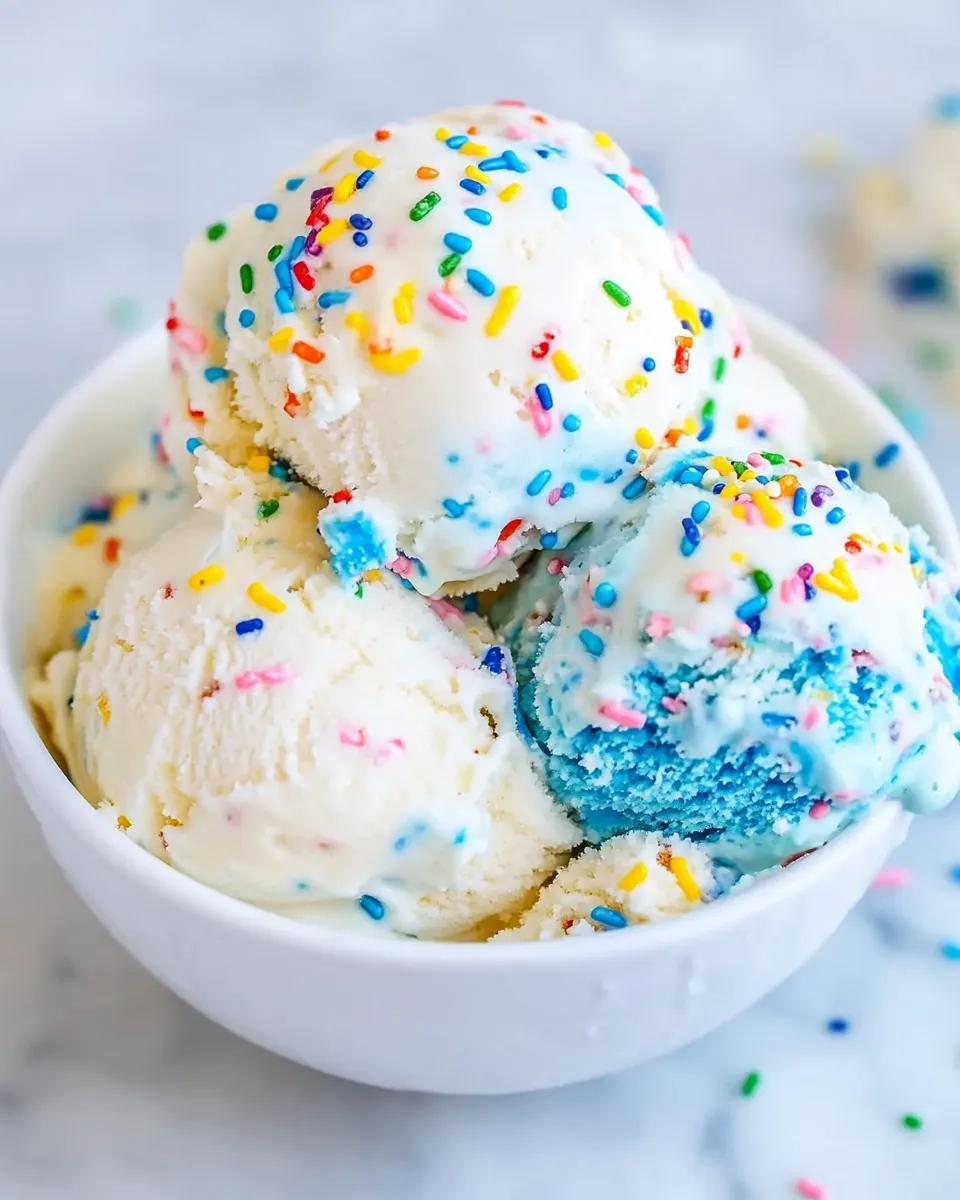
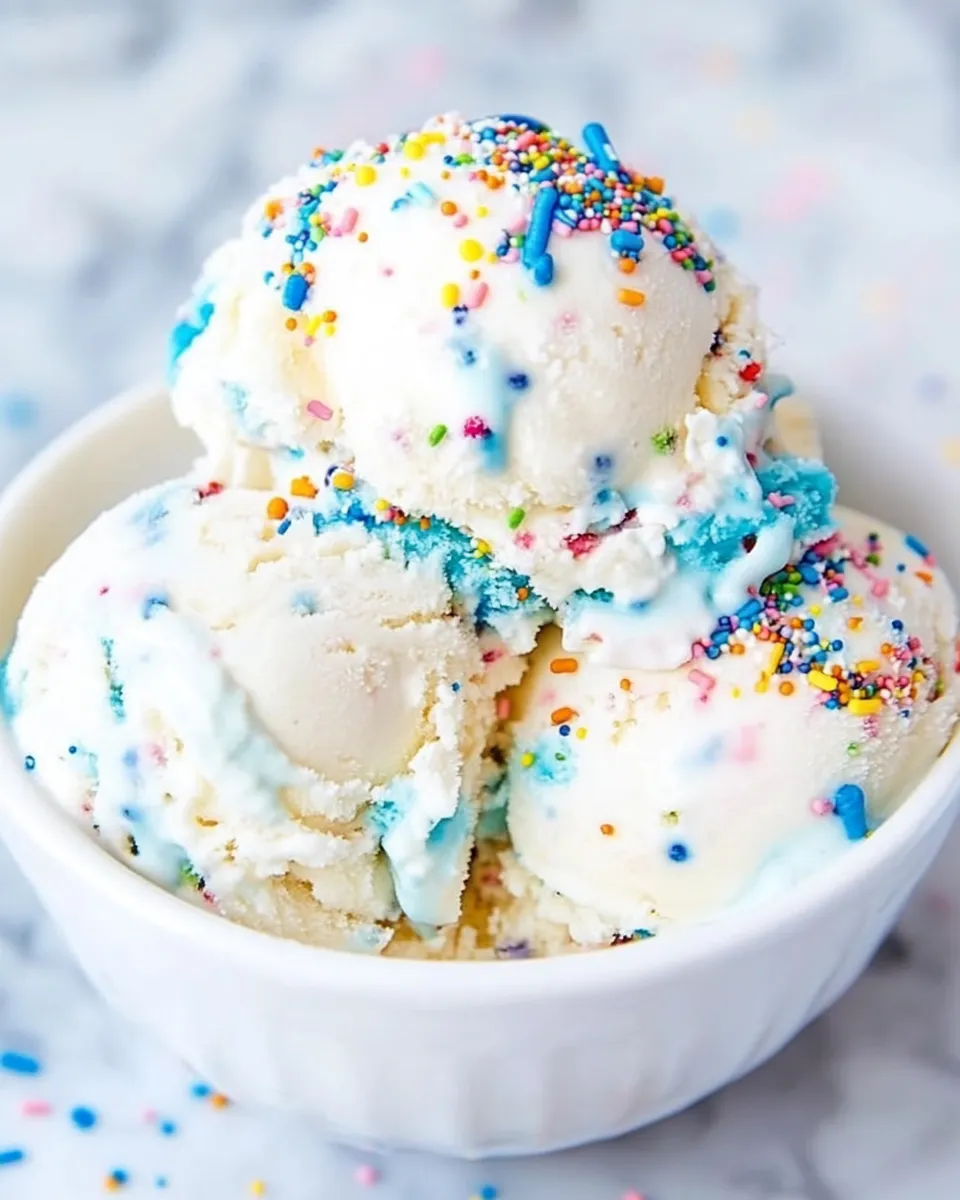
No-Churn Birthday Cake Ice Cream
Imagine a creamy, dreamy ice cream that captures the essence of a birthday celebration in every bite. No need for an ice cream maker; this No-Churn Birthday Cake Ice Cream is a simple yet delightful treat that everyone will love. With the rich flavors of cake and a colorful sprinkle surprise, it’s perfect for birthdays, summer parties, or just a sweet craving any day of the year. Let’s dive into this recipe that brings joy and nostalgia, all while being incredibly easy to make.
Why It’s Crowd-Pleasing

This No-Churn Birthday Cake Ice Cream is not just a dessert; it’s an experience! The combination of heavy cream and sweetened condensed milk creates a luxuriously creamy texture that melts in your mouth. With the addition of blue frosting and festive birthday sprinkles, it’s visually appealing and deliciously nostalgic. It’s the kind of dessert that evokes memories of childhood parties, complete with laughter and joy. Whether you’re celebrating a birthday or simply indulging in a sweet treat, this ice cream is guaranteed to delight both kids and adults alike.
What to Buy
To make this delicious ice cream, gather the following ingredients:
- 2 cups heavy whipping cream (ensure it’s cold for best results)
- 14 ounces sweetened condensed milk
- ½ cup granulated sugar
- 1 tub of blue frosting (look for a brand that uses natural colors if preferred)
- ½ cup birthday sprinkles (choose your favorite mix for a festive look)
Before You Start: Equipment
You don’t need fancy equipment to create this delightful ice cream. Here’s what you’ll need:
- Mixing bowl: A large bowl for whipping the cream.
- Whisk or electric mixer: For whipping the cream to soft peaks.
- Spatula: To gently fold ingredients together.
- Freezer-safe container: For storing the ice cream while it freezes.
How to Prepare No-Churn Birthday Cake Ice Cream

Follow these easy steps to whip up your No-Churn Birthday Cake Ice Cream:
Step 1: Whip the Cream
In a large mixing bowl, pour in the 2 cups of cold heavy whipping cream. Using an electric mixer or a whisk, beat the cream until soft peaks form. This usually takes about 3-5 minutes with a mixer. You want it fluffy but not overbeaten.
Step 2: Combine Sweet Ingredients
In another bowl, mix together the 14 ounces of sweetened condensed milk and ½ cup of granulated sugar. Stir until the sugar is well incorporated into the condensed milk.
Step 3: Fold the Mixtures
Gently fold the whipped cream into the sweetened condensed milk mixture. Use a spatula and be careful not to deflate the whipped cream; you want to keep it light and airy.
Step 4: Add the Fun
Spoon in the tub of blue frosting and ½ cup of birthday sprinkles. Gently fold them into the mixture until evenly distributed. The blue frosting will give the ice cream a delightful color and flavor.
Step 5: Freeze
Transfer the mixture to a freezer-safe container, smoothing the top with a spatula. Cover it tightly with a lid or plastic wrap, and place it in the freezer for at least 4-6 hours, or until fully set.
Ingredient Flex Options
Feel free to get creative with your No-Churn Birthday Cake Ice Cream! Here are some options to consider:
- Use different frosting colors or flavors (like vanilla or chocolate) to match your theme.
- Swap birthday sprinkles for seasonal sprinkles (like heart sprinkles for Valentine’s Day).
- Incorporate crushed cookies or candy mixed in for added texture.
- Use coconut cream instead of heavy whipping cream for a dairy-free version.
Frequent Missteps to Avoid
When making this No-Churn Birthday Cake Ice Cream, keep these potential pitfalls in mind:
- Don’t skip the chilling of the heavy cream; it must be cold for the best volume.
- Avoid overbeating the whipped cream, as this can lead to a grainy texture.
- Be gentle when folding to maintain the lightness of the mixture.
- Ensure your container is completely sealed to prevent ice crystals from forming.
Make Ahead Like a Pro
Planning ahead is key when it comes to desserts. Here are some tips to make your life easier:
- This No-Churn Birthday Cake Ice Cream can be made up to a week in advance.
- Store it in an airtight container to keep it fresh and creamy.
- Consider making multiple batches with different flavors for a fun ice cream bar.
- Let it sit at room temperature for about 5-10 minutes before serving to soften.
Ask the Chef
Can I use heavy cream alternatives for this recipe?
Yes! You can use coconut cream or any non-dairy whipping cream for a different flavor profile and to accommodate dietary preferences. Just make sure it can be whipped!
What other flavors can I add to this ice cream?
You can experiment with various flavorings like vanilla extract, almond extract, or even a splash of your favorite liqueur for an adult version. Just keep the proportions in mind so as not to alter the texture.
How long will this ice cream last in the freezer?
This No-Churn Birthday Cake Ice Cream can last up to two weeks in the freezer if stored properly in an airtight container. However, it’s best enjoyed fresh for optimal flavor and texture!
Can I make this ice cream without sugar?
While the sugar adds sweetness and helps with the creamy texture, you could use sugar alternatives like stevia or erythritol, adjusting the quantity to taste. Keep in mind that the texture may vary slightly.
Time to Try It
Now that you have all the tips, tricks, and steps to create your own No-Churn Birthday Cake Ice Cream, it’s time to roll up your sleeves and get started! This treat is not only a crowd-pleaser but also a wonderful way to celebrate any day. Grab your ingredients, gather your loved ones, and create a delightful dessert that will surely bring smiles all around.
Indulging in this No-Churn Birthday Cake Ice Cream is all about celebrating the little moments in life, whether it’s a birthday or just a sunny day. So what are you waiting for? Let’s make some memories with this delicious, no-fuss ice cream that’s sure to become a favorite in your household. Enjoy every scoop!
No-Churn Birthday Cake Ice Cream
Ingredients
Equipment
Method
- In a large mixing bowl, pour in the 2 cups of cold heavy whipping cream. Using an electric mixer or a whisk, beat the cream until soft peaks form. This usually takes about 3-5 minutes with a mixer. You want it fluffy but not overbeaten.
- In another bowl, mix together the 14 ounces of sweetened condensed milk and ½ cup of granulated sugar. Stir until the sugar is well incorporated into the condensed milk.
- Gently fold the whipped cream into the sweetened condensed milk mixture. Use a spatula and be careful not to deflate the whipped cream; you want to keep it light and airy.
- Spoon in the tub of blue frosting and ½ cup of birthday sprinkles. Gently fold them into the mixture until evenly distributed. The blue frosting will give the ice cream a delightful color and flavor.
- Transfer the mixture to a freezer-safe container, smoothing the top with a spatula. Cover it tightly with a lid or plastic wrap, and place it in the freezer for at least 4-6 hours, or until fully set.
Notes
- Make sure the heavy cream is cold for best results.
- Feel free to experiment with different frosting colors or flavors.
- This ice cream can be made up to a week in advance.