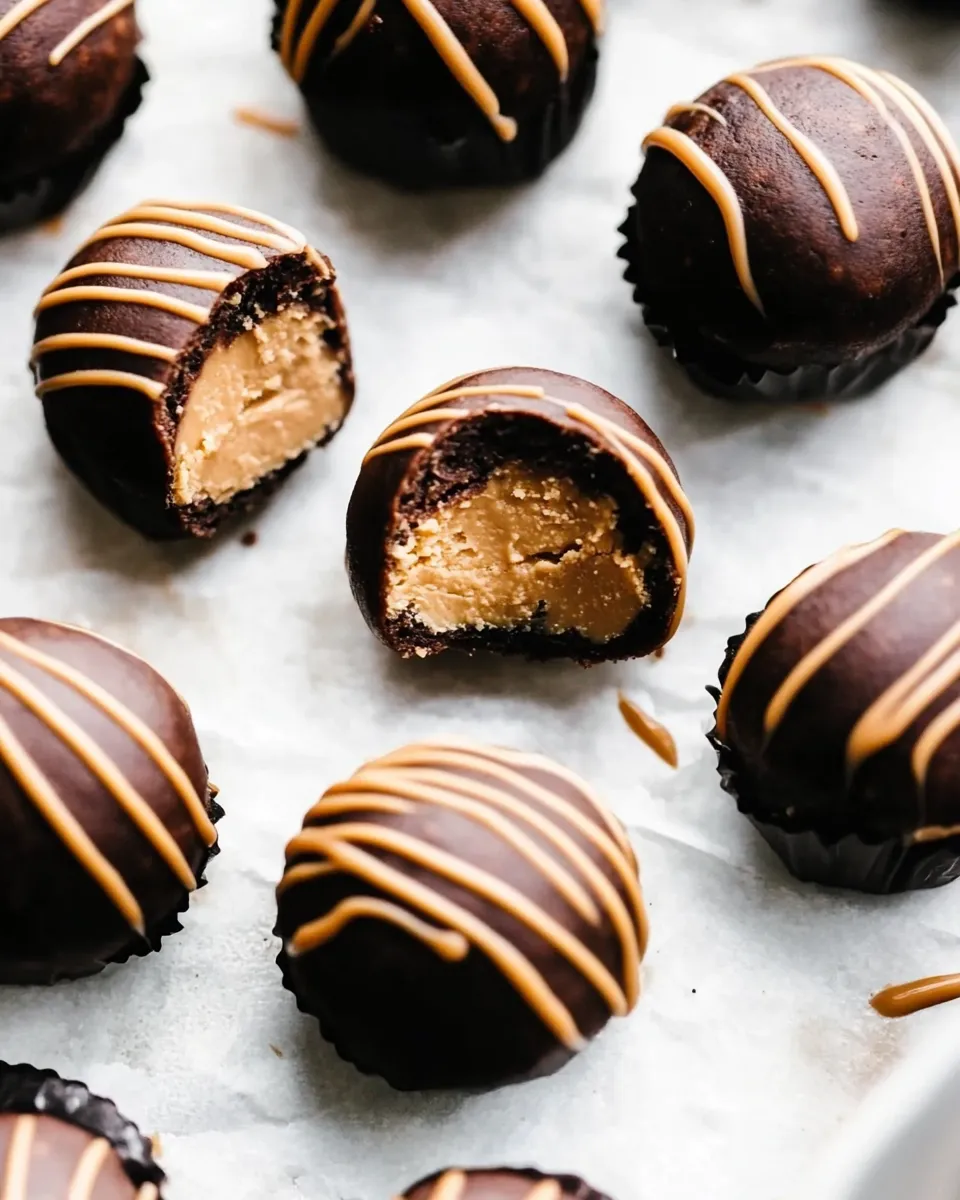
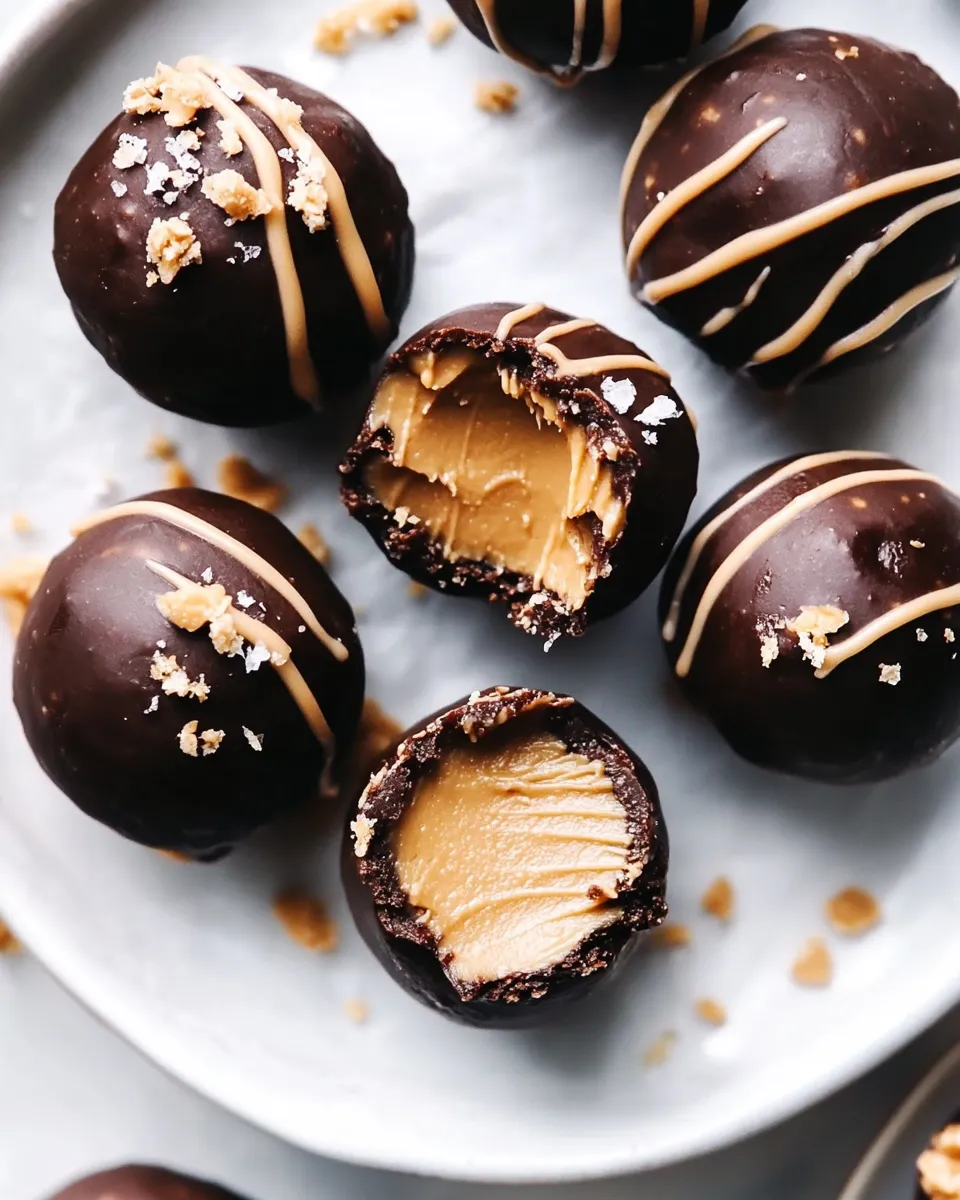
No Bake Buckeye Peanut Butter Balls
There’s something irresistibly delightful about No Bake Buckeye Peanut Butter Balls. These little treats are a perfect fusion of creamy peanut butter and rich chocolate, making them a favorite for parties, holidays, or simply for satisfying your sweet tooth. The best part? You don’t even need to turn on your oven! With just a few simple ingredients, you can whip up these delicious bites in no time. Let’s dive into the world of No Bake Buckeye Peanut Butter Balls and discover how to make them.
Why I Love This Recipe
No Bake Buckeye Peanut Butter Balls are an easy, no-fuss treat that everyone will adore. The combination of peanut butter and chocolate is not only delicious but also nostalgic for many. Growing up, these treats were often a highlight at family gatherings and holiday celebrations. The fact that they require no baking means you can make them quickly, and they’re perfect for those hot summer days when you want something sweet but don’t want to heat up your kitchen. Plus, each bite is a perfect balance of sweet and salty that keeps you coming back for more!
What We’re Using
To make No Bake Buckeye Peanut Butter Balls, you’ll need the following ingredients:
- 1 cup creamy peanut butter
- 1 cup unsalted butter
- 6 cups powdered sugar
- 1 teaspoon vanilla extract
- 4 cups semi-sweet chocolate chips
These ingredients are simple yet effective in creating the flavor and texture we crave in these bite-sized treats.
Must-Have Equipment
Before we get started, make sure you have the following equipment:
- Mixing Bowl: A large bowl to mix all your ingredients thoroughly.
- Hand Mixer or Stand Mixer: This will help you achieve a smooth, creamy mixture.
- Cookie Sheet: A flat surface to place the peanut butter balls while they chill.
- Parchment Paper: To line the cookie sheet, making clean-up a breeze.
- Microwave-Safe Bowl: For melting the chocolate chips smoothly.
Having the right tools on hand will streamline your cooking experience and make the process enjoyable.
No Bake Buckeye Peanut Butter Balls in Steps
Step 1: Prepare Your Workspace
Start by gathering all your ingredients and equipment. Line a cookie sheet with parchment paper for easy removal of the peanut butter balls later.
Step 2: Mix the Peanut Butter Mixture
In a large mixing bowl, combine 1 cup creamy peanut butter and 1 cup unsalted butter at room temperature. Using your hand mixer or stand mixer, blend the two until they are well combined and creamy.
Step 3: Add the Sweetness
Gradually add 6 cups powdered sugar and 1 teaspoon vanilla extract to the mixture. Mix on low speed until everything is incorporated. The mixture will become thick, so don’t worry if it feels a bit challenging to mix.
Step 4: Form the Balls
Using your hands, scoop out portions of the mixture and roll them into balls about 1 inch in diameter. Place each ball on your prepared cookie sheet, leaving a little space between them. Once you’ve rolled all the mixture, refrigerate the balls for about 30 minutes to firm them up.
Step 5: Melt the Chocolate
While the peanut butter balls chill, melt 4 cups semi-sweet chocolate chips in a microwave-safe bowl. Heat in 30-second intervals, stirring in between, until the chocolate is completely melted and smooth.
Step 6: Dip the Balls in Chocolate
Once the peanut butter balls are firm, remove them from the refrigerator. Using a fork, dip each ball into the melted chocolate, making sure it’s fully coated. Gently tap the fork on the side of the bowl to remove excess chocolate before placing the balls back on the parchment-lined sheet.
Step 7: Chill Again
After coating all the balls in chocolate, return them to the refrigerator for another 30 minutes. This helps the chocolate set properly.
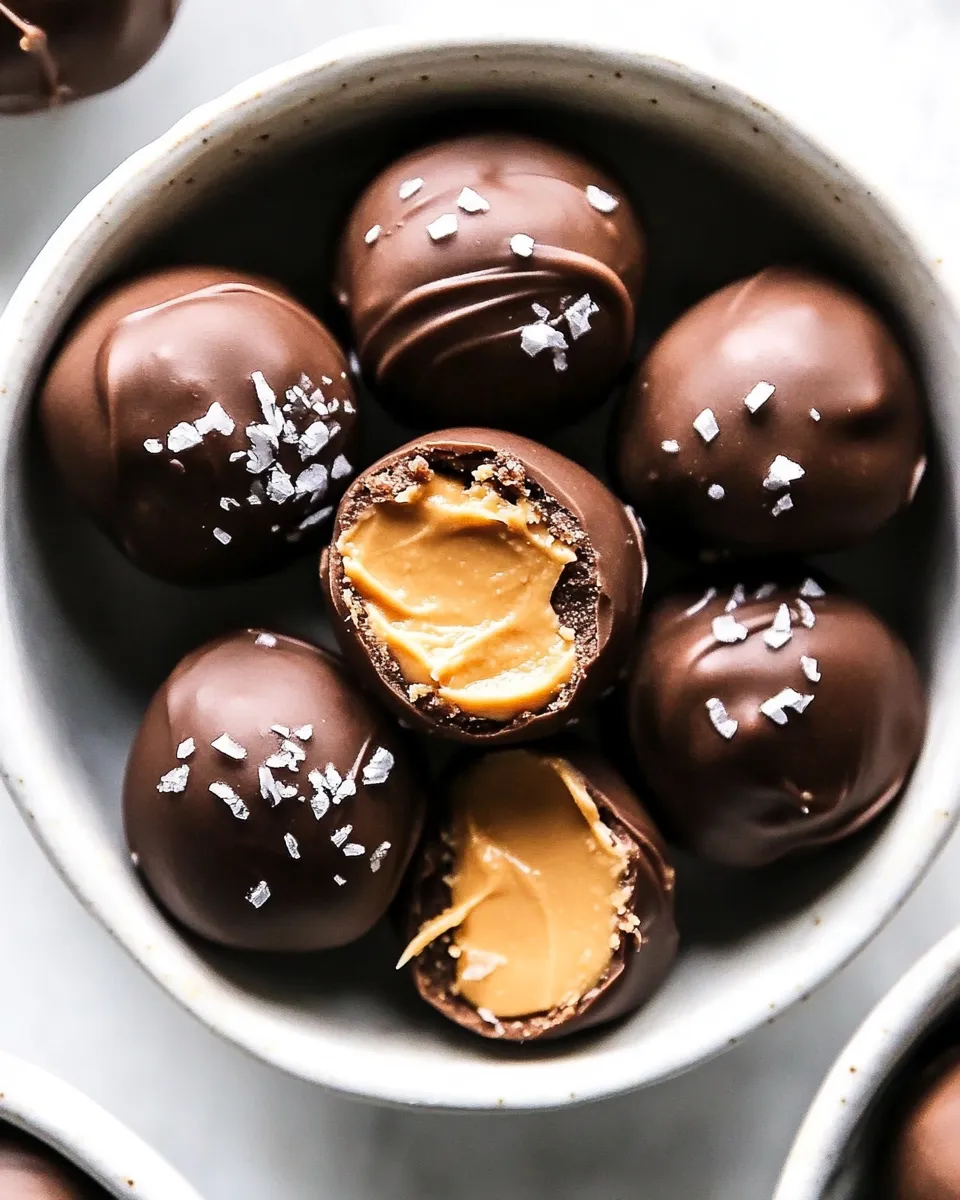
Step 8: Serve and Enjoy!
Once the chocolate has hardened, your No Bake Buckeye Peanut Butter Balls are ready to be served! Enjoy them as a sweet treat or share them with friends and family.
Fit It to Your Goals
If you’re looking to adjust this recipe to fit your dietary preferences or nutritional goals, consider the following options:
- Nut Butter Alternatives: Swap creamy peanut butter for almond butter or sunflower seed butter for a different flavor profile.
- Reduce Sugar: For a less sweet version, reduce the amount of powdered sugar to your taste.
- Dairy-Free Option: Use coconut oil in place of unsalted butter and dairy-free chocolate chips.
- Add-Ins: Mix in some crushed nuts, chia seeds, or oats for added texture and nutrition.
These adjustments can help tailor the No Bake Buckeye Peanut Butter Balls to suit your dietary needs while still keeping the essence of the original recipe.
Little Things that Matter
When making No Bake Buckeye Peanut Butter Balls, keep these tips in mind:
- Room Temperature Ingredients: Make sure your butter is at room temperature for easier mixing.
- Chill Time: Don’t skip the chilling steps; they are crucial for the right texture.
- Chocolate Coating: Make sure the chocolate isn’t too hot when dipping; let it cool slightly to avoid melting the peanut butter balls.
- Storage: Store leftovers in an airtight container in the fridge for up to a week (if they last that long!).
These little details can make a big difference in the final product.
Save It for Later
Not only are No Bake Buckeye Peanut Butter Balls perfect for immediate enjoyment, but they also make fantastic make-ahead treats. Here are some storage tips:
- Refrigerator: Store them in an airtight container for up to one week.
- Freezer: For longer storage, freeze the peanut butter balls before coating them in chocolate. Once frozen, transfer them to a freezer-safe bag or container. You can coat them in chocolate after thawing.
This way, you can always have a delicious treat ready to go whenever the craving strikes!
Quick Q&A
Can I use crunchy peanut butter instead of creamy?
Absolutely! Crunchy peanut butter will add a lovely texture to your No Bake Buckeye Peanut Butter Balls, giving them an extra crunch.
How do I know when the chocolate is melted properly?
The chocolate should be smooth and glossy after stirring. If there are any lumps remaining, continue to heat in 15-second intervals, stirring in between until fully melted.
Can I make these gluten-free?
Yes! All the ingredients used in this recipe are naturally gluten-free, making these treats a great option for those with gluten sensitivities.
How do I keep the chocolate from cracking?
Make sure to let the chocolate cool slightly before dipping and avoid refrigerating the chocolate-coated balls too quickly, as rapid temperature changes can lead to cracking.
Hungry for More?
If you enjoyed making No Bake Buckeye Peanut Butter Balls, you might also love exploring other no-bake treats or snack recipes. Consider trying out no-bake cheesecake bites, energy balls, or even homemade granola bars. Each of these recipes brings its own unique flavors and textures to the table, perfect for any occasion or craving.
There’s something truly special about whipping up a batch of No Bake Buckeye Peanut Butter Balls. They are an easy, delicious treat that brings joy and nostalgia with every bite. Whether you’re making them for a special occasion or just because you want something sweet, these peanut butter balls are sure to impress. So gather your ingredients, follow the steps, and indulge in the delightful combination of peanut butter and chocolate. Happy baking (or should I say, mixing)!
No Bake Buckeye Peanut Butter Balls
Ingredients
Equipment
Method
- Start by gathering all your ingredients and equipment. Line a cookie sheet with parchment paper for easy removal of the peanut butter balls later.
- In a large mixing bowl, combine 1 cup creamy peanut butter and 1 cup unsalted butter at room temperature. Using your hand mixer or stand mixer, blend the two until they are well combined and creamy.
- Gradually add 6 cups powdered sugar and 1 teaspoon vanilla extract to the mixture. Mix on low speed until everything is incorporated. The mixture will become thick, so don’t worry if it feels a bit challenging to mix.
- Using your hands, scoop out portions of the mixture and roll them into balls about 1 inch in diameter. Place each ball on your prepared cookie sheet, leaving a little space between them. Once you’ve rolled all the mixture, refrigerate the balls for about 30 minutes to firm them up.
- While the peanut butter balls chill, melt 4 cups semi-sweet chocolate chips in a microwave-safe bowl. Heat in 30-second intervals, stirring in between, until the chocolate is completely melted and smooth.
- Once the peanut butter balls are firm, remove them from the refrigerator. Using a fork, dip each ball into the melted chocolate, making sure it’s fully coated. Gently tap the fork on the side of the bowl to remove excess chocolate before placing the balls back on the parchment-lined sheet.
- After coating all the balls in chocolate, return them to the refrigerator for another 30 minutes. This helps the chocolate set properly.
- Once the chocolate has hardened, your No Bake Buckeye Peanut Butter Balls are ready to be served!
Notes
- Ensure butter is at room temperature for easier mixing.
- Chill the mixture before rolling into balls for better texture.
- Let chocolate cool slightly before dipping to prevent melting the peanut butter balls.