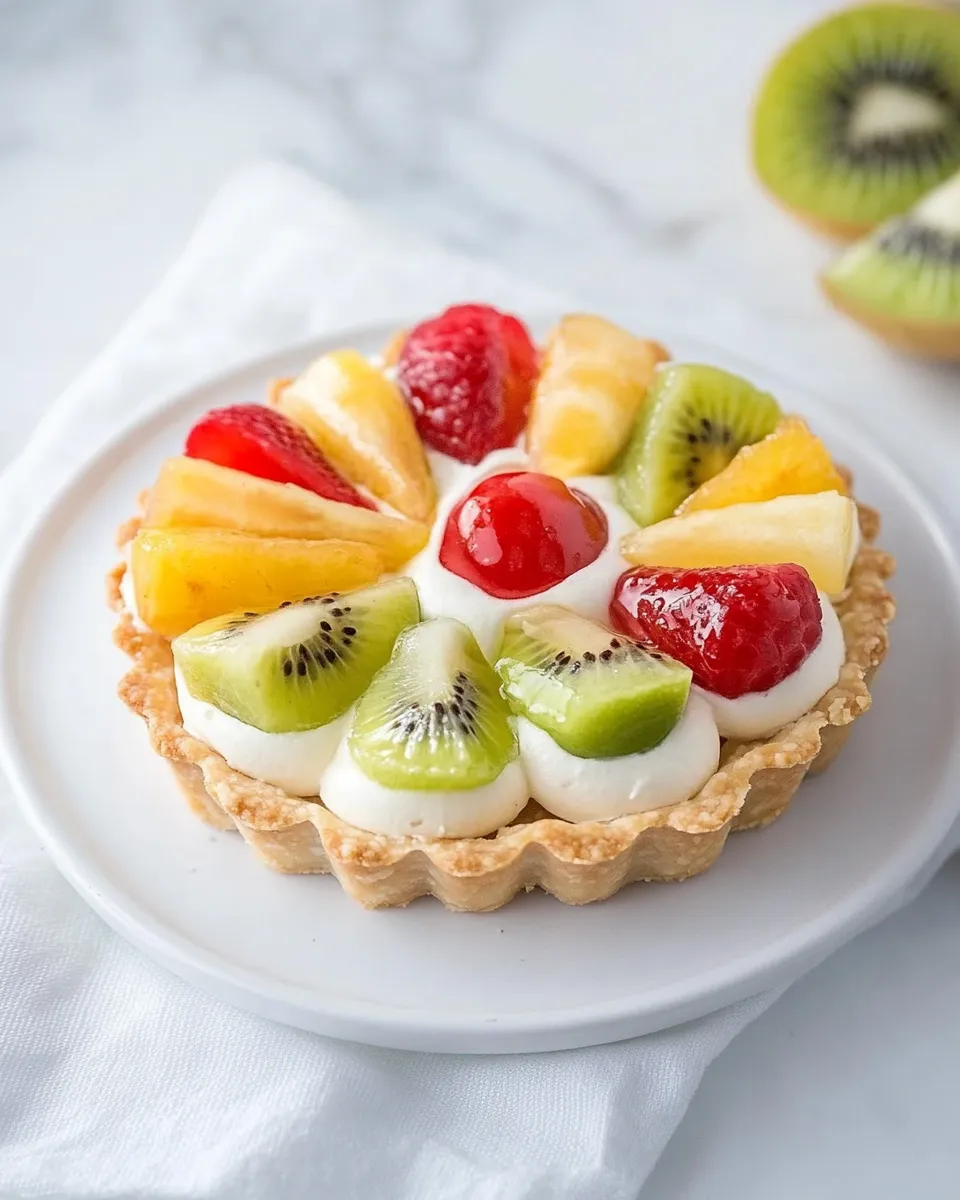
Mini Fruit Tart
Mini Fruit Tarts are the perfect treat that combines a buttery, flaky crust with a luscious filling and a colorful array of fresh fruits. These delightful pastries are not only visually stunning but also bursting with flavor. Whether you’re hosting a gathering, celebrating a special occasion, or simply treating yourself, these tarts are sure to impress. The best part? They are surprisingly easy to make!
Why It Deserves a Spot
These Mini Fruit Tarts deserve a special place in your dessert repertoire for several reasons. First, they are incredibly versatile. You can customize the fruits according to the season or your personal preferences. Second, their bite-sized nature makes them perfect for parties or casual get-togethers—everyone can enjoy their own little tart without feeling too indulgent. Lastly, the combination of textures—from the crisp crust to the creamy filling and fresh fruit—creates a delightful experience with every bite.
Gather These Ingredients
To create these Mini Fruit Tarts, you’ll need the following ingredients:
- 1 1/4 cups all-purpose flour
- 1 pinch kosher salt
- 2/3 cup powdered sugar
- 3/4 cup unsalted butter, cold and cut into pieces
- 1 1/2 teaspoons vanilla extract
- 1/2 cup heavy whipping cream
- 1/4 cup mascarpone cheese
- 1/4 cup cream cheese, softened
- 2 tablespoons powdered sugar
- Assorted fresh fruit such as berries, kiwi, or mango for topping
What’s in the Gear List
To make these Mini Fruit Tarts, you’ll need the following equipment:
- Mixing Bowls – For combining your ingredients.
- Food Processor – Ideal for making the tart crust efficiently.
- Tart Pan or Muffin Tin – To shape your mini tarts.
- Whisk – For blending the filling ingredients smoothly.
- Rolling Pin – To roll out your dough to the perfect thickness.
- Knife – For cutting your fruits into beautiful pieces.
Mastering Mini Fruit Tart: How-To
Creating these Mini Fruit Tarts is a delightful process. Follow these simple steps to achieve perfect results.
Step 1: Prepare the Tart Crust
Begin by combining the all-purpose flour, kosher salt, and powdered sugar in a food processor. Add the cold, cut pieces of unsalted butter and pulse until the mixture resembles coarse crumbs.
Step 2: Form the Dough
Add the vanilla extract to the crumb mixture and pulse again until the dough begins to come together. It should be slightly crumbly but hold its shape when pressed.
Step 3: Chill the Dough
Turn the dough onto a lightly floured surface and shape it into a disk. Wrap it in plastic wrap and refrigerate for at least 30 minutes. Chilling the dough ensures a flaky crust.
Step 4: Preheat the Oven
While the dough chills, preheat your oven to 350°F (175°C). This will ensure that the tarts bake evenly.
Step 5: Roll Out the Dough
After chilling, roll out the dough on a floured surface to about 1/8 inch thick. Use a cookie cutter or a glass to cut out circles that fit your tart pan or muffin tin.
Step 6: Bake the Tart Shells
Press the dough circles into the tart pan or muffin tin. Prick the bottoms with a fork to prevent bubbling. Bake for 12-15 minutes or until golden brown. Let them cool completely before filling.
Step 7: Make the Cream Filling
In a mixing bowl, combine the heavy whipping cream, mascarpone cheese, softened cream cheese, and powdered sugar. Whisk until smooth and creamy. You can adjust the sweetness by adding more powdered sugar if desired.
Step 8: Assemble the Tarts
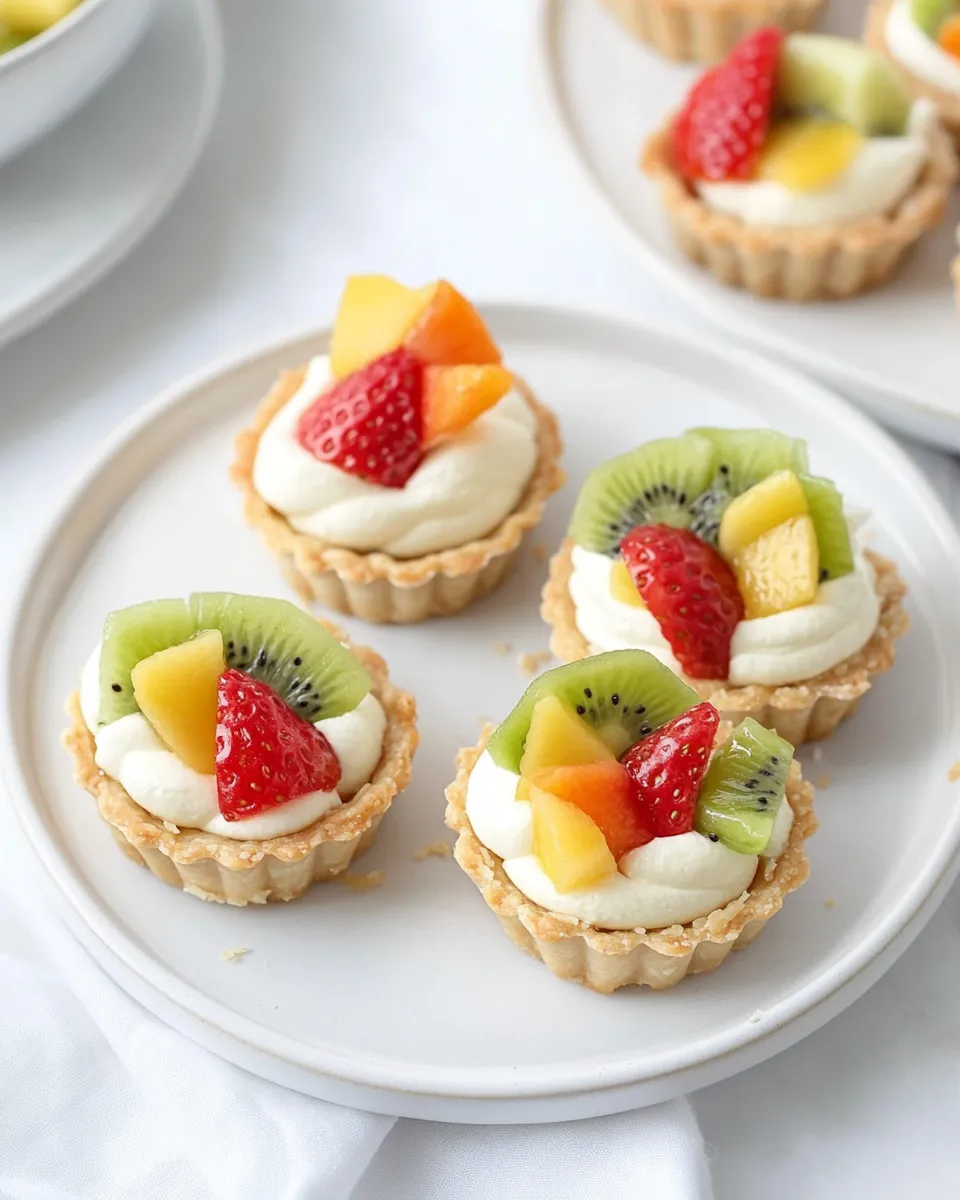
Once the tart shells have cooled, fill each shell with a generous spoonful of the cream filling. Smooth it out with a spatula or the back of a spoon.
Step 9: Top with Fresh Fruit
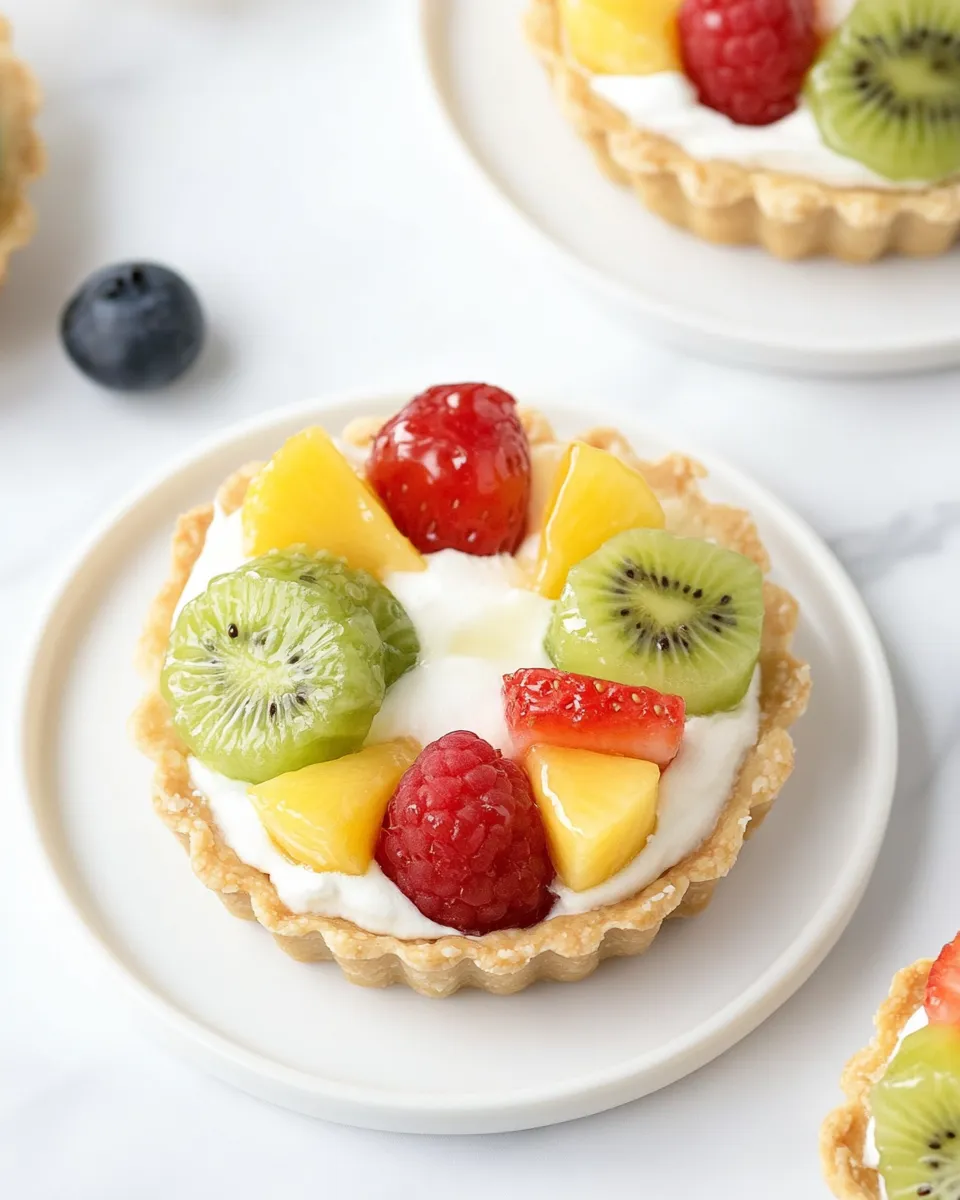
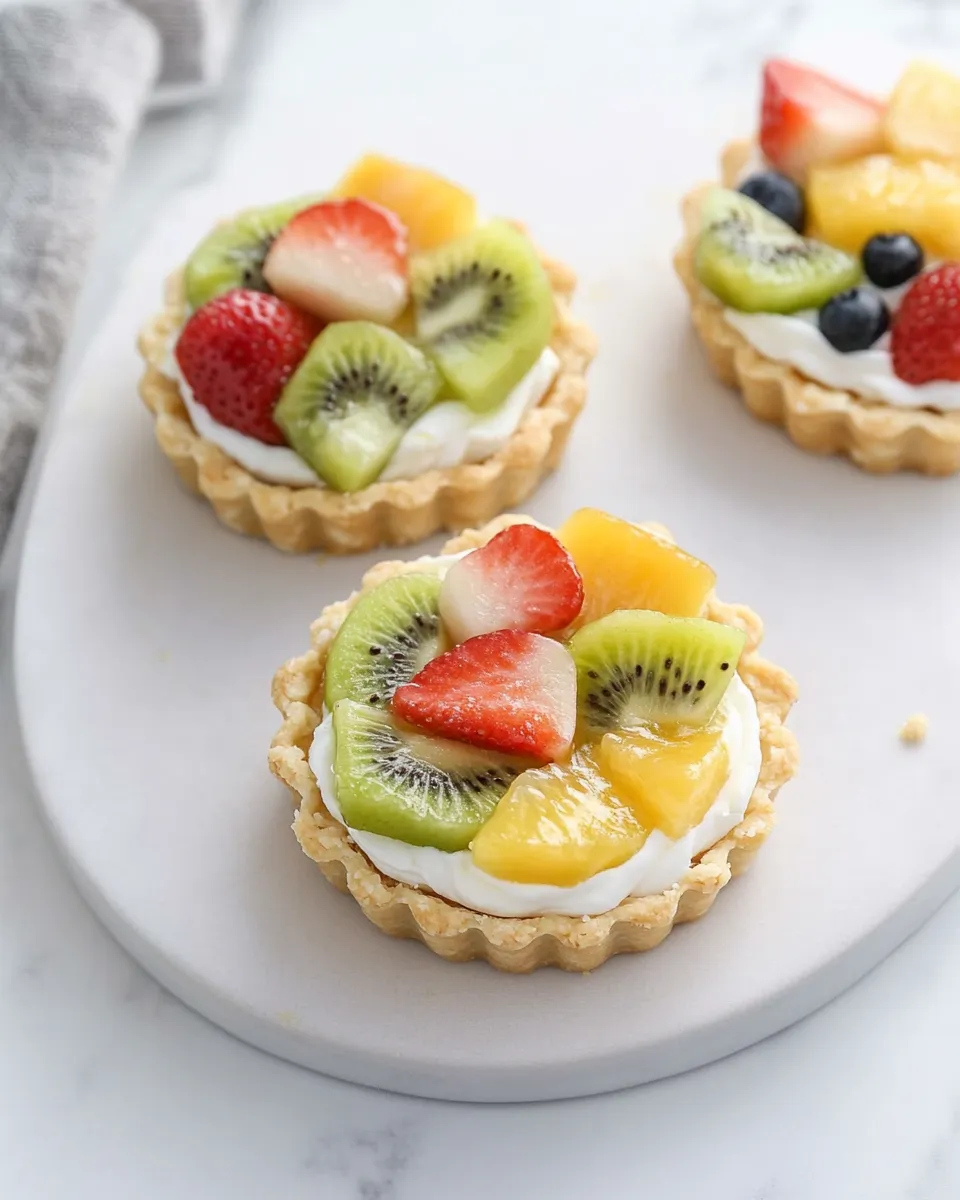
Arrange your choice of fresh fruits on top of the cream filling. Get creative! You can use a mix of berries, slices of kiwi, or even mango to create a vibrant display.
Step 10: Chill and Serve
Place the assembled tarts in the refrigerator for at least 30 minutes before serving. This helps the flavors meld together and makes for a refreshing treat.
Holiday & Seasonal Touches
Elevate your Mini Fruit Tarts with these seasonal ideas:
- Spring: Top with strawberries, blueberries, and edible flowers for a colorful touch.
- Summer: Use tropical fruits like mango, pineapple, and coconut for a refreshing twist.
- Fall: Add slices of poached pears or figs along with a sprinkle of cinnamon.
- Winter: Decorate with pomegranate seeds and a dusting of powdered sugar for a festive look.
Troubleshooting Tips
If you encounter any issues while making your Mini Fruit Tarts, here are some helpful tips:
- If the tart crust is too crumbly, try adding a teaspoon of cold water to the dough as you mix.
- For a softer filling, ensure your cream cheese and mascarpone cheese are at room temperature before mixing.
- If your tarts puff up in the oven, use a fork to prick the bottoms before baking to release steam.
- To prevent soggy bottoms, bake the tart shells until they are golden brown and fully cooked.
Storing, Freezing & Reheating
To enjoy your Mini Fruit Tarts later, follow these storage tips:
- Storing: Keep the tarts in an airtight container in the refrigerator for up to 2 days.
- Freezing: You can freeze the tart shells unfilled for up to a month. Just ensure they are well-wrapped.
- Reheating: If using frozen shells, bake them at 350°F (175°C) for about 10 minutes to refresh them before filling.
Common Qs About Mini Fruit Tart
Can I use store-bought tart shells instead of making my own?
Absolutely! Store-bought tart shells can save you time and are a great alternative if you’re short on time. Just ensure they are of good quality for the best results.
What fruits work best for topping the tarts?
The beauty of Mini Fruit Tarts is their versatility. Berries, kiwi, mango, and even stone fruits like peaches or cherries are excellent choices. Choose what’s in season for the best flavor!
Can I make the filling ahead of time?
Yes! You can prepare the filling a day in advance and store it in the refrigerator. Just give it a quick whisk before using to smooth it out.
How do I prevent the crust from becoming soggy?
To prevent a soggy crust, ensure that you bake the shells until they are fully cooked and golden brown. Additionally, filling them with cream only when you are ready to serve helps maintain their crispness.
Make It Tonight
Ready to impress your friends and family with these delightful Mini Fruit Tarts? Gather your ingredients, follow the steps, and watch as these little treats become the star of your dessert table. Whether it’s a special occasion or just a Wednesday night, there’s never a bad time to indulge in a Mini Fruit Tart. Enjoy the process, and don’t forget to share your creations with loved ones!
The joy of creating a beautiful dessert like Mini Fruit Tart lies not only in the final product but also in the love and care you put into each step. Happy baking!
Mini Fruit Tart
Ingredients
Equipment
Method
- Step 1: Prepare the Tart Crust - Combine the all-purpose flour, kosher salt, and powdered sugar in a food processor. Add the cold, cut pieces of unsalted butter and pulse until the mixture resembles coarse crumbs.
- Step 2: Form the Dough - Add the vanilla extract to the crumb mixture and pulse again until the dough begins to come together. It should be slightly crumbly but hold its shape when pressed.
- Step 3: Chill the Dough - Turn the dough onto a lightly floured surface and shape it into a disk. Wrap it in plastic wrap and refrigerate for at least 30 minutes.
- Step 4: Preheat the Oven - Preheat your oven to 350°F (175°C).
- Step 5: Roll Out the Dough - Roll out the dough on a floured surface to about 1/8 inch thick. Cut out circles that fit your tart pan or muffin tin.
- Step 6: Bake the Tart Shells - Press the dough circles into the tart pan or muffin tin. Prick the bottoms with a fork and bake for 12-15 minutes or until golden brown.
- Step 7: Make the Cream Filling - In a mixing bowl, combine the heavy whipping cream, mascarpone cheese, softened cream cheese, and powdered sugar. Whisk until smooth and creamy.
- Step 8: Assemble the Tarts - Fill each shell with a generous spoonful of the cream filling and smooth it out.
- Step 9: Top with Fresh Fruit - Arrange your choice of fresh fruits on top of the cream filling.
- Step 10: Chill and Serve - Place the assembled tarts in the refrigerator for at least 30 minutes before serving.
Notes
- Customize with seasonal fruits for variety.
- Make the filling a day ahead for convenience.
- Ensure the tart shells are fully baked to avoid sogginess.