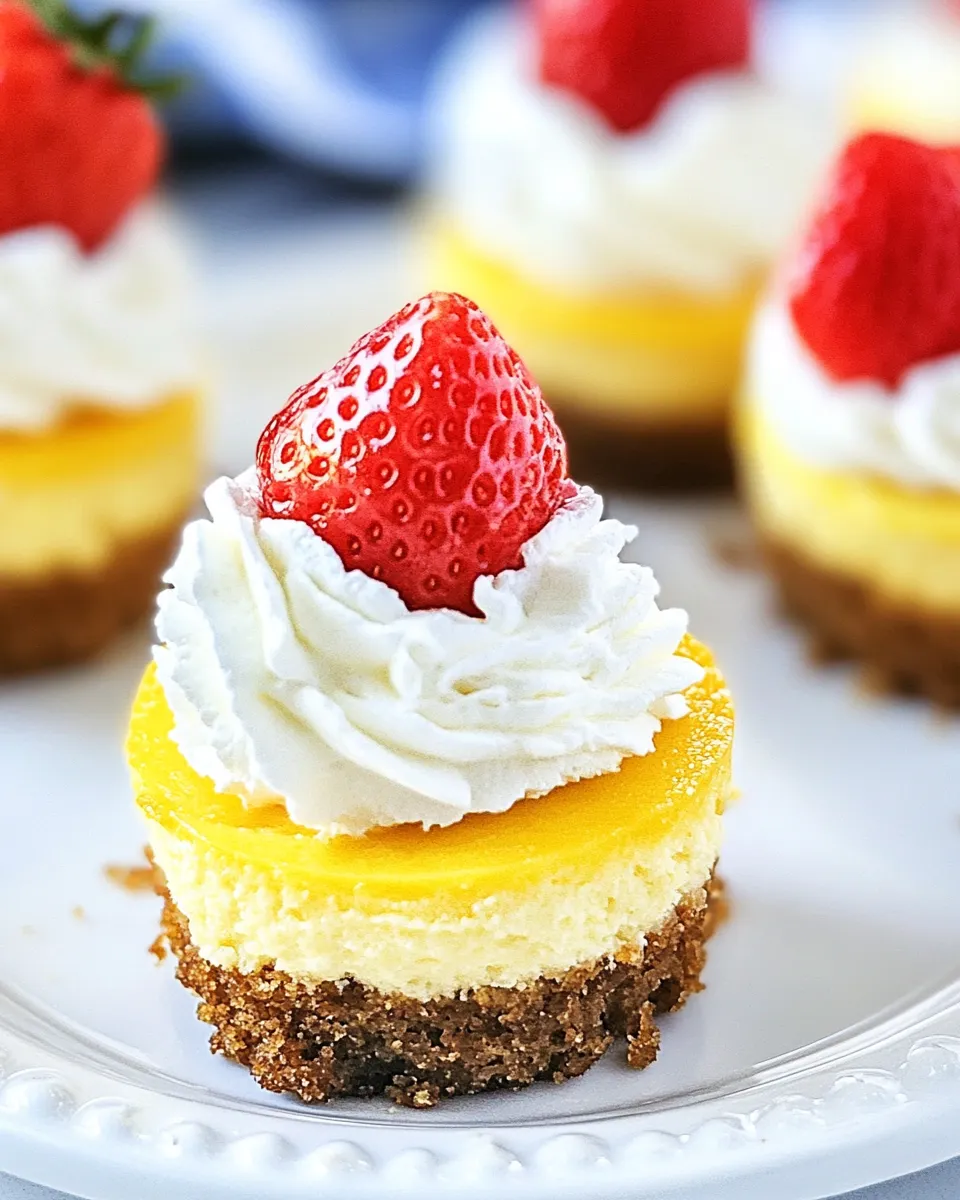
Mini Cheesecakes Recipe
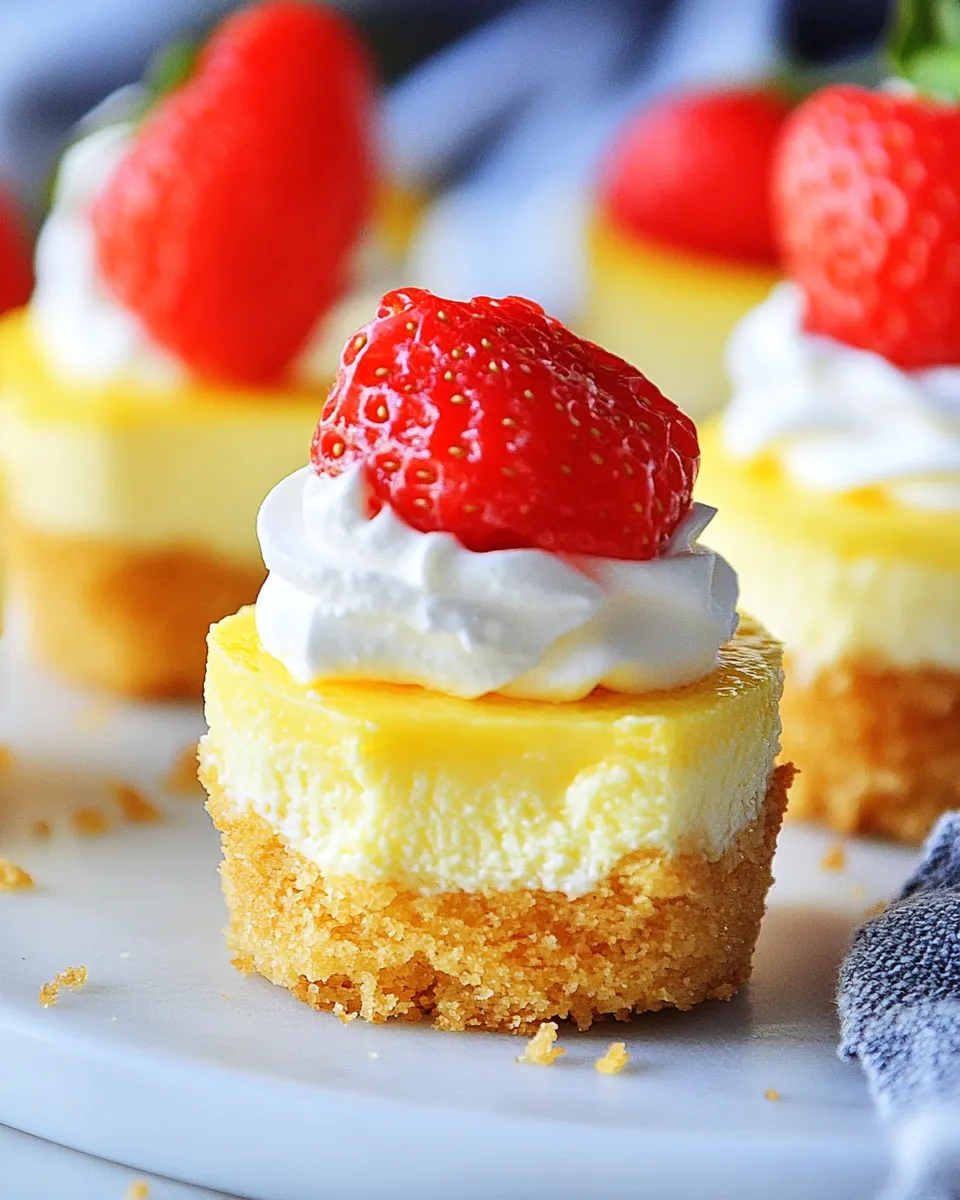
If you’re looking for a delightful dessert that’s both adorable and delicious, look no further than this Mini Cheesecakes Recipe. These little bites of creamy goodness are perfect for parties, gatherings, or just a sweet treat at home. With a buttery graham cracker crust and a smooth cheesecake filling, they are sure to impress your family and friends. Plus, they’re easy to make! Let’s dive into how to whip up these delightful mini cheesecakes.
What You’ll Love About This Recipe
This Mini Cheesecakes Recipe is packed with flavor and has several qualities that will win your heart:
– Individual servings: Perfectly portioned for a sweet treat without the guilt of a full slice.
– Customizable: Add your favorite toppings—fruits, sauces, or even chocolate.
– Easy to make: Simple steps that even novice bakers can follow with confidence.
– Make ahead: These mini cheesecakes can be prepared in advance, making them a fantastic option for busy schedules.
The Ingredient Lineup
To create these mini cheesecakes, you’ll need the following ingredients:
- 1 cup graham cracker crumbs
- 4 tablespoons unsalted butter, melted
- 2 tablespoons sugar
- 1 tablespoon brown sugar
- 1/2 teaspoon cinnamon
- 2 (8-ounce) packages cream cheese, softened
- 1/4 cup sour cream
- 1 teaspoon lemon zest
- 2 tablespoons cornstarch
- 1 teaspoon vanilla extract
- 1/2 teaspoon almond extract
- 1/2 cup white sugar
- 2 large eggs
- Whipped cream and berries for toppings
Setup & Equipment
Before we get started, gather the following equipment to make your baking process a breeze:
- 12-cup muffin tin: For baking mini cheesecakes.
- Parchment paper: Optional, but helps with easy removal.
- Mixing bowls: For combining the crust and cheesecake filling.
- Electric mixer: For achieving a smooth cheesecake filling.
- Measuring cups and spoons: To ensure accurate ingredient measurements.
Mini Cheesecakes Recipe — Do This Next
Now that you have everything ready, let’s make the mini cheesecakes!
Step 1: Preheat the Oven
Preheat your oven to 325°F (160°C). This ensures that your cheesecakes bake evenly.
Step 2: Prepare the Crust
In a mixing bowl, combine the graham cracker crumbs, melted butter, sugar, brown sugar, and cinnamon. Mix until the crumbs are well coated and resemble wet sand.
Step 3: Assemble the Crust
Line your muffin tin with cupcake liners or spray with non-stick spray. Evenly distribute the crust mixture into the bottom of each muffin cup, pressing it down firmly with the back of a spoon.
Step 4: Bake the Crust
Bake the crusts in the preheated oven for 8-10 minutes or until lightly golden. Remove from the oven and let cool while you prepare the cheesecake filling.
Step 5: Make the Cheesecake Filling
In a large mixing bowl, use an electric mixer to beat the softened cream cheese until smooth and creamy. Add in the sour cream, lemon zest, cornstarch, vanilla extract, almond extract, and white sugar. Mix until well combined.
Step 6: Add Eggs
Add the eggs one at a time, mixing gently after each addition until just combined. Be careful not to overmix, as this can lead to cracks in your cheesecakes.
Step 7: Fill the Muffin Cups
Pour the cheesecake filling over the cooled crusts in the muffin tin, filling each cup almost to the top.
Step 8: Bake the Cheesecakes
Bake in the oven for 18-20 minutes, or until the edges are set but the center is still slightly jiggly. Turn off the oven and leave the cheesecakes inside for an additional 10 minutes to help prevent cracking.
Step 9: Cool and Chill
Remove the mini cheesecakes from the oven and let them cool at room temperature for about 30 minutes. Then, transfer them to the refrigerator and chill for at least 2 hours, or overnight for best results.
Step 10: Serve with Toppings
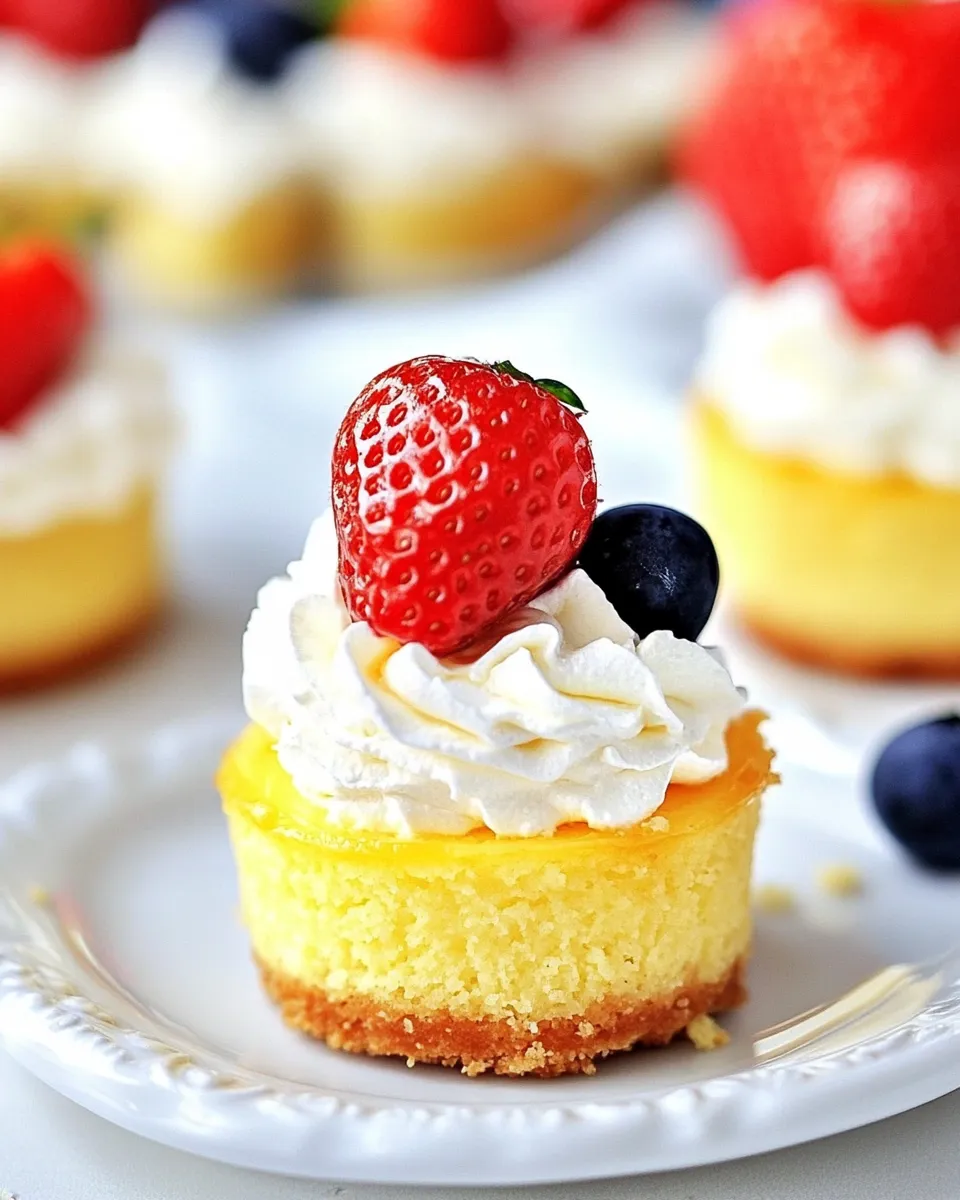
Before serving, top each mini cheesecake with whipped cream and fresh berries for a burst of flavor and color. Enjoy your delicious creations!
Allergy-Friendly Substitutes

If you have allergies or dietary restrictions, here are some easy substitutes:
- Gluten-free: Use gluten-free graham crackers for the crust.
- Dairy-free: Substitute cream cheese with a dairy-free cream cheese alternative and use coconut cream instead of sour cream.
- Vegan: Use vegan cream cheese and replace eggs with flax eggs (1 tablespoon ground flaxseed mixed with 2.5 tablespoons water for each egg).
Learn from These Mistakes
Baking can sometimes lead to unexpected outcomes. Here are a few common mistakes to avoid while making your mini cheesecakes:
- Overmixing the filling can introduce too much air and lead to cracks.
- Skipping the cooling step in the oven can result in cracked tops.
- Not allowing the cheesecakes to chill adequately can affect the texture and flavor.
- Using cold cream cheese instead of softened can lead to lumps in your batter.
Storage & Reheat Guide
These mini cheesecakes can be stored and enjoyed later:
- Refrigerate: Keep in an airtight container in the fridge for up to 5 days.
- Freeze: Freeze them individually wrapped for up to 2 months. Thaw in the fridge overnight before serving.
- Reheat: Serve cold or at room temperature; reheating is not necessary.
Popular Questions
Can I use a different crust for the mini cheesecakes?
Absolutely! You can experiment with different types of cookies, such as Oreos or vanilla wafers, for a unique flavor twist.
What can I use instead of sour cream?
You can substitute sour cream with plain Greek yogurt for a similar tangy flavor and creamy texture.
Can I make these mini cheesecakes without eggs?
Yes, you can replace the eggs with flax eggs or a commercial egg replacer for a vegan option.
How do I prevent my cheesecakes from cracking?
To avoid cracks, mix the filling gently, bake at a lower temperature, and allow the cheesecakes to cool gradually in the oven.
Hungry for More?
If you enjoyed this Mini Cheesecakes Recipe, you might also love trying out other sweet treats like chocolate mousse cups, lemon bars, or classic brownies. Each recipe is crafted to bring joy to your kitchen and tantalize your taste buds. Be sure to explore and find your next favorite dessert!
These mini cheesecakes are not only a treat for the taste buds, but they also bring a sense of accomplishment in the kitchen. With their creamy filling and delightful crust, they are bound to become a favorite in your dessert repertoire. Happy baking!
Mini Cheesecakes Recipe
Ingredients
Equipment
Method
- Step 1: Preheat your oven to 325°F (160°C).
- Step 2: In a mixing bowl, combine the graham cracker crumbs, melted butter, sugar, brown sugar, and cinnamon. Mix until the crumbs are well coated and resemble wet sand.
- Step 3: Line your muffin tin with cupcake liners or spray with non-stick spray. Evenly distribute the crust mixture into the bottom of each muffin cup, pressing it down firmly with the back of a spoon.
- Step 4: Bake the crusts in the preheated oven for 8-10 minutes or until lightly golden. Remove from the oven and let cool.
- Step 5: In a large mixing bowl, use an electric mixer to beat the softened cream cheese until smooth and creamy. Add in the sour cream, lemon zest, cornstarch, vanilla extract, almond extract, and white sugar. Mix until well combined.
- Step 6: Add the eggs one at a time, mixing gently after each addition until just combined.
- Step 7: Pour the cheesecake filling over the cooled crusts in the muffin tin, filling each cup almost to the top.
- Step 8: Bake in the oven for 18-20 minutes, or until the edges are set but the center is still slightly jiggly. Turn off the oven and leave the cheesecakes inside for an additional 10 minutes.
- Step 9: Remove from the oven and let cool at room temperature for about 30 minutes. Then, transfer to the refrigerator and chill for at least 2 hours, or overnight for best results.
- Step 10: Before serving, top each mini cheesecake with whipped cream and fresh berries. Enjoy!
Notes
- These mini cheesecakes can be stored in an airtight container in the fridge for up to 5 days.
- Freeze them individually wrapped for up to 2 months; thaw in the fridge overnight before serving.
- To avoid cracks, gently mix the filling and allow the cheesecakes to cool gradually in the oven.