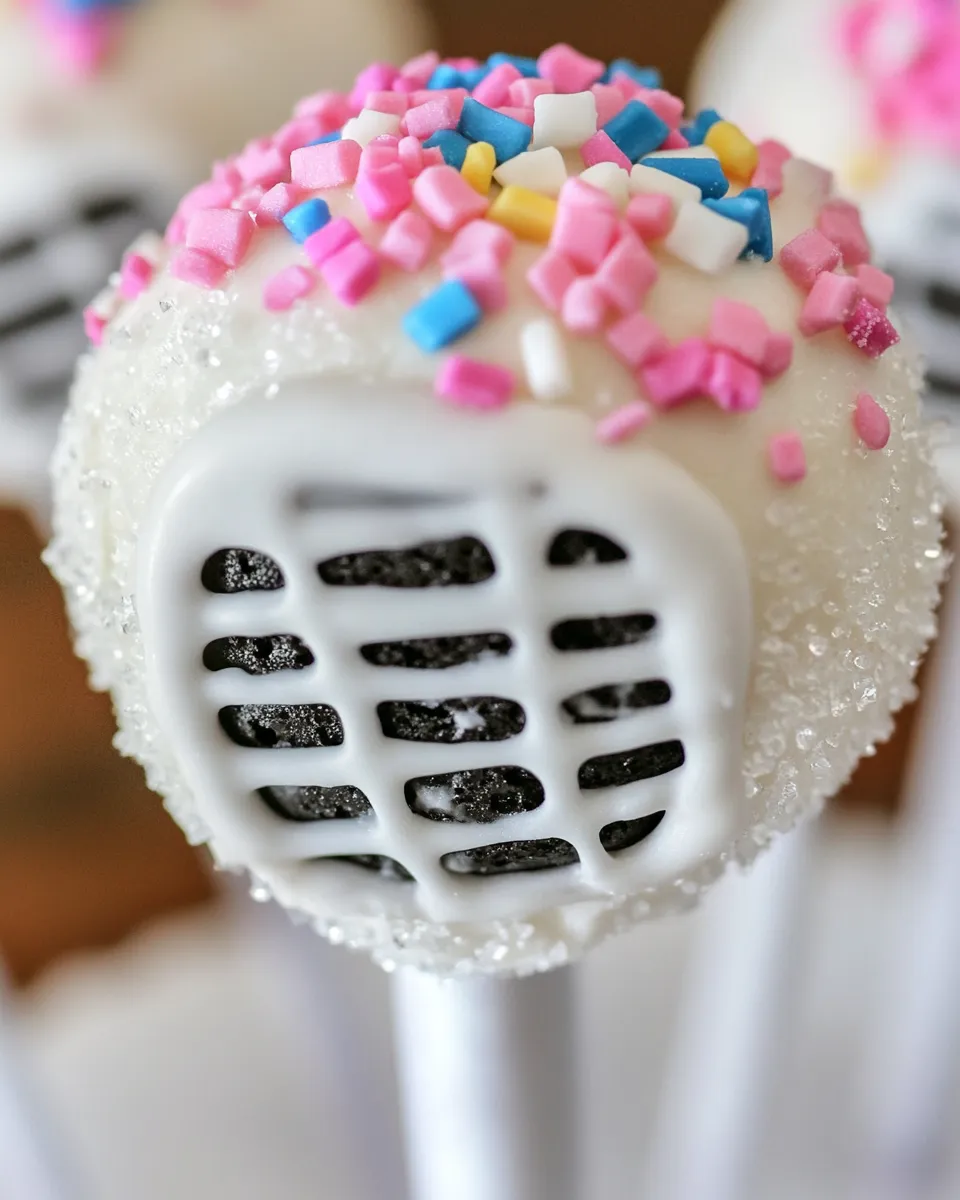
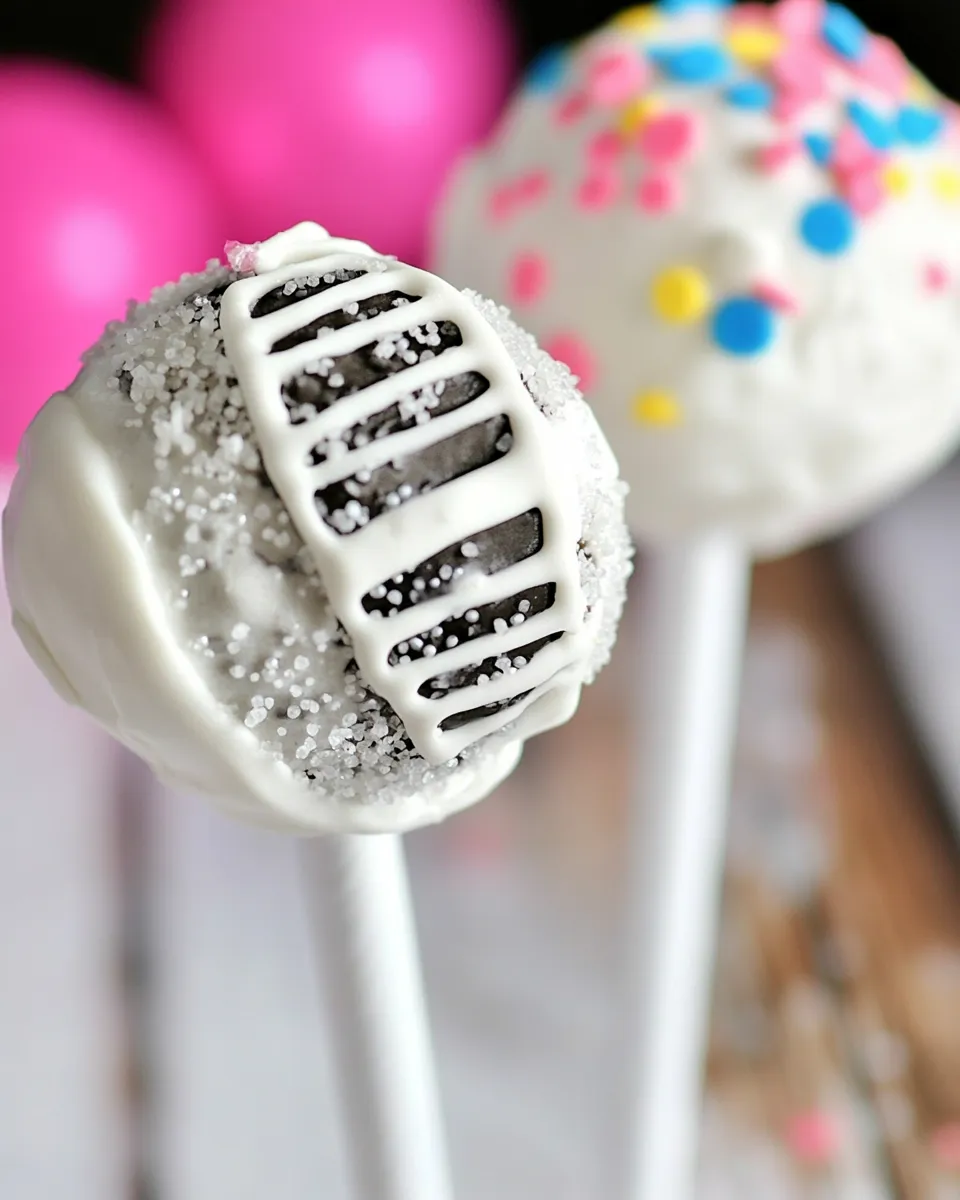
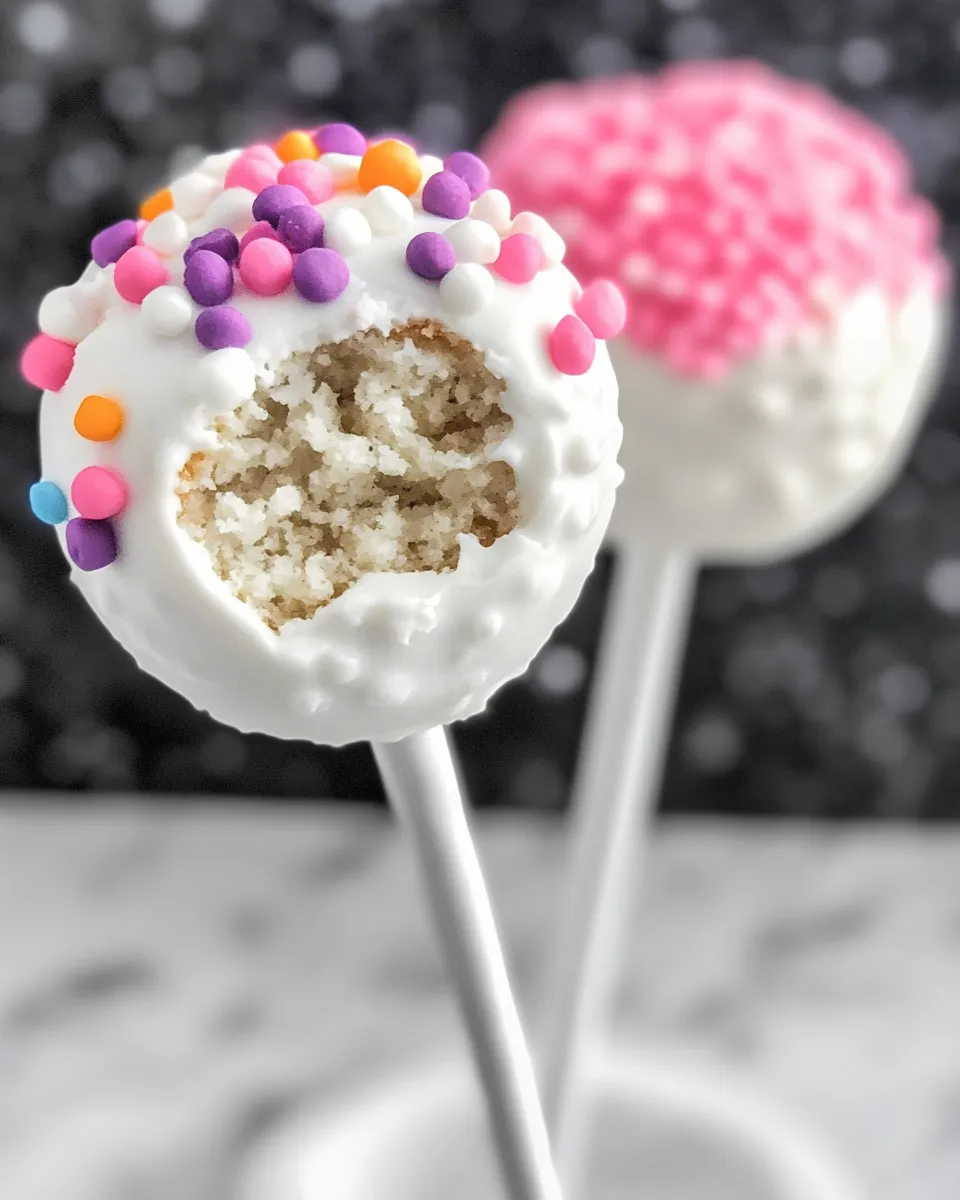
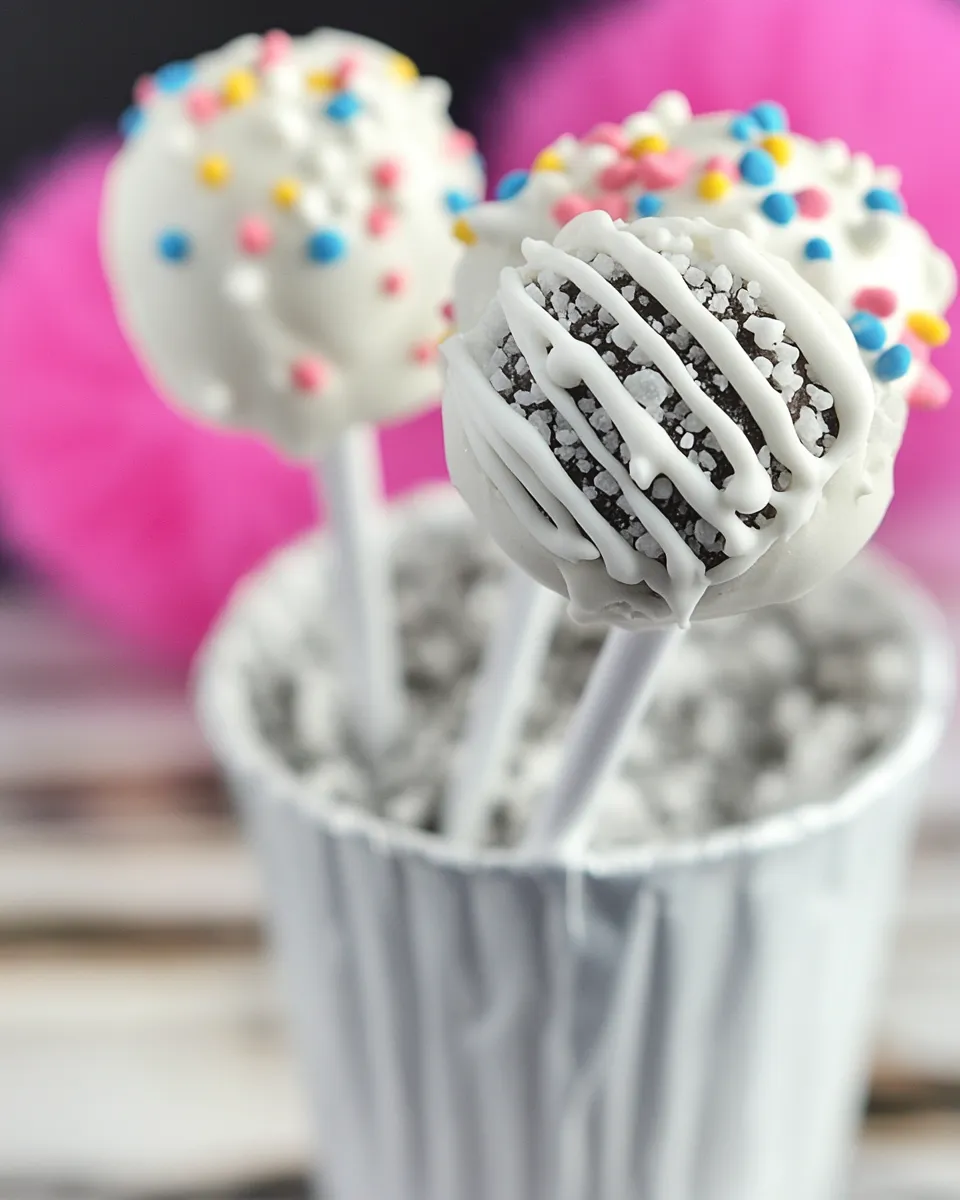
Microphone Cake Pops
If you’re looking for a fun and creative treat that’s perfect for any music-themed party or celebration, look no further than these delightful Microphone Cake Pops! With a rich chocolate flavor and a sweet vanilla frosting, these cake pops will have everyone singing your praises. They’re not only delicious but also super cute, making them a hit with both kids and adults alike! Plus, they are easy to make and require just a few simple ingredients. So, roll up your sleeves and let’s get started on creating these adorable treats!
Why Cooks Rave About It
Microphone Cake Pops are a fantastic way to combine creativity with deliciousness. These treats are versatile and can be customized to fit any occasion. Whether you’re hosting a birthday party, a music-themed get-together, or even a wedding, these cake pops will add a fun element to your dessert table. Their bite-sized nature makes them perfect for sharing, and the chocolatey goodness combined with the creamy frosting is simply irresistible. Plus, they’re a great way to use up leftover cake, turning what could be waste into a delightful dessert!
What You’ll Gather
- Cake: Your favorite flavor, baked and cooled (I used a chocolate box mix).
- Frosting: About 3/4 can for a 9×13 cake (I used a can of vanilla).
- White Candy Melts: Or Candiquik for coating the cake pops.
- Silver Jimmies: For decoration and added flair.
- Pretzel Rods: To serve as the microphone handle.
Appliances & Accessories
- Mixing Bowl: For combining your cake and frosting.
- Cookie Sheet: To place the cake pops while they set.
- Microwave-Safe Bowl: For melting the candy melts.
- Cookie Scoop or Spoon: To portion out your cake pop mixture.
- Styrofoam Block: To hold the pops upright while they set.
Microphone Cake Pops: From Prep to Plate
Step 1: Bake the Cake
Start by preparing your chocolate cake according to the instructions on the box. Once baked, allow it to cool completely. This is essential as it helps the cake maintain its structure when mixing with the frosting.
Step 2: Crumble the Cake
Once the cake has cooled, crumble it into a large mixing bowl. Use your hands or a fork to break it down into fine crumbs. The finer the crumbs, the better the mixture will bind together.
Step 3: Mix in the Frosting
Add about 3/4 of the can of vanilla frosting to the crumbled cake. Mix it together using your hands or a spatula until the mixture is well combined and holds together when pressed. You want it to be moist but not overly sticky.
Step 4: Shape the Cake Pops
Using a cookie scoop or your hands, take small portions of the cake mixture and roll them into balls about 1 inch in diameter. Place these on a cookie sheet lined with parchment paper. Once all the mixture is shaped, place the cookie sheet in the freezer for about 30 minutes to firm up the pops.
Step 5: Prepare the Coating
While the cake pops are chilling, melt the white candy melts in a microwave-safe bowl. Heat in 30-second intervals, stirring in between, until smooth and fully melted.
Step 6: Assemble the Pops
Once the cake pops are firm, dip the end of a pretzel rod into the melted candy melts and then insert it into the center of a cake pop. This will help the pretzel rod secure itself in the pop. Repeat for all cake pops.
Step 7: Coat the Cake Pops
Dip each cake pop into the melted candy melts, making sure they’re fully coated. Allow any excess coating to drip off before placing the pops upright into a styrofoam block to set.
Step 8: Add the Finishing Touches
While the coating is still wet, sprinkle silver jimmies over the top of the cake pops for that microphone effect. Let the pops sit until the coating has completely hardened.
Fresh Takes Through the Year
- Birthday Parties: Customize the cake flavor and color for themed celebrations.
- Holidays: Use colored candy melts and themed sprinkles for festive decorations.
- School Events: Create cupcake-sized pops for class parties.
- Weddings: Use elegant decorations to match the wedding theme.
Cook’s Notes
These Microphone Cake Pops are not only easy to make, but they also allow for lots of creativity. Feel free to experiment with different cake flavors and frosting combinations. For a twist, you could even add in chocolate chips or nuts for extra texture. Just remember to keep the cake pops small enough to maintain their pop shape!
Storage Pro Tips
To store your Microphone Cake Pops, place them in an airtight container in the refrigerator. They can last for up to a week, but they’re so delicious that they probably won’t last that long! If you want to freeze them, make sure they’re completely set before placing them in a freezer-safe container. They can be frozen for up to a month. Just thaw them in the refrigerator before serving.
Helpful Q&A
Can I use a different flavor of cake?
Absolutely! While chocolate is delicious, you can use any cake flavor you like, such as vanilla, red velvet, or even lemon for a refreshing twist.
What if I don’t have pretzel rods?
No problem! You can use lollipop sticks or even small skewers as an alternative. Just make sure they are sturdy enough to hold the weight of the cake pop.
How can I make these pops more festive for a party?
You can easily customize your cake pops with colored candy melts, themed sprinkles, or edible glitter to match your party theme!
What should I do if my candy melts are too thick?
If your candy melts are too thick to dip the pops, you can add a small amount of vegetable oil or shortening to thin it out. Just mix it in until you reach your desired consistency.
In Closing
These Microphone Cake Pops are a delightful treat that combines creativity, flavor, and fun! They’re perfect for any occasion, and their bite-sized nature makes them easy to enjoy. With a little preparation, you can create a dessert that not only looks impressive but also tastes amazing. So, whether you’re celebrating a special event or just want to indulge in a sweet treat, these cake pops are sure to be a hit. Get ready to share them with your friends and family, and watch as they disappear in no time! Happy baking!
Microphone Cake Pops
Ingredients
Equipment
Method
- Step 1: Bake the Cake - Prepare your chocolate cake according to the instructions on the box. Allow it to cool completely.
- Step 2: Crumble the Cake - Crumble the cooled cake into a large mixing bowl until fine crumbs form.
- Step 3: Mix in the Frosting - Add about 3/4 of the can of vanilla frosting to the crumbled cake. Mix until it holds together.
- Step 4: Shape the Cake Pops - Roll the mixture into balls about 1 inch in diameter and place on a lined cookie sheet. Freeze for 30 minutes.
- Step 5: Prepare the Coating - Melt the white candy melts in a microwave-safe bowl, heating in 30-second intervals.
- Step 6: Assemble the Pops - Dip the end of a pretzel rod into the melted candy and insert it into the center of a cake pop.
- Step 7: Coat the Cake Pops - Dip each cake pop into the melted candy melts, allowing excess to drip off. Place in a styrofoam block to set.
- Step 8: Add the Finishing Touches - While coating is still wet, sprinkle silver jimmies on top. Let the coating harden completely.
Notes
- Experiment with different cake flavors for variety.
- Store in an airtight container in the refrigerator for up to a week.
- Freeze for up to a month, thaw in the refrigerator before serving.