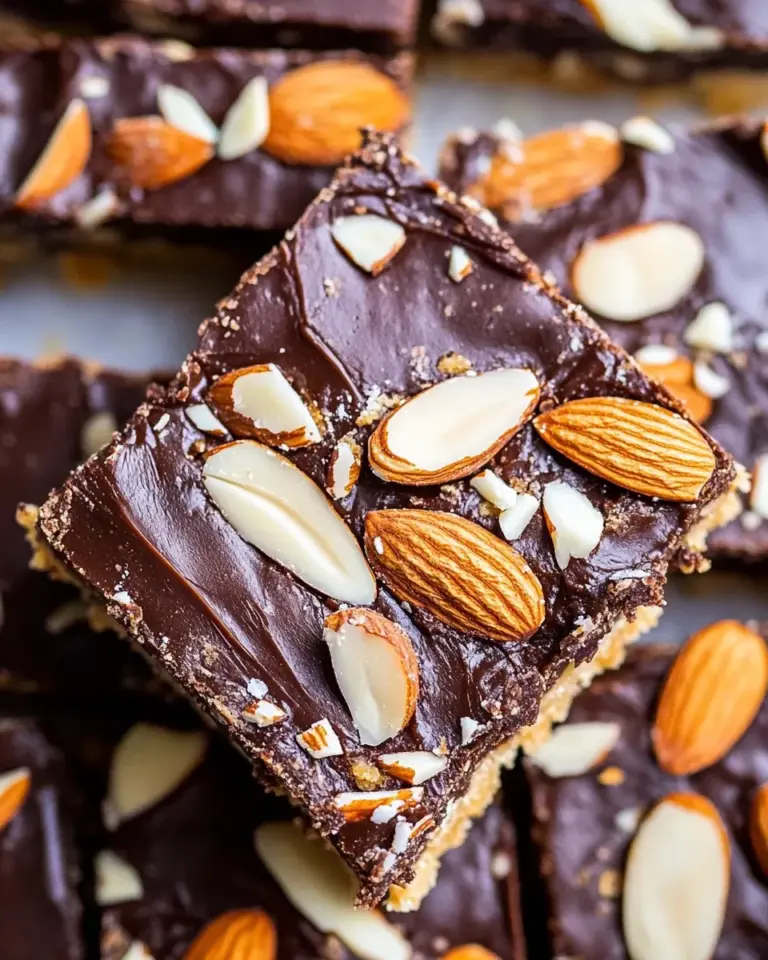
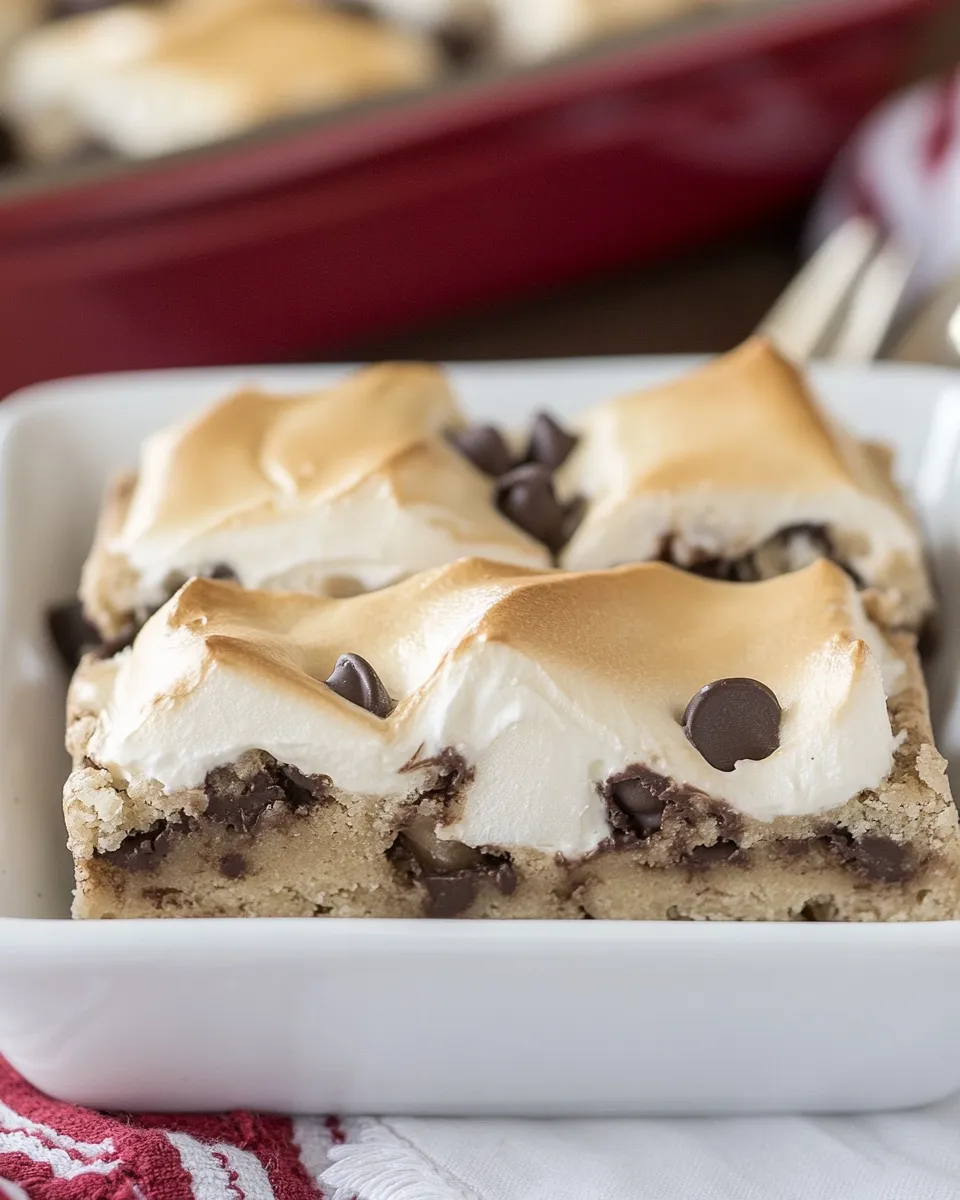
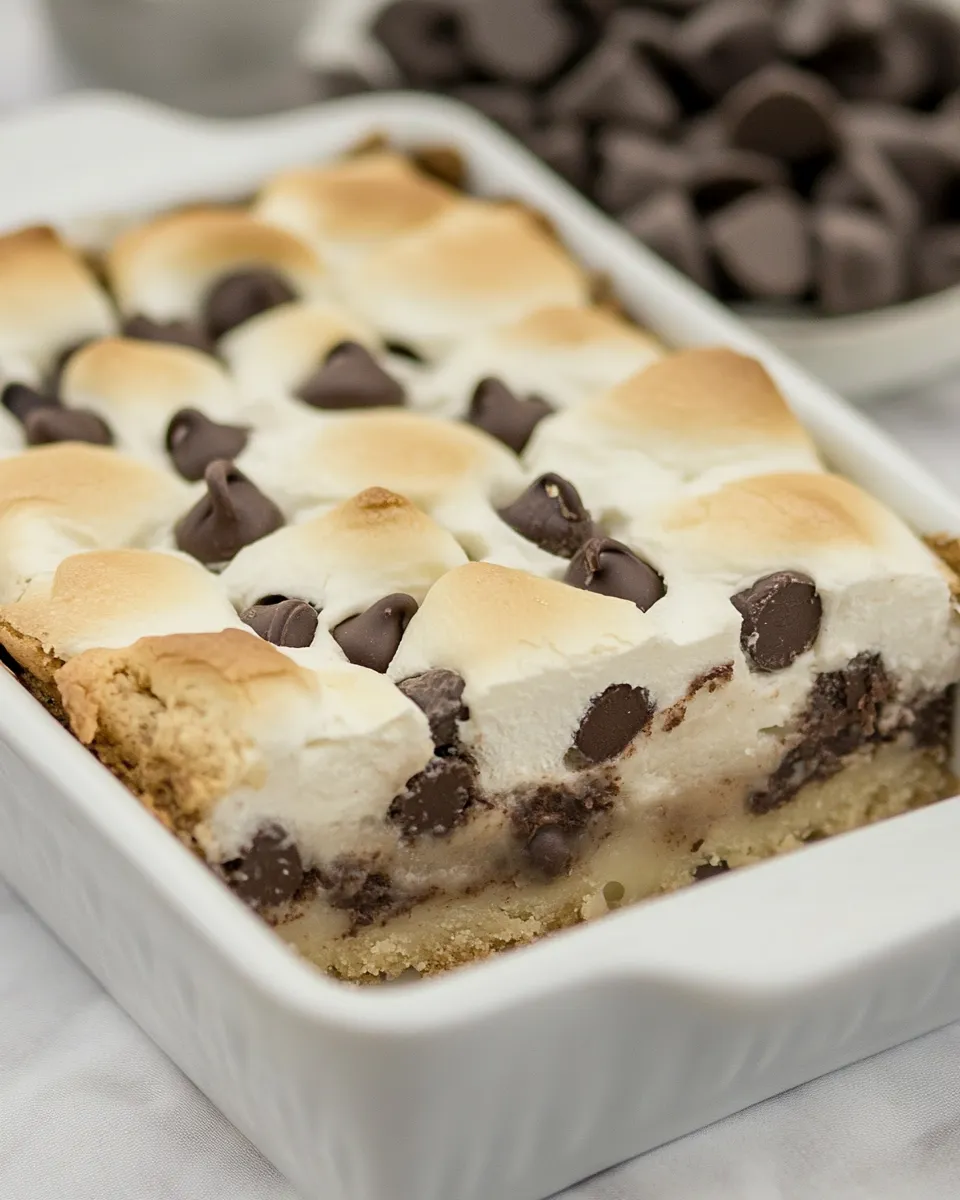
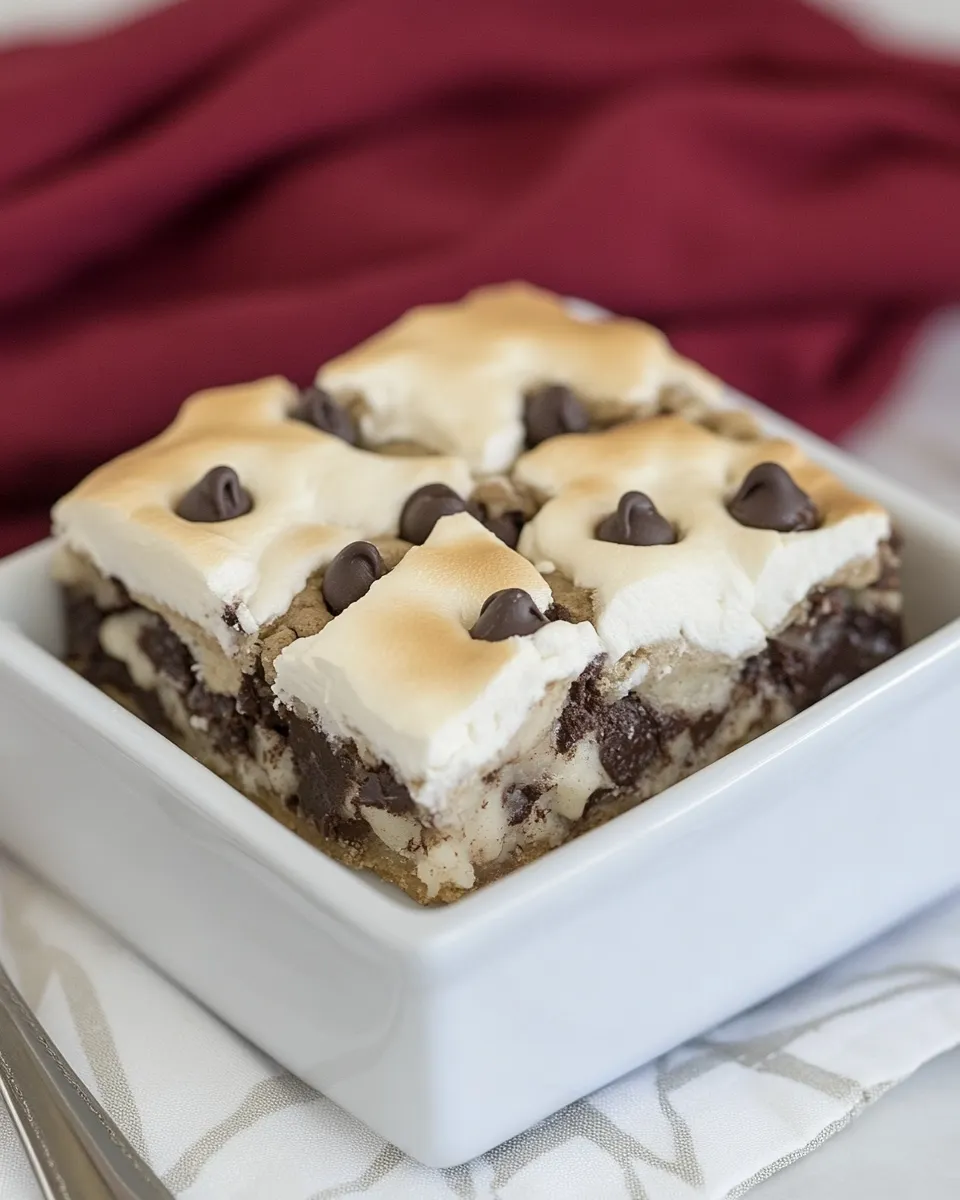
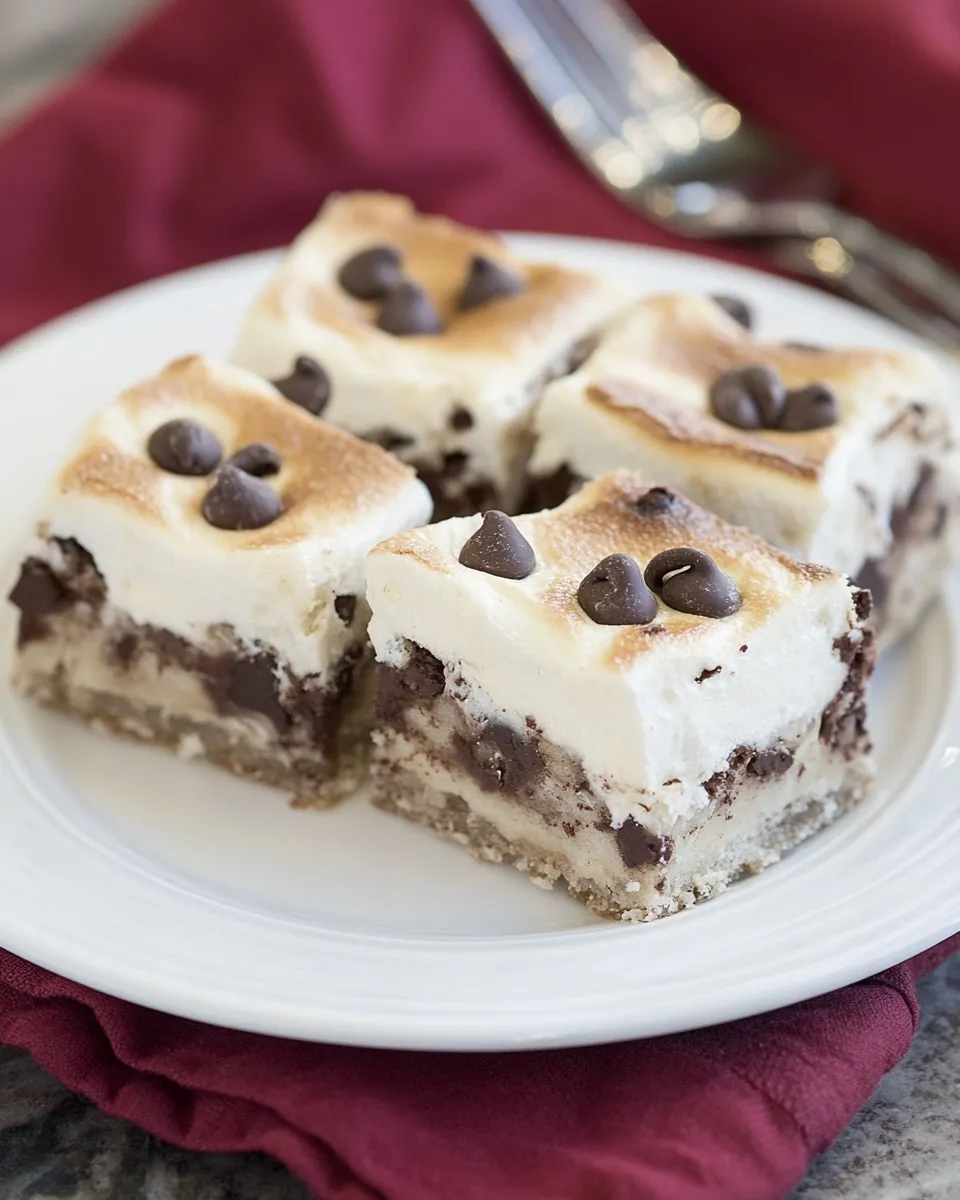
Meringue Topped Chocolate Chip Bars
When it comes to desserts that bring joy and satisfaction, Meringue Topped Chocolate Chip Bars are at the top of the list. These delectable bars combine the rich, buttery flavor of chocolate chip cookies with a fluffy, sweet meringue topping. The result is a delightful balance of textures and flavors that will make your taste buds dance. Whether you’re hosting a gathering or simply treating yourself after a long day, these bars are sure to impress. Let’s dive into the magic of creating these irresistible treats.
Why It Works Every Time
The beauty of Meringue Topped Chocolate Chip Bars lies in their simplicity and the perfect combination of ingredients. The base is a soft and chewy chocolate chip cookie, while the meringue topping adds a light and airy contrast. The key to achieving that perfect meringue is to whip the egg whites until they reach stiff peaks, which will give you that beautiful, glossy finish. The balance of sweetness from the sugars and the richness from the butter ensures every bite is a delightful experience.
What to Buy
- 1 cup all-purpose flour
- 1/8 teaspoon salt
- 1/8 teaspoon baking soda
- 1/4 teaspoon baking powder
- 1/2 cup unsalted butter, at room temperature
- 1 cup granulated sugar
- 1/2 cup brown sugar, packed
- 1 large egg, separated
- 1 teaspoon vanilla extract
- 1 tablespoon water
- 1 cup semisweet chocolate chips
- 1/4 cup brown sugar, for meringue topping
Gear Up: What to Grab
- Mixing bowls – for combining ingredients.
- Electric mixer – essential for whipping egg whites into stiff peaks.
- Spatula – for folding in the chocolate chips.
- Baking pan (9×9 inches) – perfect size for these bars.
- Parchment paper – helps with easy removal of the bars.
- Whisk – useful for mixing dry ingredients.
Build Meringue Topped Chocolate Chip Bars Step by Step
Step 1: Preheat Your Oven
Preheat your oven to 350°F (175°C). This ensures your bars bake evenly and thoroughly.
Step 2: Prepare the Baking Pan
Line your 9×9 inch baking pan with parchment paper, leaving some overhang for easy removal later.
Step 3: Mix the Dry Ingredients
In a medium bowl, combine 1 cup of flour, 1/8 teaspoon of salt, 1/8 teaspoon of baking soda, and 1/4 teaspoon of baking powder. Whisk them together and set aside.
Step 4: Cream the Butter and Sugars
In a large mixing bowl, use an electric mixer to cream together 1/2 cup of room temperature butter, 1 cup of granulated sugar, and 1/2 cup of brown sugar until the mixture is light and fluffy.
Step 5: Add Egg Yolk and Vanilla
Add 1 egg yolk, 1 teaspoon of vanilla extract, and 1 tablespoon of water to the butter-sugar mixture. Mix until well combined.
Step 6: Combine Dry and Wet Ingredients
Gradually add the dry ingredients to the wet mixture, mixing until just combined. Be careful not to overmix.
Step 7: Fold in the Chocolate Chips
Gently fold in 1 cup of semisweet chocolate chips using a spatula, ensuring they are evenly distributed throughout the batter.
Step 8: Pour into the Baking Pan
Pour the batter into the prepared baking pan and spread it out evenly.
Step 9: Bake the Base
Bake in the preheated oven for about 20-25 minutes or until the edges are golden brown and a toothpick inserted into the center comes out clean.
Step 10: Prepare the Meringue
While the bars are baking, prepare the meringue. In a clean mixing bowl, whip the egg white (from the separated egg) using an electric mixer until soft peaks form. Gradually add 1/4 cup of brown sugar while continuing to whip until stiff peaks are achieved and the meringue is glossy.
Step 11: Top the Bars
Once the bars are done baking, remove them from the oven and immediately spread the meringue over the hot chocolate chip base, making sure to cover it completely.
Step 12: Bake Again
Return the pan to the oven and bake for an additional 10-15 minutes or until the meringue is golden and set.
Step 13: Cool and Serve
Allow the bars to cool in the pan for about 10 minutes. Then, use the parchment overhang to lift them out of the pan and onto a wire rack to cool completely before cutting into squares.
Spring to Winter: Ideas
- Top with fresh berries in the spring for a fruity twist.
- Add a sprinkle of toasted coconut for a tropical flavor in the summer.
- In the fall, consider incorporating pumpkin spice into the batter for a seasonal touch.
- During winter, serve warm with a scoop of vanilla ice cream for a comforting dessert.
Notes from the Test Kitchen
This recipe is all about timing. Make sure to whip your egg whites in a clean bowl, as any grease can hinder the meringue from forming properly. If you prefer a sweeter meringue, feel free to increase the amount of sugar slightly. For an added depth of flavor, consider using dark chocolate chips instead of semisweet.
Prep Ahead & Store
You can prepare the base of the Meringue Topped Chocolate Chip Bars ahead of time and store it in the refrigerator for up to 2 days before baking. Once baked and topped with meringue, these bars can be stored in an airtight container at room temperature for up to 3 days. If you want to keep them fresh longer, consider refrigerating them, but bring them to room temperature before serving for the best texture.
Common Questions
Can I use a different type of chocolate chip?
Absolutely! You can use milk chocolate or even white chocolate chips for a different flavor profile. Just keep in mind that this will affect the overall sweetness of the bars.
What if my meringue doesn’t form stiff peaks?
If your meringue is not forming stiff peaks, ensure your mixing bowl and beaters are completely clean and free from any grease. Adding a pinch of cream of tartar can also help stabilize the egg whites while whipping.
Can I freeze Meringue Topped Chocolate Chip Bars?
Yes, you can freeze these bars! Wrap them tightly in plastic wrap and then in aluminum foil before placing them in the freezer. They will last up to 3 months. When ready to enjoy, thaw in the refrigerator or at room temperature.
How can I make these bars gluten-free?
To make Meringue Topped Chocolate Chip Bars gluten-free, substitute the all-purpose flour with a 1:1 gluten-free flour blend. Ensure that all other ingredients are certified gluten-free as well.
That’s a Wrap
In conclusion, Meringue Topped Chocolate Chip Bars are a delightful treat that combines the best of both worlds: the richness of chocolate chip cookies and the lightness of meringue. With their easy-to-follow recipe and adaptable nature, these bars are perfect for any occasion. Whether you’re enjoying them on a sunny spring day or a cozy winter night, they are sure to become a favorite in your dessert repertoire. So gather your ingredients, fire up your mixer, and get ready to indulge in these heavenly bars!
Meringue Topped Chocolate Chip Bars
Ingredients
Equipment
Method
- Step 1: Preheat your oven to 350°F (175°C). This ensures your bars bake evenly and thoroughly.
- Step 2: Line your 9x9 inch baking pan with parchment paper, leaving some overhang for easy removal later.
- Step 3: In a medium bowl, combine 1 cup of flour, 1/8 teaspoon of salt, 1/8 teaspoon of baking soda, and 1/4 teaspoon of baking powder. Whisk them together and set aside.
- Step 4: In a large mixing bowl, use an electric mixer to cream together 1/2 cup of room temperature butter, 1 cup of granulated sugar, and 1/2 cup of brown sugar until the mixture is light and fluffy.
- Step 5: Add 1 egg yolk, 1 teaspoon of vanilla extract, and 1 tablespoon of water to the butter-sugar mixture. Mix until well combined.
- Step 6: Gradually add the dry ingredients to the wet mixture, mixing until just combined. Be careful not to overmix.
- Step 7: Gently fold in 1 cup of semisweet chocolate chips using a spatula, ensuring they are evenly distributed throughout the batter.
- Step 8: Pour the batter into the prepared baking pan and spread it out evenly.
- Step 9: Bake in the preheated oven for about 20-25 minutes or until the edges are golden brown and a toothpick inserted into the center comes out clean.
- Step 10: While the bars are baking, prepare the meringue. In a clean mixing bowl, whip the egg white (from the separated egg) using an electric mixer until soft peaks form. Gradually add 1/4 cup of brown sugar while continuing to whip until stiff peaks are achieved and the meringue is glossy.
- Step 11: Once the bars are done baking, remove them from the oven and immediately spread the meringue over the hot chocolate chip base, making sure to cover it completely.
- Step 12: Return the pan to the oven and bake for an additional 10-15 minutes or until the meringue is golden and set.
- Step 13: Allow the bars to cool in the pan for about 10 minutes. Then, use the parchment overhang to lift them out of the pan and onto a wire rack to cool completely before cutting into squares.
Notes
- Ensure your mixing bowl is clean for the meringue to whip properly.
- For a sweeter meringue, increase the sugar slightly.
- Consider using dark chocolate chips for added depth of flavor.