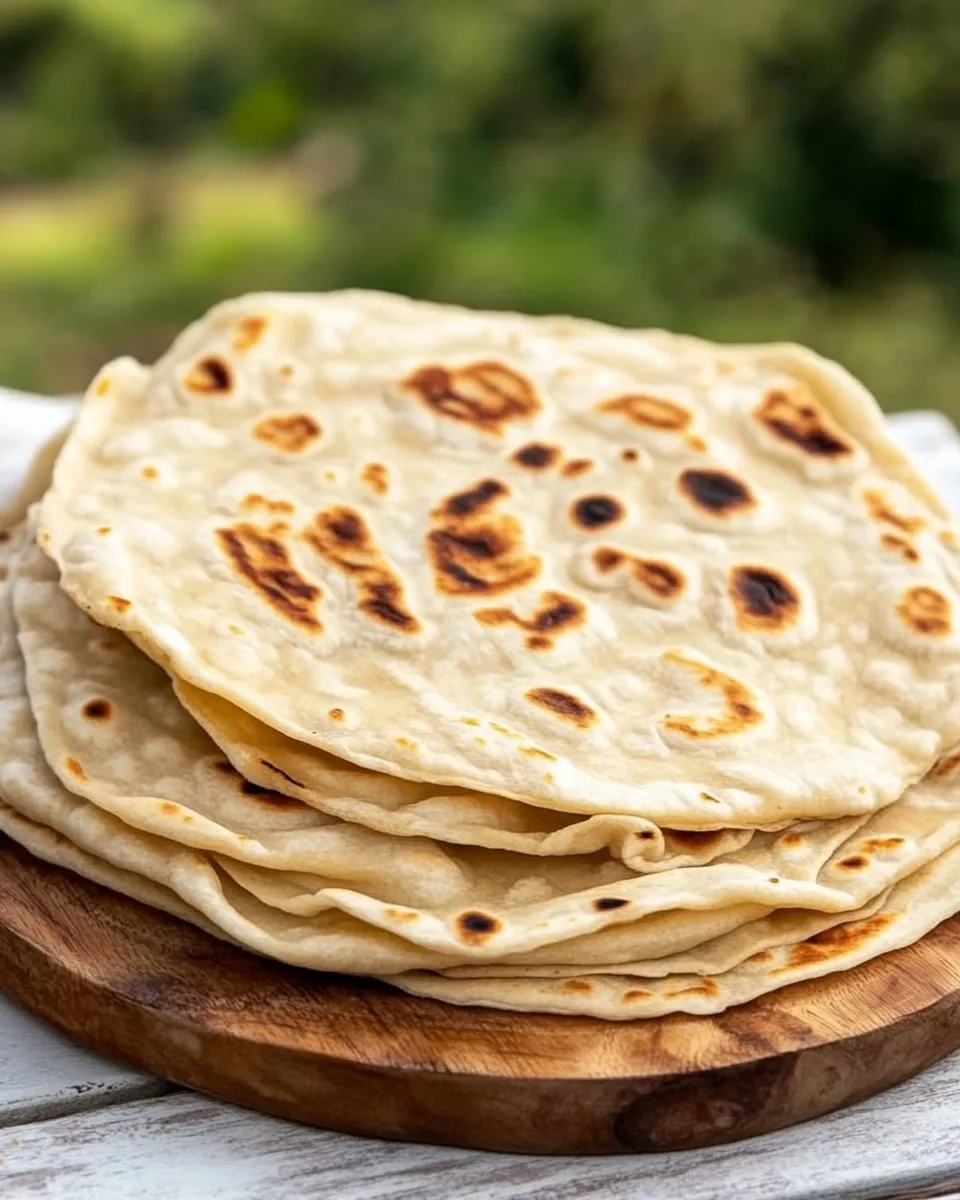
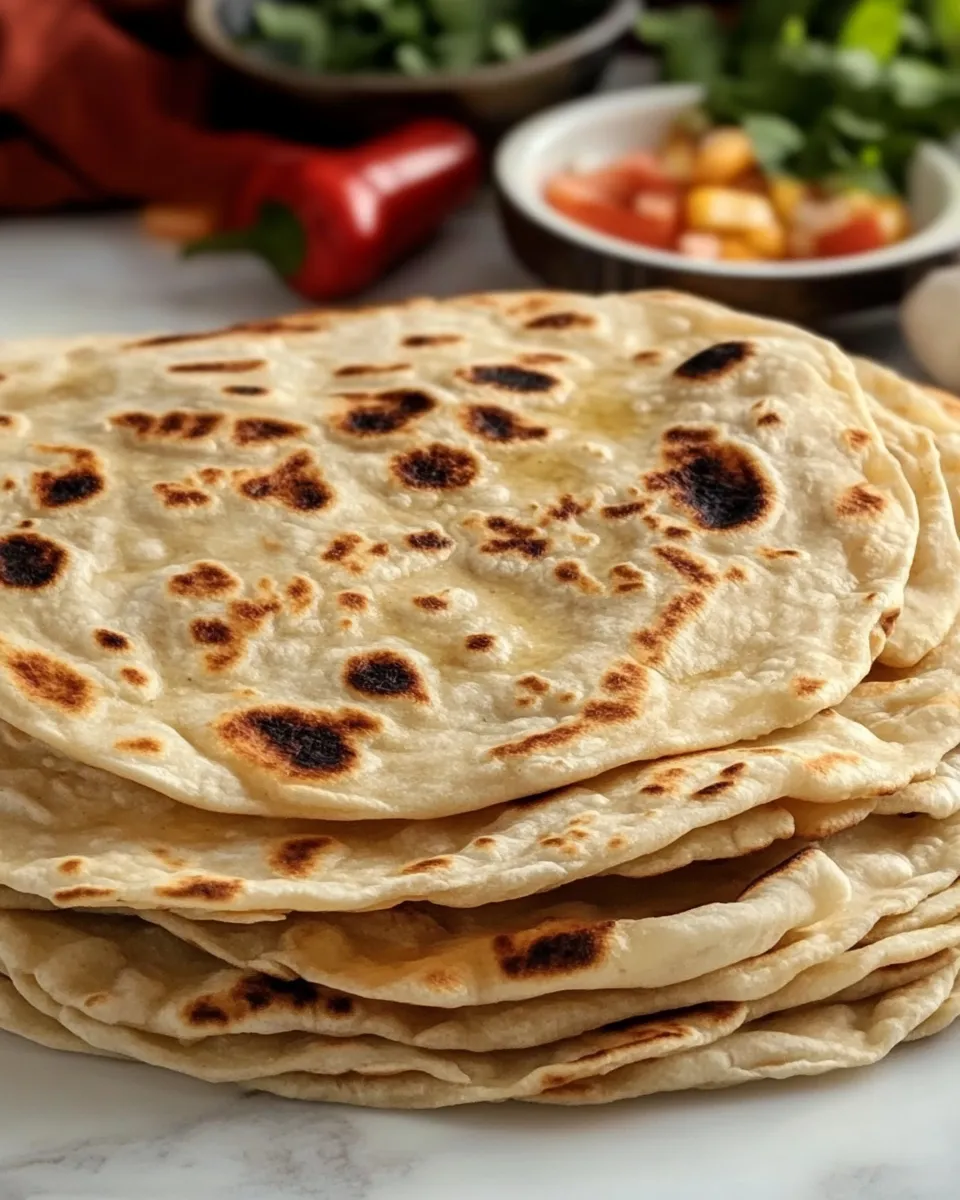
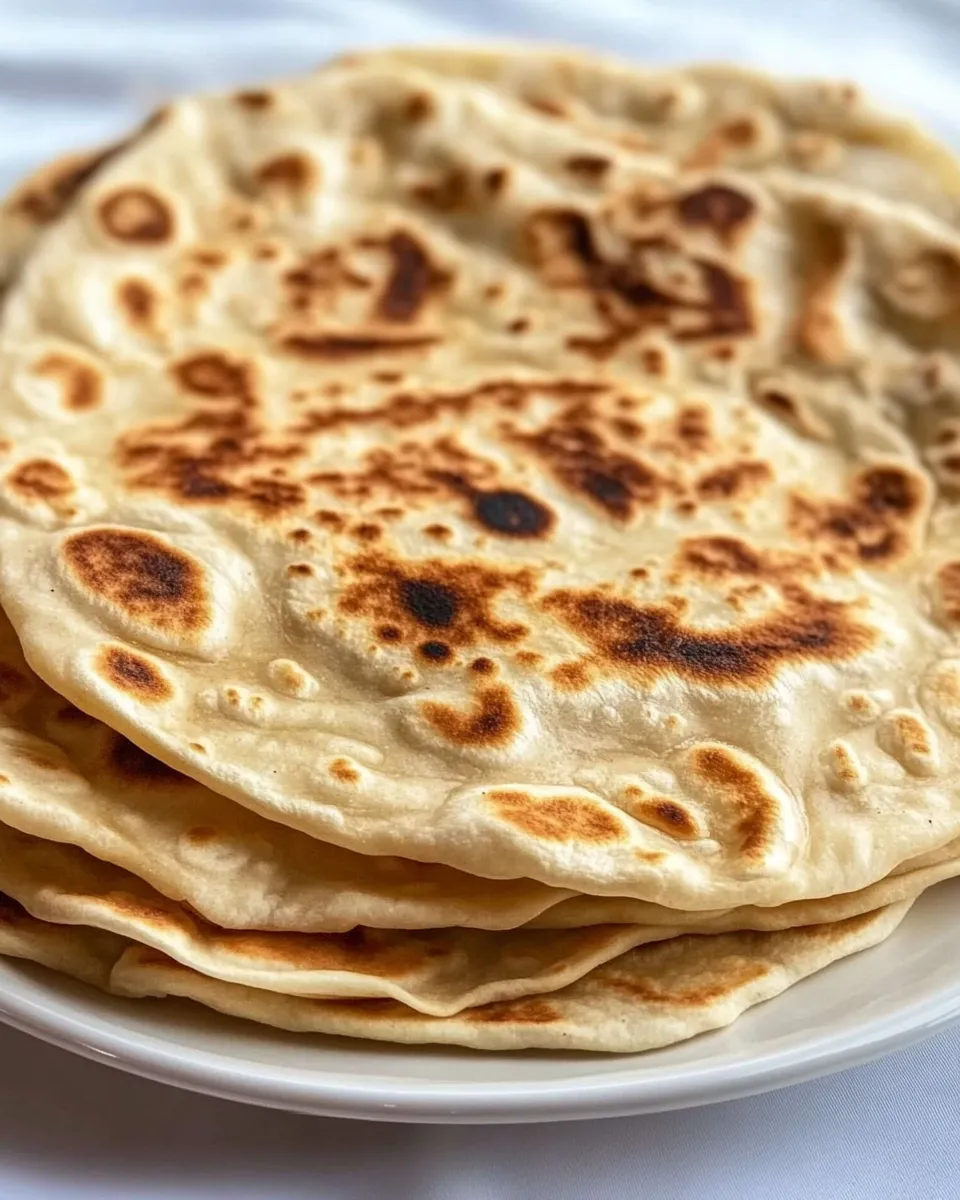
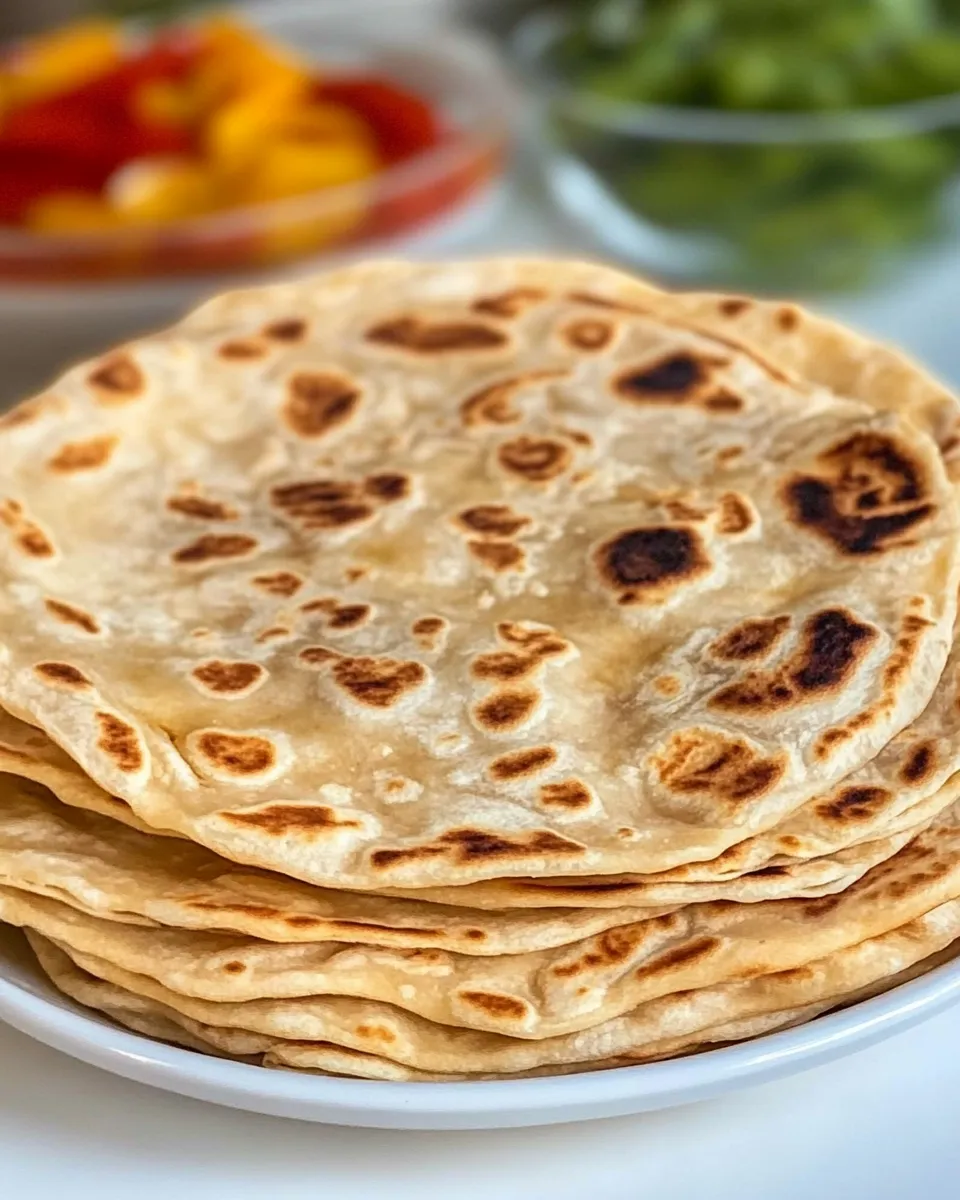
Kenyan Chapati (Flatbread)
Kenyan Chapati is a beloved staple that captures the essence of East African cuisine. This delightful flatbread is renowned for its soft, flaky texture and versatility, making it a perfect accompaniment to a variety of dishes. Whether you’re savoring it with a hearty stew, a fresh salad, or simply enjoying it with some butter, Kenyan Chapati adds a touch of warmth and comfort to any meal. With just a handful of ingredients, you can whip up this delicious flatbread in no time!
Why It Deserves a Spot
Kenyan Chapati is more than just a flatbread; it’s a culinary experience that brings together families and friends. Its rich history in Kenyan culture makes it a cherished recipe passed down through generations. The layers of dough create a beautifully flaky texture that is unmatched. Plus, it’s incredibly versatile—you can pair it with almost anything, from savory dishes to sweet spreads. It’s a dish that embodies love and togetherness, making it a must-try for any home cook.
Ingredient Breakdown
To create the perfect Kenyan Chapati, here’s what you will need:
- 375g all-purpose or wheat flour: This is the foundation of your chapati, providing the structure and texture.
- 1 tsp salt: Enhances the flavor of the dough and balances the taste.
- 1 tsp sugar: Adds a subtle sweetness, helping to develop a golden crust.
- 3 quarts water: Essential for hydrating the flour and creating a pliable dough. You may not use all of it, so add gradually.
- 1 quart vegetable oil: Used for cooking the chapati and achieving that signature flaky texture. You can also use ghee for a richer flavor.
Tools & Equipment Needed
To make your chapati-making process smooth and enjoyable, gather the following tools:
- Mixing bowl: For combining your ingredients.
- Rolling pin: To roll out the dough into thin circles.
- Skillet or tava: A flat cooking surface for frying the chapati.
- Spatula: To flip the chapati while cooking.
- Clean kitchen towel: To keep your chapati warm after cooking.
From Start to Finish: Kenyan Chapati (Flatbread)
Step 1: Prepare the Dough
In a large mixing bowl, combine the 375g of all-purpose flour with 1 teaspoon of salt and 1 teaspoon of sugar. Mix well to ensure even distribution of the dry ingredients. Gradually add water, about half a quart at a time, while mixing with your hands or a wooden spoon until a rough dough forms.
Step 2: Knead the Dough
Transfer the dough onto a floured surface and knead it for about 10 minutes until it becomes smooth and elastic. If the dough feels too sticky, sprinkle a little more flour as needed. Once kneaded, cover the dough with a damp cloth and let it rest for at least 30 minutes. This resting period allows the gluten to relax, making it easier to roll out.
Step 3: Divide and Shape the Dough
After resting, divide the dough into 8 equal portions. Roll each portion into a ball and flatten it slightly with your palm. This will make it easier to roll out into thin circles.
Step 4: Roll Out the Chapati
On a lightly floured surface, take one dough ball and use a rolling pin to roll it out into a thin circle, about 8 inches in diameter. The thinner the chapati, the flakier it will be, so aim for a delicate touch.
Step 5: Cook the Chapati
Heat a skillet or tava over medium-high heat and add a small amount of vegetable oil. Once hot, place the rolled chapati onto the skillet. Cook for about 1-2 minutes, or until small bubbles form on the surface. Flip the chapati using a spatula and cook for another minute until lightly golden brown. Optionally, you can brush a little oil on the top side while cooking.
Step 6: Keep Warm
Once cooked, transfer the chapati to a clean kitchen towel and cover it to keep warm. Repeat the rolling and cooking process with the remaining dough balls. You can stack the cooked chapatis, covering them with the towel to retain their warmth and softness.
Smart Substitutions
If you find yourself short on any ingredients or looking for alternatives, consider these options:
- Whole wheat flour: Can be used in place of all-purpose flour for a healthier option.
- Salt substitutes: If you are watching your sodium intake, consider using potassium salt.
- Flavored oils: Use olive oil or coconut oil for a unique taste.
- Herbs and spices: Incorporate dried herbs like rosemary or thyme into the dough for added flavor.
What I Learned Testing
- Resting the dough is crucial! It not only makes the dough easier to work with but also improves the final texture of the chapati.
- Don’t rush the cooking process. Cooking over medium heat allows the chapati to puff up nicely and develop a golden crust.
- Using a bit of oil while cooking helps achieve that characteristic flaky texture.
- Chapatis can be frozen! After cooking, let them cool completely and store them in an airtight container for up to 3 months.
Leftovers & Meal Prep
If you find yourself with leftover chapati, don’t worry! They can be stored in an airtight container at room temperature for up to two days or in the refrigerator for about a week. To reheat, warm them in a skillet or microwave wrapped in a damp paper towel to ensure they don’t dry out. For meal prep, consider making a double batch and freezing half for a quick meal option later in the week. They are perfect for wraps or as a side to stews and curries.
Questions People Ask
Can I make chapati without oil?
While oil is traditionally used to create a flakier texture and golden crust, you can omit it if you prefer a lighter version. Keep in mind that the chapati may be less flaky without oil.
How can I make my chapati soft?
The key to soft chapati lies in kneading the dough well and allowing it to rest. Cooking them on medium heat and covering them after cooking will also help retain moisture, keeping them soft.
Can I add flavors to the chapati dough?
Absolutely! You can add spices like cumin or coriander, or even finely chopped herbs to the dough for an extra flavor boost. Just remember to adjust the salt accordingly.
How do I know when my chapati is cooked?
Your chapati is cooked when it puffs up and has golden spots on both sides. The texture should feel soft and slightly firm to the touch.
Ready to Cook?
Gather your ingredients and tools, and get ready to enjoy the deliciousness of Kenyan Chapati! This flatbread will not only fill your stomach but also warm your heart with its rich flavors and comforting texture. Whether you serve it alongside a spicy curry or enjoy it simply with a pat of butter, this recipe is sure to become a favorite in your household. Happy cooking, and may your chapatis always be perfectly flaky!
Kenyan Chapati (Flatbread)
Ingredients
Equipment
Method
- In a large mixing bowl, combine the 375g of all-purpose flour with 1 teaspoon of salt and 1 teaspoon of sugar. Mix well to ensure even distribution of the dry ingredients. Gradually add water, about half a quart at a time, while mixing with your hands or a wooden spoon until a rough dough forms.
- Transfer the dough onto a floured surface and knead it for about 10 minutes until it becomes smooth and elastic. If the dough feels too sticky, sprinkle a little more flour as needed. Cover the dough with a damp cloth and let it rest for at least 30 minutes.
- After resting, divide the dough into 8 equal portions. Roll each portion into a ball and flatten it slightly with your palm.
- On a lightly floured surface, take one dough ball and use a rolling pin to roll it out into a thin circle, about 8 inches in diameter.
- Heat a skillet or tava over medium-high heat and add a small amount of vegetable oil. Once hot, place the rolled chapati onto the skillet. Cook for about 1-2 minutes, or until small bubbles form on the surface. Flip the chapati using a spatula and cook for another minute until lightly golden brown.
- Once cooked, transfer the chapati to a clean kitchen towel and cover it to keep warm. Repeat the rolling and cooking process with the remaining dough balls.
Notes
- Resting the dough is crucial for a better texture.
- Don’t rush the cooking process; medium heat is key.
- Chapatis can be frozen for up to 3 months!