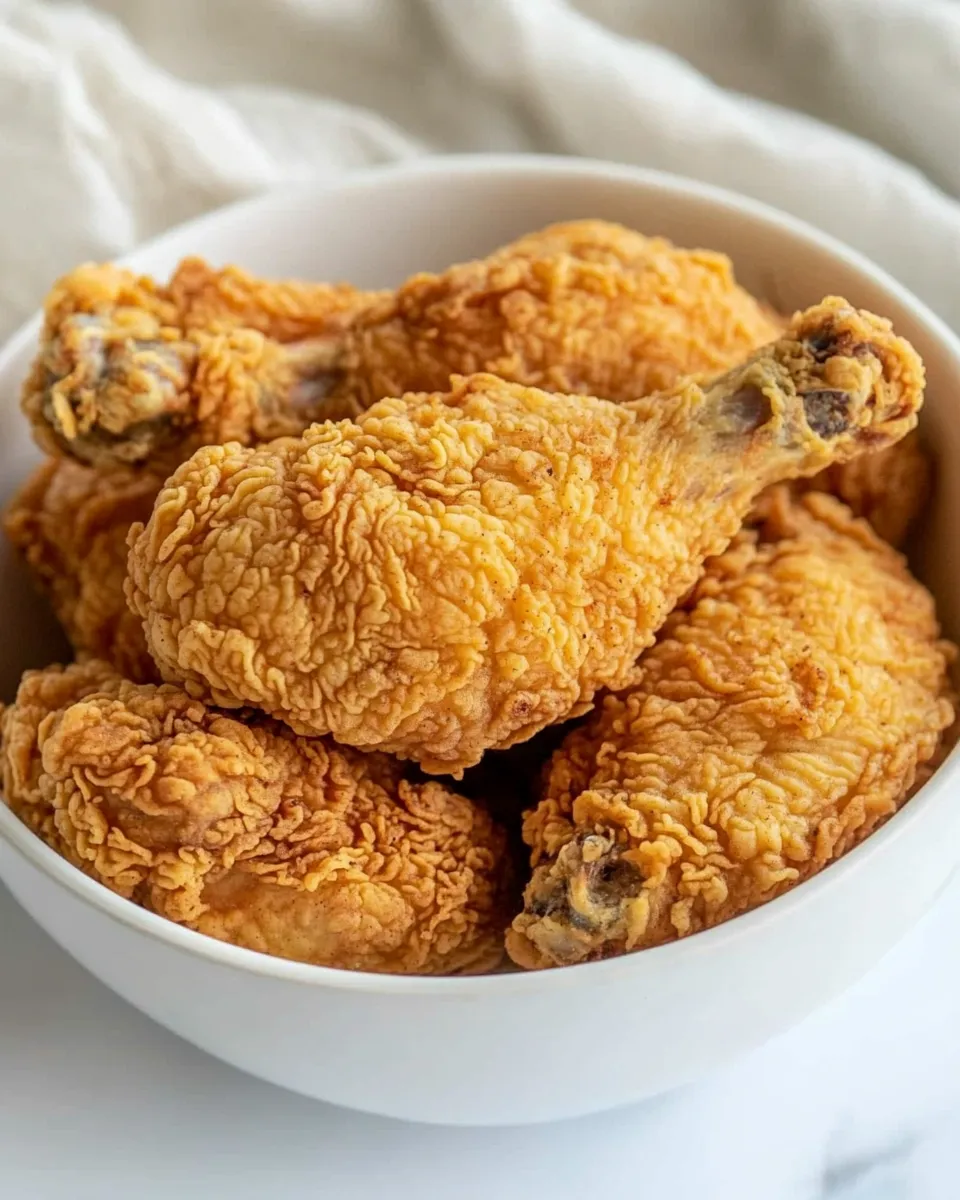
Kentucky Fried Chicken
There’s something truly iconic about Kentucky Fried Chicken. The crispy, golden-brown exterior combined with juicy, tender meat makes it a beloved staple in many households. Whether it’s a family gathering, a weekend treat, or a simple dinner, making your own version of this classic dish can be incredibly satisfying. Let’s take a deep dive into creating mouthwatering Kentucky Fried Chicken right in your kitchen.
Why Kentucky Fried Chicken is Worth Your Time

Kentucky Fried Chicken isn’t just a meal; it’s an experience. The crunch of the skin, the flavorful spices, and the succulent meat all come together to create a dish that brings people together. Making your own KFC-style chicken allows you to customize flavors, control the ingredients, and enjoy the cooking process. Plus, there’s nothing quite like the aroma of fried chicken wafting through your home, evoking memories of family dinners and joyful gatherings.
Ingredient Notes
- 1 whole chicken (cut up into 8 pieces): The star of the show! Each piece should be uniform to ensure even cooking.
- 1 cup buttermilk: This adds moisture and tenderness, allowing the chicken to soak in flavor before frying.
- 1 large egg (beaten): Helps bind the flour mixture to the chicken, creating that signature crispy coating.
- 2 cups all-purpose flour: The base for your breading; it creates that perfect crunchy exterior.
- Vegetable oil (for frying): Choose a neutral oil with a high smoke point to achieve the best frying results.
- 1 cup ground paprika: Adds color and a hint of sweetness; it’s a key flavor component.
- 2 tablespoons garlic powder: Infuses the chicken with a savory depth of flavor.
- 2 tablespoons ground white pepper: Offers a subtle heat without overpowering the dish.
- 1 tablespoon celery salt: Provides a unique flavor twist that enhances the overall seasoning.
- 1 tablespoon ground black pepper: Adds a robust kick to the seasoning mix.
- 1 tablespoon dry ground mustard: Brings a tangy element that brightens the flavors.
- 2 teaspoons kosher salt: Essential for seasoning the chicken and enhancing all the flavors.
- 2 teaspoons onion powder: Contributes a mild sweetness and depth.
- 2 teaspoons dried thyme: Adds an aromatic touch to the seasoning blend.
- 2 teaspoons dried basil: Complements the other herbs with its sweet and aromatic flavor.
- 1 teaspoon dried oregano: Brings a warm, earthy flavor to the mix.
- 1 teaspoon ground ginger: Adds a subtle warmth and complexity to the dish.
- 1 teaspoon MSG (optional): Enhances umami flavor, but can be omitted if desired.
Setup & Equipment
- Large mixing bowl: For marinating the chicken in buttermilk and egg.
- Deep frying pan or Dutch oven: Essential for frying the chicken evenly.
- Thermometer: To check the oil temperature, ensuring perfect frying conditions.
- Wire rack: For cooling the chicken after frying, allowing excess oil to drain.
- Cooking tongs: For safely handling the chicken during frying.
Kentucky Fried Chicken — Do This Next

Step 1: Marinate the Chicken
Begin by placing the cut-up chicken pieces in a large mixing bowl. Pour in the buttermilk and beaten egg, ensuring all pieces are well-coated. Cover and let it marinate in the refrigerator for at least 2 hours, or overnight if you have the time. This step is crucial for achieving tender, flavorful chicken.
Step 2: Prepare the Seasoned Flour
In another bowl, combine the all-purpose flour with paprika, garlic powder, white pepper, celery salt, black pepper, ground mustard, kosher salt, onion powder, thyme, basil, oregano, ginger, and MSG (if using). Mix well until all the dry ingredients are evenly distributed.
Step 3: Heat the Oil
In a deep frying pan or Dutch oven, pour in enough vegetable oil to cover the chicken pieces about halfway. Heat the oil over medium-high heat until it reaches 350°F (175°C). Using a thermometer is key here; too hot and the chicken will burn, too cool and it won’t crisp up properly.
Step 4: Dredge the Chicken
Once the chicken has marinated, remove it from the refrigerator. Shake off any excess buttermilk and dip each piece into the seasoned flour, ensuring it’s fully coated. Gently shake off any excess flour before placing it in the hot oil.
Step 5: Fry the Chicken
Carefully add the chicken pieces to the hot oil, cooking in batches if necessary to avoid overcrowding. Fry each piece for about 12-15 minutes, turning occasionally, until the chicken is golden brown and cooked through (internal temperature should reach 165°F or 74°C).
Step 6: Drain and Serve
Once cooked, transfer the fried chicken to a wire rack to drain any excess oil. Allow it to cool slightly before serving. Pair it with your favorite sides for a complete meal!
Season-by-Season Upgrades
- For a spicy kick: Add cayenne pepper to the flour mixture for a fiery twist.
- Herb-infused: Incorporate fresh herbs like rosemary or parsley into the flour for a garden-fresh flavor.
- Honey-glazed: Drizzle honey over the chicken right before serving for a sweet contrast to the savory spices.
- Buttermilk ranch dip: Serve with a side of homemade ranch dressing for dipping, enhancing the flavor experience.
Pro Tips & Notes
- For the crispiest skin, ensure your chicken is at room temperature before frying.
- Let the chicken rest on a wire rack instead of paper towels to keep it crispy.
- Experiment with different types of oils to find your preferred flavor—peanut oil is a popular choice!
- If you have leftovers, store them in an airtight container to keep them fresh.
Refrigerate, Freeze, Reheat
If you have any leftover Kentucky Fried Chicken, you can refrigerate it for up to 3 days. For longer storage, freeze the fried chicken in an airtight container for up to 3 months. When you’re ready to enjoy it again, reheat in a preheated oven at 375°F (190°C) until warmed through and crispy, about 15-20 minutes. Avoid reheating in the microwave, as this can make the chicken soggy.
Reader Questions
How can I make sure my chicken is fully cooked?
The best way to ensure your chicken is fully cooked is to use a meat thermometer. The internal temperature should reach 165°F (74°C) for safe consumption.
Can I use skinless chicken pieces?
While traditional Kentucky Fried Chicken uses skin-on pieces for that signature crunch, you can use skinless chicken if you prefer. Just be aware that the texture and flavor will differ slightly.
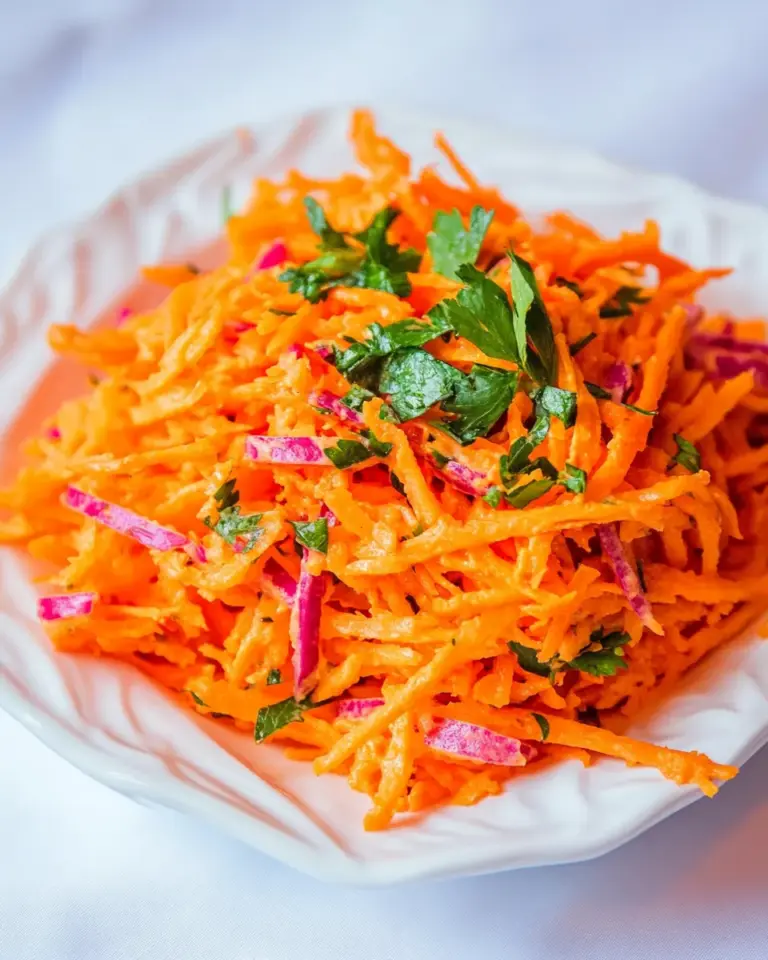
What sides pair well with Kentucky Fried Chicken?
Classic sides include coleslaw, mashed potatoes, cornbread, and biscuits. Feel free to get creative with your favorites!
Can I bake this chicken instead of frying it?
Yes! For a healthier version, you can bake the chicken. Preheat your oven to 425°F (220°C), place the coated chicken on a baking sheet, and bake for about 30-40 minutes or until cooked through and golden brown.
Final Thoughts
Creating your own Kentucky Fried Chicken at home is an enriching culinary adventure. The combination of spices and the crispy, tender chicken will leave everyone at the table wanting more. With this recipe, you can bring the essence of a classic favorite into your kitchen while enjoying the process of cooking. So gather your ingredients, roll up your sleeves, and get ready to impress your family and friends with your very own Kentucky Fried Chicken!

Kentucky Fried Chicken
Ingredients
Equipment
Method
- Step 1: Marinate the Chicken - Place the cut-up chicken pieces in a large mixing bowl. Pour in the buttermilk and beaten egg, ensuring all pieces are well-coated. Cover and let it marinate in the refrigerator for at least 2 hours, or overnight for best results.
- Step 2: Prepare the Seasoned Flour - In another bowl, combine the all-purpose flour with paprika, garlic powder, white pepper, celery salt, black pepper, ground mustard, kosher salt, onion powder, thyme, basil, oregano, ginger, and MSG (if using). Mix well until evenly distributed.
- Step 3: Heat the Oil - In a deep frying pan or Dutch oven, pour in enough vegetable oil to cover the chicken pieces about halfway. Heat the oil over medium-high heat until it reaches 350°F (175°C).
- Step 4: Dredge the Chicken - Remove the marinated chicken from the refrigerator, shake off excess buttermilk, and dip each piece into the seasoned flour, ensuring it’s fully coated. Shake off excess flour before placing it in the hot oil.
- Step 5: Fry the Chicken - Carefully add the chicken pieces to the hot oil, cooking in batches if necessary. Fry for about 12-15 minutes, turning occasionally until golden brown and cooked through (internal temperature should reach 165°F or 74°C).
- Step 6: Drain and Serve - Transfer the fried chicken to a wire rack to drain excess oil. Allow to cool slightly before serving. Enjoy with your favorite sides!
Notes
- Ensure chicken is at room temperature before frying for the crispiest skin.
- Rest the chicken on a wire rack rather than paper towels to maintain crispiness.
- Experiment with different oils to find your preferred flavor.
- Store leftovers in an airtight container for freshness.