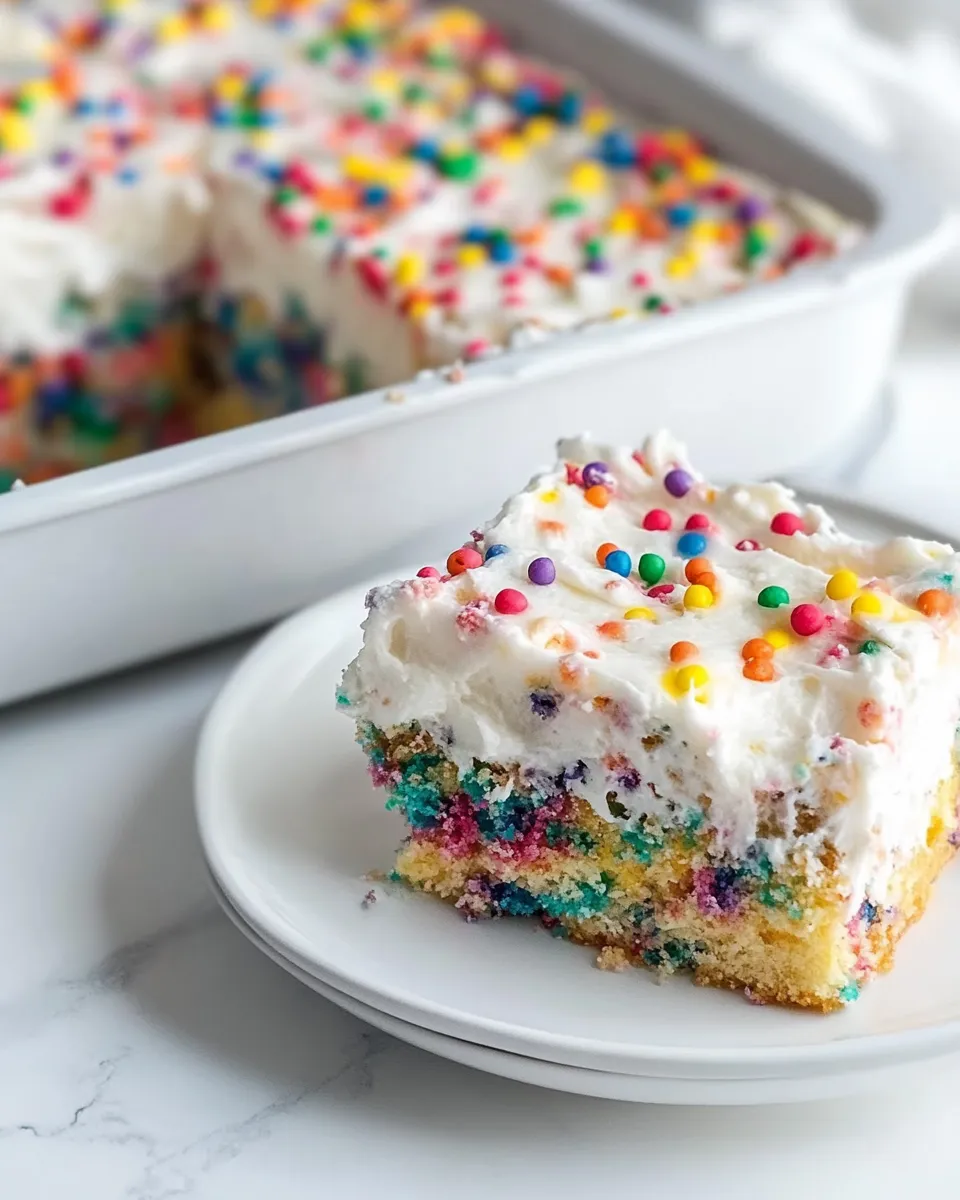
Homemade Funfetti Cake
When it comes to birthdays, celebrations, or just a delightful treat to brighten up your day, nothing beats the joy of a Homemade Funfetti Cake. Packed with colorful sprinkles and a fluffy texture, this cake brings back nostalgic memories of childhood parties and happy moments. The best part? It’s simple to make right in your own kitchen. Let’s dive into the world of funfetti and create a masterpiece that will impress your family and friends!
Why It’s Crowd-Pleasing
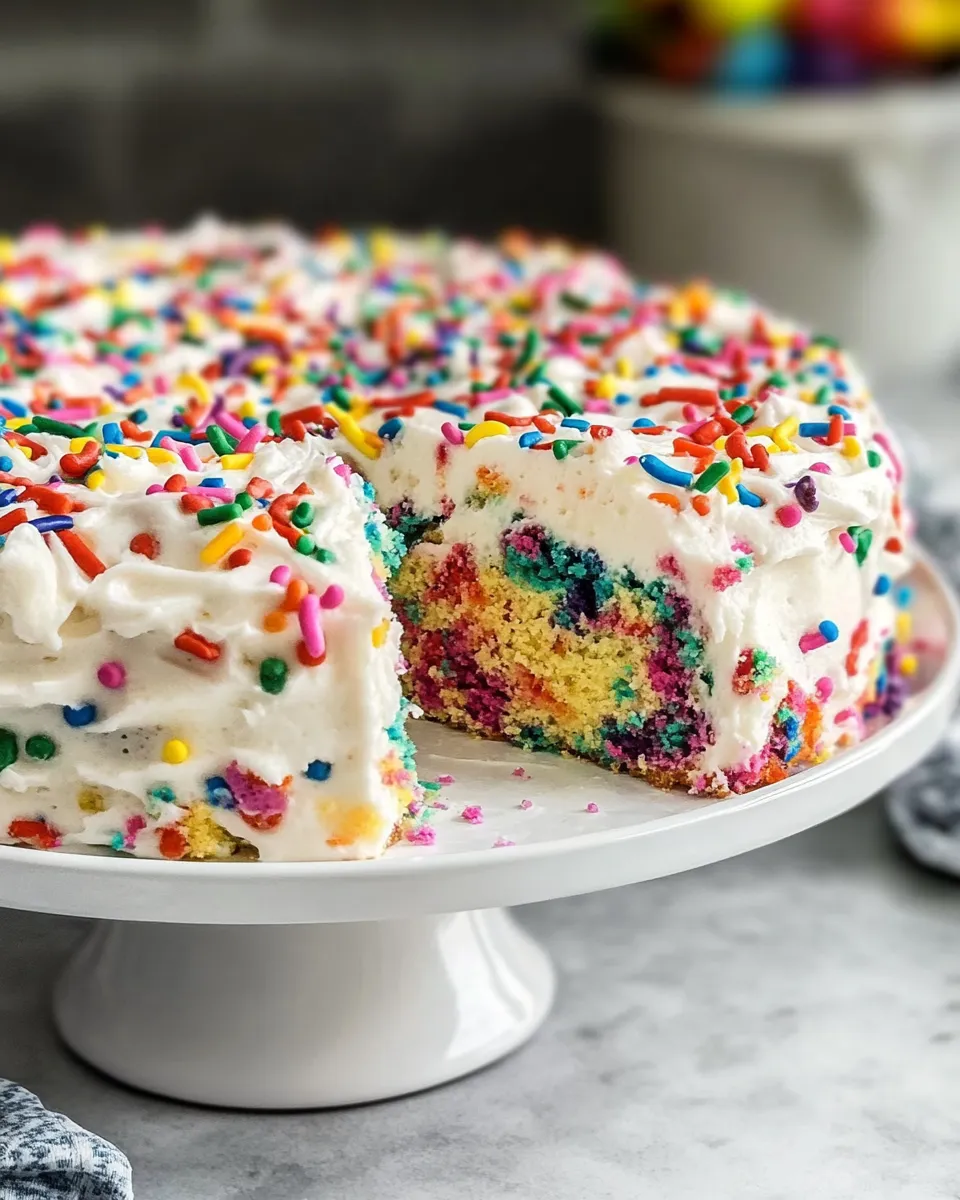
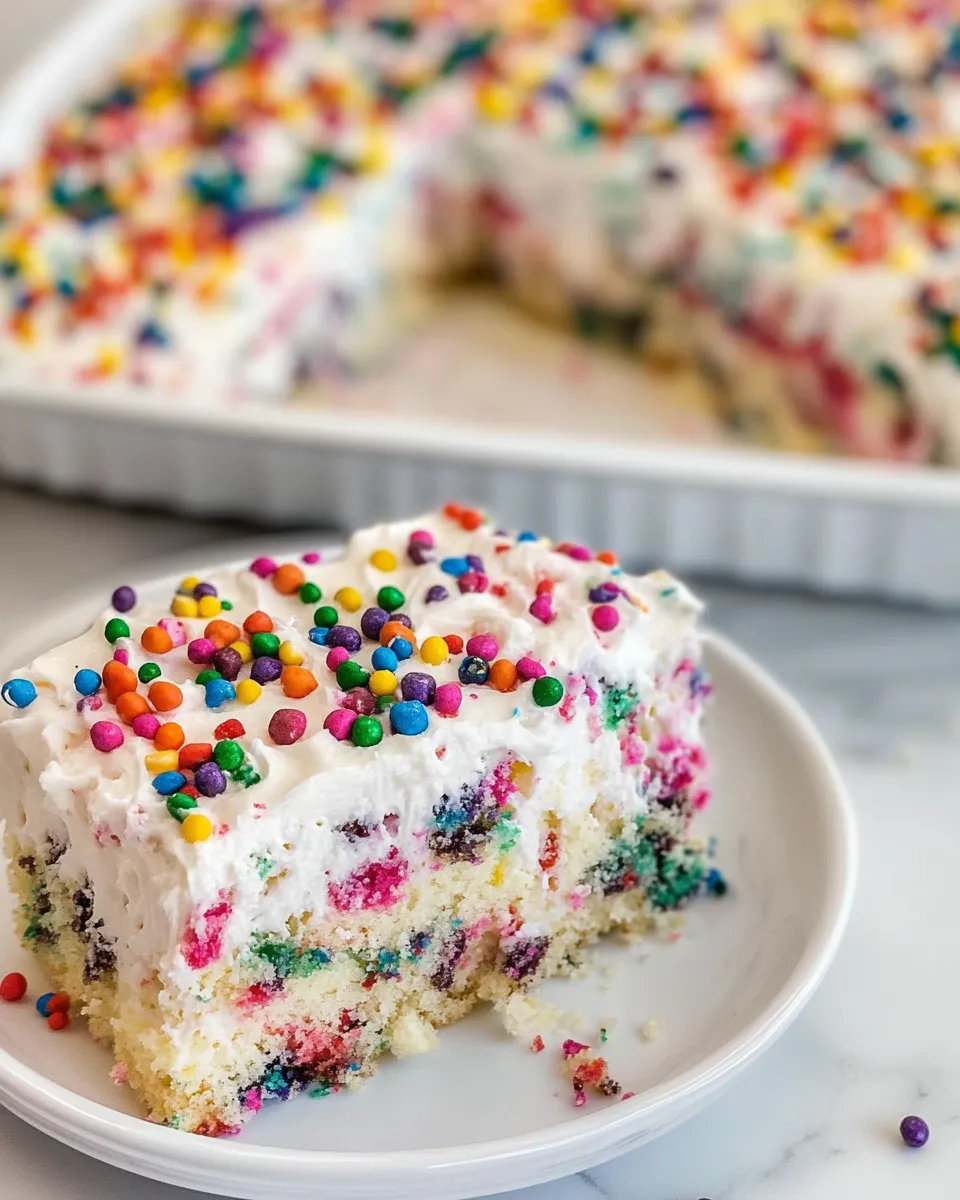
There’s something magical about a cake that’s bursting with color and flavor. Homemade Funfetti Cake is not just visually appealing; it’s also incredibly moist and delicious. The combination of rich vanilla flavor and the crunch of sprinkles creates an irresistible treat that appeals to both kids and adults. Whether it’s a birthday, an anniversary, or just a Tuesday afternoon, this cake will have everyone smiling. Plus, who can resist the festive look of rainbow sprinkles? It’s a dessert guaranteed to elevate any occasion!
Ingredient Breakdown
To create the perfect Homemade Funfetti Cake, you will need the following ingredients:
- 2 cups (248g) all-purpose flour: The base of our cake, providing structure and texture.
- 2 teaspoons baking powder: For that perfect rise, making the cake fluffy and light.
- 1 teaspoon salt: Enhances the flavors and balances sweetness.
- 1 cup (226g) unsalted butter, melted: Adds richness and moisture to the cake.
- 1 ½ cups (300g) granulated sugar: Sweetness is essential; it also helps with the cake’s texture.
- 4 large eggs: Provides structure and moisture, helping bind the ingredients together.
- 1 teaspoon vanilla extract: For that classic vanilla flavor which pairs beautifully with sprinkles.
- 1 cup (237ml) buttermilk: Makes the cake incredibly moist and adds a slight tang.
- 1 cup rainbow sprinkles: The fun element! They add color and a delightful crunch.
For the frosting:
- 1 cup (226g) unsalted butter, softened: A creamy base for our frosting.
- 4 cups (452g) powdered sugar (confectioners’ sugar): Sweetness and structure for our frosting.
- 1 teaspoon (15 ml) vanilla extract: Adds a lovely flavor to the frosting.
- 1 teaspoon salt: Balances the sweetness of the frosting.
- 2-5 tablespoons (30-75ml) heavy whipping cream: For the perfect creamy texture in the frosting.
- 1 cup sprinkles plus more for topping: To make the frosting as festive as the cake!
Must-Have Equipment
Before we start baking, gather these essential tools:
- Mixing bowls: For combining ingredients.
- Whisk and spatula: To mix the batter and fold in sprinkles.
- Measuring cups and spoons: Precision is key in baking!
- 9-inch round cake pans: To bake your cake layers evenly.
- Cooling rack: To allow your cake to cool down properly.
- Electric mixer: For a fluffy and smooth frosting.
Make Homemade Funfetti Cake: A Simple Method
Creating your Homemade Funfetti Cake is easier than you might think! Follow these simple steps:
Step 1: Preheat the Oven
Preheat your oven to 350°F (175°C). This ensures that your cake bakes evenly.
Step 2: Prepare the Cake Pans
Grease and flour your 9-inch round cake pans to prevent sticking. You can also line the bottoms with parchment paper for extra security.
Step 3: Mix Dry Ingredients
In a large mixing bowl, whisk together the all-purpose flour, baking powder, and salt until well combined. Set aside.
Step 4: Combine Wet Ingredients
In another mixing bowl, combine the melted unsalted butter and granulated sugar. Beat until well blended. Add the eggs one at a time, mixing well after each addition. Stir in the vanilla extract and buttermilk.
Step 5: Combine Wet and Dry Ingredients
Gradually add the dry ingredients to the wet mixture, mixing until just combined. Be careful not to overmix, as this can lead to a tough cake. Gently fold in the rainbow sprinkles.
Step 6: Bake the Cake
Divide the batter evenly between the prepared cake pans. Bake in the preheated oven for 25-30 minutes, or until a toothpick inserted into the center comes out clean.
Step 7: Cool the Cakes
Once baked, remove the cakes from the oven and let them cool in the pans for about 10 minutes. Then, gently remove them from the pans and transfer them to a cooling rack to cool completely.
Step 8: Make the Frosting
In a large bowl, beat the softened unsalted butter until creamy. Gradually add the powdered sugar, mixing on low speed until combined. Add the vanilla extract, salt, and 2 tablespoons of heavy whipping cream. Beat on high speed until fluffy. Add more cream as needed to reach your desired consistency.
Step 9: Assemble the Cake
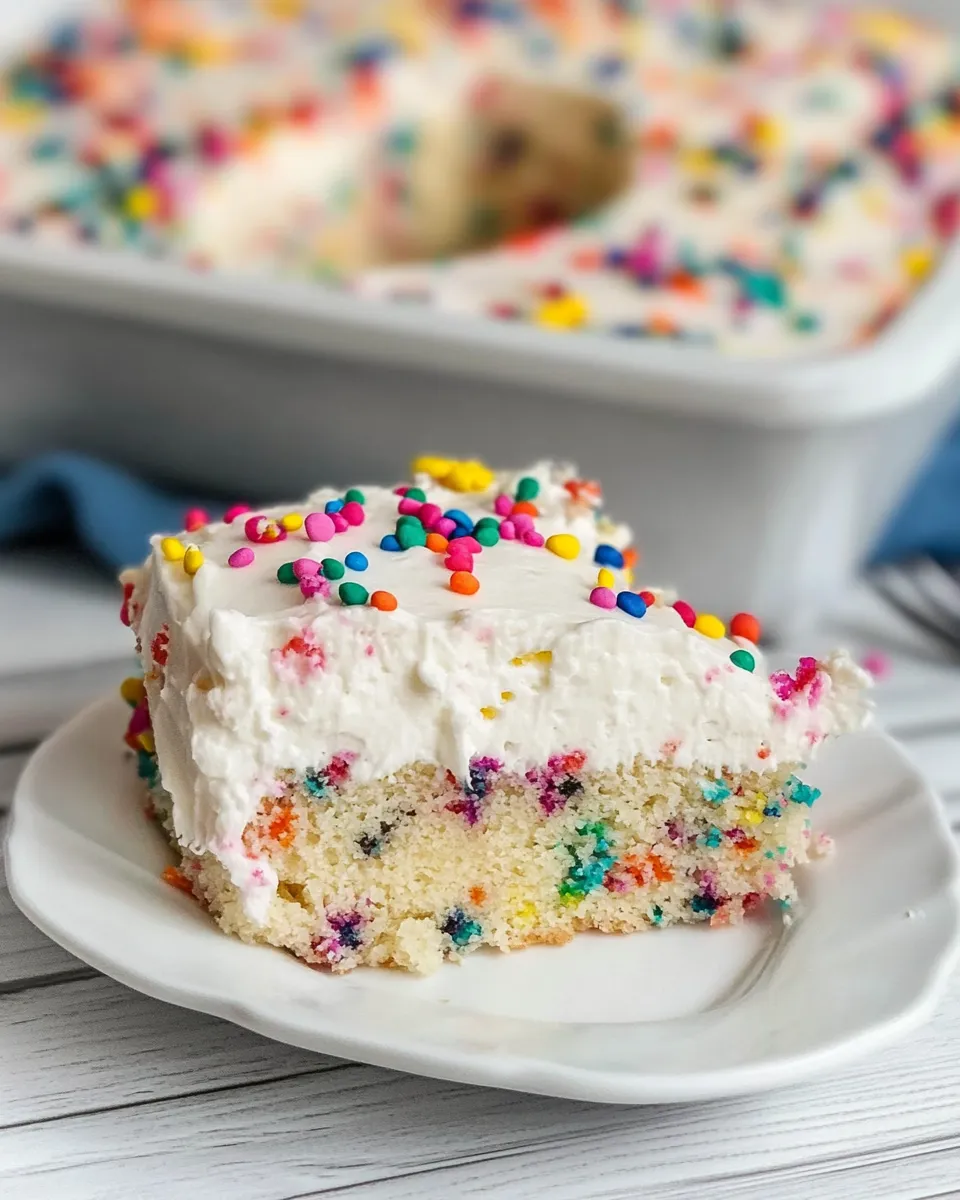
Once the cakes are completely cool, place one layer on a serving plate. Spread a generous layer of frosting on top, then place the second layer on top. Frost the top and the sides of the cake, smoothing it out with a spatula.
Step 10: Add More Sprinkles!
Finish off your Homemade Funfetti Cake by generously sprinkling more rainbow sprinkles on top and around the sides.
Texture-Safe Substitutions
If you need to make some substitutions, here are some options that will keep the cake delicious:
- Gluten-free flour: Use a 1:1 gluten-free baking blend instead of all-purpose flour for a gluten-free version.
- Vegan butter: Replace unsalted butter with a vegan alternative and use flax eggs instead of regular eggs for a vegan cake.
- Almond milk: Substitute buttermilk with almond milk or any plant-based milk mixed with a little vinegar for a vegan option.
- Natural sweeteners: Consider using coconut sugar or maple syrup instead of granulated sugar for a more wholesome cake.
If You’re Curious
Did you know that Funfetti cake was invented in the 1980s by Pillsbury? This cake was a game-changer for birthday celebrations! The colorful sprinkles were designed to resemble confetti, and they quickly became a favorite for festive occasions. Today, homemade Funfetti recipes are loved for their customizable nature, allowing everyone to add their twist to this classic cake!
Save It for Later
Homemade Funfetti Cake can be stored in an airtight container at room temperature for up to 3 days. If you want to keep it longer, you can refrigerate it for up to a week. You can also freeze the cake layers individually wrapped in plastic wrap and aluminum foil for up to 3 months. Just remember to thaw them overnight in the fridge before decorating!
Troubleshooting Q&A
Why did my cake sink in the middle?
A sunken cake usually indicates that it was underbaked or that there was too much liquid in the batter. Always check for doneness with a toothpick before removing it from the oven.
My cake is too dry; what went wrong?
A dry cake can result from overmixing the batter or baking it for too long. Make sure to mix until just combined and keep an eye on the baking time.
How can I achieve a more vibrant sprinkle color?
Use high-quality, gel-based food coloring for your sprinkles, or opt for a brand that offers bright, vivid colors. Avoid the generic sprinkles that tend to fade during baking.
Can I make this cake in advance?
Absolutely! You can bake the layers a day or two in advance and store them wrapped tightly in plastic wrap. Frost just before serving for the best texture and flavor.
Hungry for More?
If you loved making this Homemade Funfetti Cake, you might also enjoy exploring other delightful recipes. Consider trying a Red Velvet Cake for a classic treat or a Lemon Drizzle Cake for a refreshing twist. Baking is all about experimenting and having fun, so dive into the world of sweet creations!
There’s nothing quite like the joy of sharing a Homemade Funfetti Cake with loved ones. With its bright colors and delicious flavor, it’s bound to be a hit at any gathering. Enjoy each slice, and don’t forget to spread a little happiness with every bite!
Homemade Funfetti Cake
Ingredients
Equipment
Method
- Step 1: Preheat your oven to 350°F (175°C).
- Step 2: Grease and flour your 9-inch round cake pans.
- Step 3: In a large mixing bowl, whisk together the all-purpose flour, baking powder, and salt until well combined. Set aside.
- Step 4: In another bowl, combine the melted unsalted butter and granulated sugar. Beat until blended, then add eggs one at a time, mixing well after each. Stir in vanilla extract and buttermilk.
- Step 5: Gradually add the dry ingredients to the wet mixture, mixing until just combined. Gently fold in the rainbow sprinkles.
- Step 6: Divide the batter evenly between the prepared pans and bake for 25-30 minutes, or until a toothpick comes out clean.
- Step 7: Let the cakes cool in the pans for about 10 minutes, then transfer to a cooling rack to cool completely.
- Step 8: To make the frosting, beat softened butter until creamy, then gradually add powdered sugar. Mix in vanilla extract, salt, and cream until fluffy.
- Step 9: Once the cakes are cool, place one layer on a serving plate, spread frosting on top, then add the second layer and frost the sides and top.
- Step 10: Top with additional rainbow sprinkles!
Notes
- Store the cake in an airtight container at room temperature for up to 3 days.
- For longer storage, refrigerate for up to a week.
- Freeze individual cake layers wrapped tightly for up to 3 months.