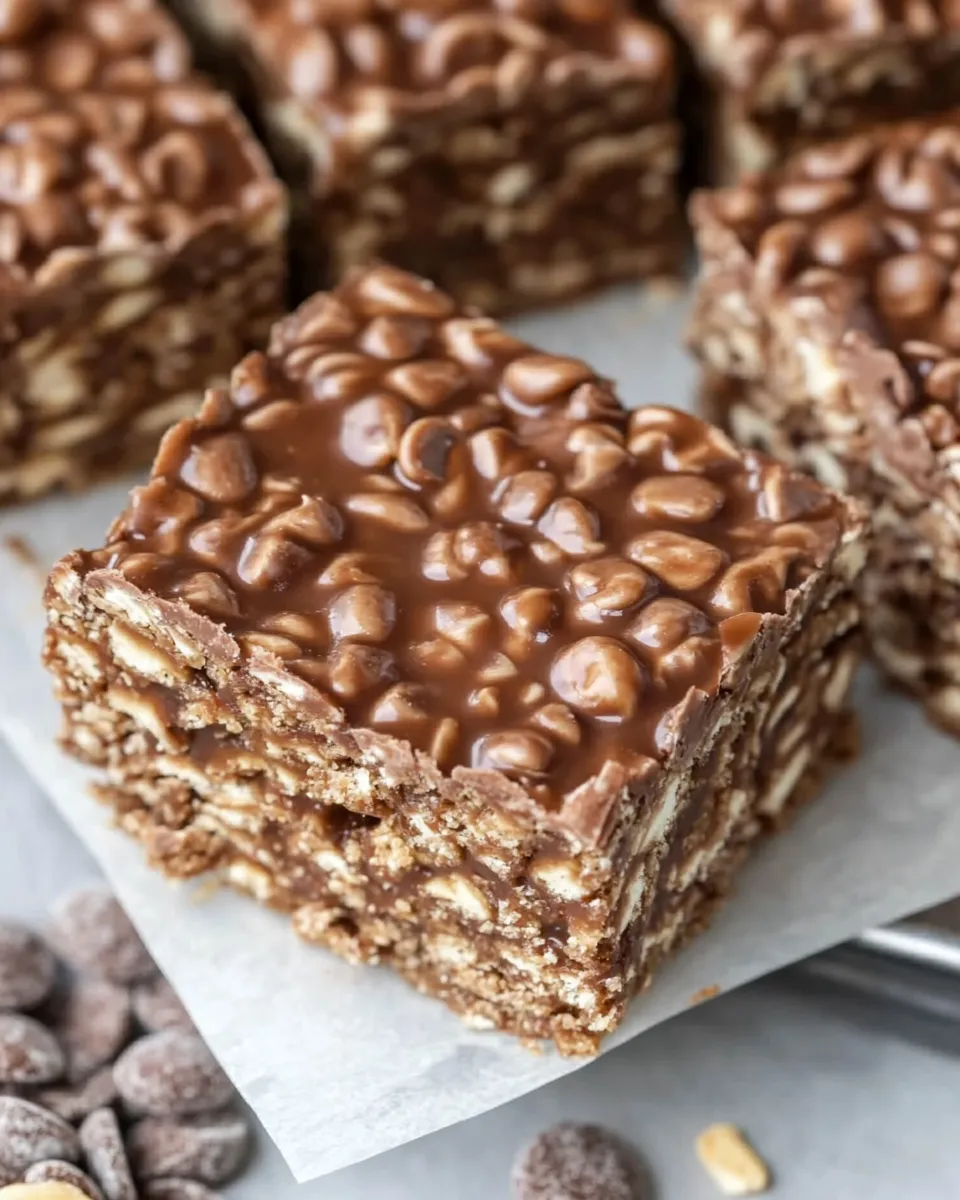
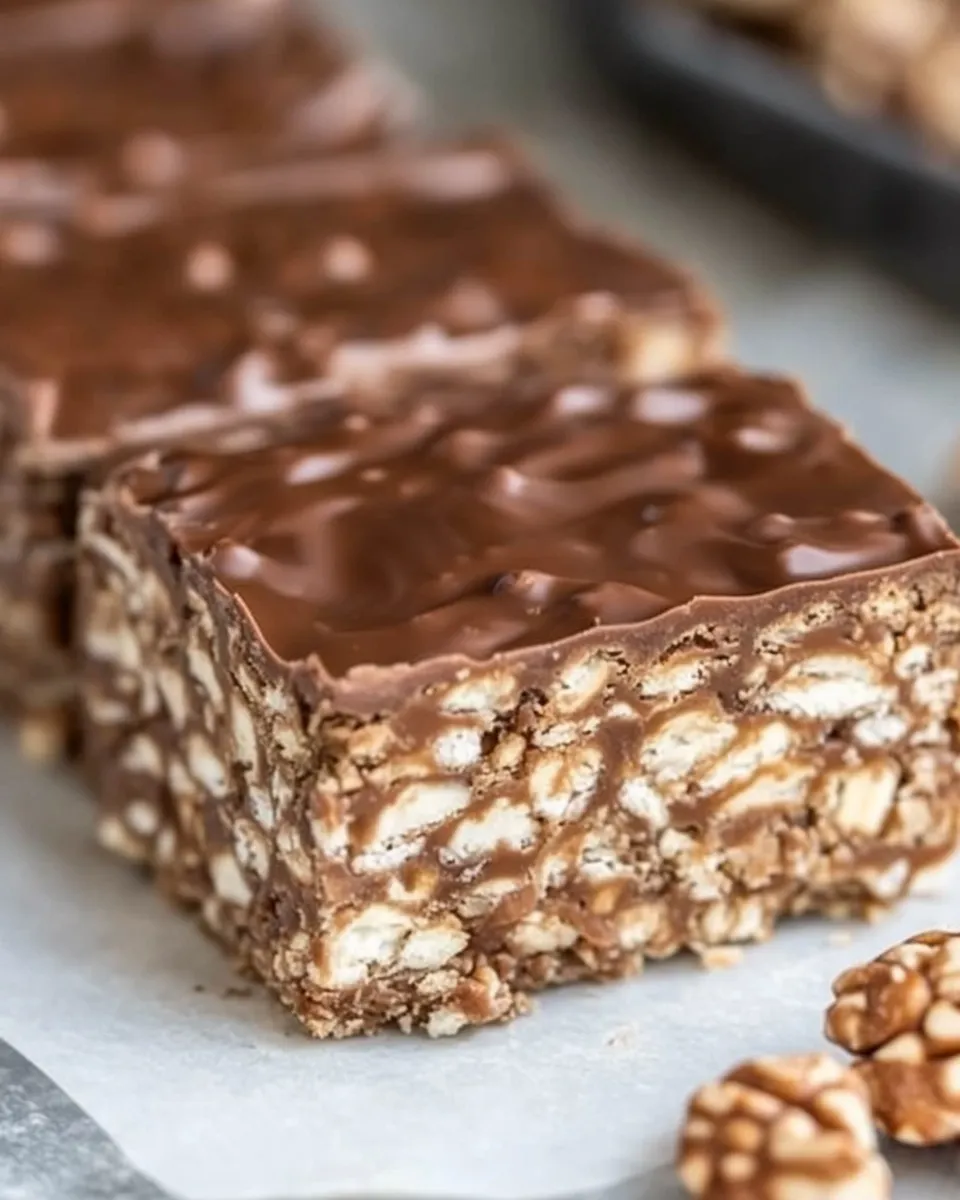
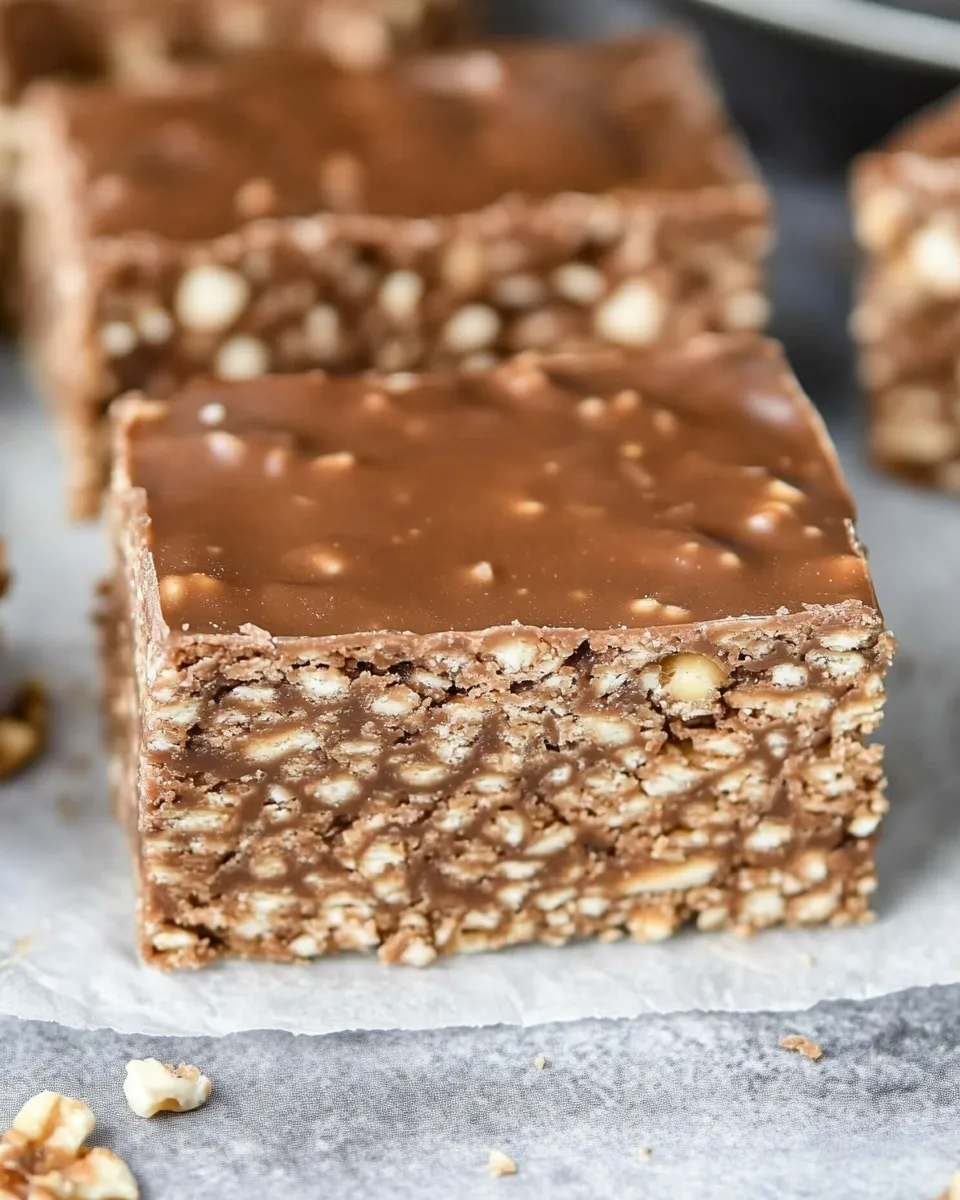
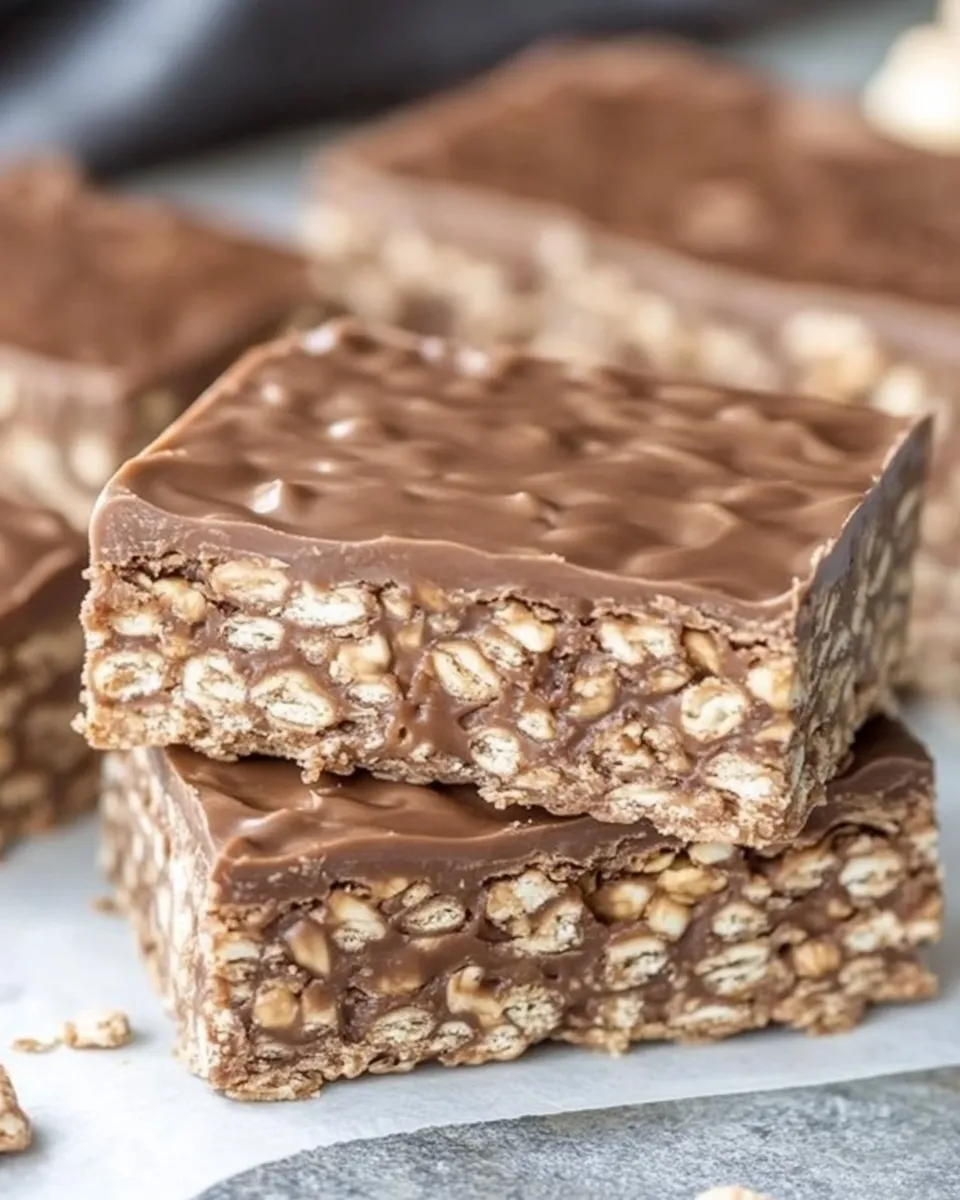
Homemade Crunch Bars (Award Winning Recipe!)
There’s something utterly delightful about biting into a crunchy, sweet treat that brings back childhood memories. These Homemade Crunch Bars are not just a nostalgic snack; they’re an award-winning recipe that has garnered rave reviews from friends and family alike. Whip these up in no time and prepare to impress everyone with your baking skills. Perfect for a quick snack, a lunchbox addition, or a party dessert, this recipe is sure to become a staple in your kitchen.
Why I Love This Recipe
The sheer simplicity of this Homemade Crunch Bars (Award Winning Recipe!) makes it a favorite in my household. With just a handful of ingredients, you can create a delicious treat that satisfies both your sweet tooth and your craving for crunch. The combination of rich chocolate, creamy peanut butter, and crispy rice cereal results in a texture that is simply irresistible. Plus, they are incredibly versatile—you can easily substitute ingredients to cater to your dietary preferences.
What Goes In
Let’s take a closer look at the ingredients that make these Homemade Crunch Bars a success:
- 3 cups crispy rice cereal – This is the base of the bars, providing that delightful crunch.
- 1 1/2 cups chocolate chips – Use semi-sweet, dark, or even dairy-free chocolate chips to suit your taste.
- 1 cup peanut butter – Creamy or crunchy, this ingredient adds richness and depth. You can substitute with any nut or seed butter.
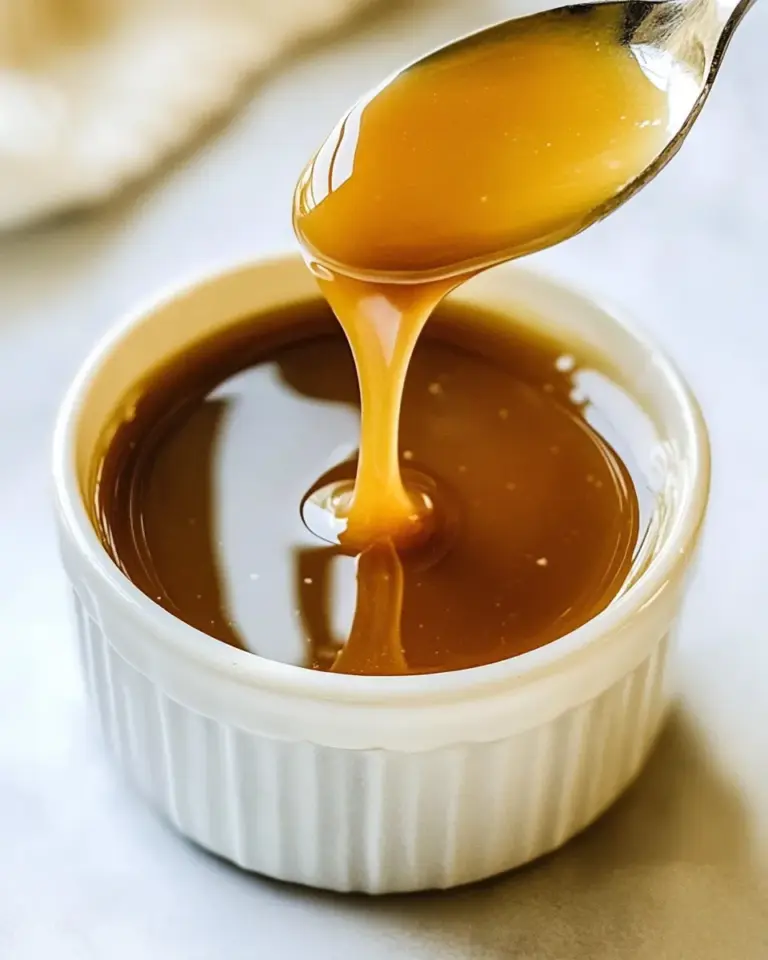
- 1/2 cup maple syrup – A natural sweetener that enhances the flavor profile without being overly sugary.
- 1/4 cup coconut oil – This adds moisture and helps bind the ingredients together. You can substitute it for grass-fed butter if preferred.
Equipment at a Glance
Before diving into the recipe, gather the following equipment:
- Mixing bowl – To combine all your ingredients.
- Spatula – For mixing and spreading the mixture into the pan.
- 9×9 inch baking pan – This is the perfect size for your crunch bars.
- Double boiler or microwave-safe bowl – For melting the chocolate and peanut butter mixture.
- Parchment paper – To line the baking pan for easy removal.
Mastering Homemade Crunch Bars (Award Winning Recipe!): How-To
Creating these delightful bars is easier than you might think! Follow these simple steps:
Step 1: Prepare Your Baking Pan
Start by lining your 9×9 inch baking pan with parchment paper. This will make it easy to lift out the bars once they are set.
Step 2: Melt the Chocolate and Peanut Butter
In a double boiler or microwave-safe bowl, combine the chocolate chips, peanut butter, and coconut oil. Heat until melted and smooth, stirring occasionally to prevent burning.
Step 3: Add the Maple Syrup
Once the chocolate and peanut butter mixture is smooth, remove it from heat and stir in the maple syrup until well combined.
Step 4: Mix in the Rice Cereal
Gently fold the crispy rice cereal into the chocolate mixture, ensuring that all the cereal is evenly coated.
Step 5: Spread into the Pan
Pour the mixture into the prepared baking pan and use your spatula to spread it evenly. Press it down firmly to make sure it holds together.
Step 6: Chill and Set
Place the pan in the refrigerator for at least 1 hour or until the bars are firm.
Step 7: Cut and Enjoy!
Once set, lift the bars out of the pan using the parchment paper. Cut into squares and enjoy your Homemade Crunch Bars!
Make It Diet-Friendly
These Homemade Crunch Bars can easily be adjusted to fit various dietary needs. Consider the following options:
- Nut-Free: Use sunflower seed butter or tahini instead of peanut butter.
- Dairy-Free: Choose dairy-free chocolate chips and stick with coconut oil.
- Low-Sugar: Reduce the amount of maple syrup or use a sugar substitute.
- Gluten-Free: Ensure your rice cereal is labeled gluten-free.
Method to the Madness
The beauty of these Homemade Crunch Bars lies not only in their flavor but also in their texture. The combination of crunchy cereal, creamy peanut butter, and rich chocolate creates a satisfying bite that is both sweet and salty. You can customize the recipe by adding ingredients like chopped nuts, dried fruit, or even a sprinkle of sea salt on top for added depth.
These bars are perfect for satisfying a sweet craving without the guilt. They are a healthier alternative to store-bought snacks and can be made ahead of time for convenience.
Best Ways to Store
To keep your Homemade Crunch Bars fresh and delicious, follow these storage tips:
- Room Temperature: Store in an airtight container for up to 1 week.
- Refrigerator: For longer freshness, keep them in the fridge for up to 2 weeks.
- Freezer: You can freeze the bars for up to 3 months. Just wrap them individually in plastic wrap and place them in a freezer-safe bag.
Popular Questions
Can I use different types of cereal?
Absolutely! While crispy rice cereal is traditional, you can experiment with other cereals like corn flakes or even granola for a different texture and flavor.
What can I substitute for peanut butter?
You can substitute peanut butter with almond butter, sunflower seed butter, or any other nut or seed butter of your choice.
How do I know when the bars are set?
The bars should be firm to the touch and hold their shape when you press down on them. If they are still soft, let them chill for a bit longer.
Can I add extras like nuts or dried fruit?
Yes! Feel free to mix in your favorite add-ins such as chopped nuts, dried cranberries, or even mini marshmallows for added texture and flavor.
Next Steps
Now that you have mastered the art of making Homemade Crunch Bars (Award Winning Recipe!), it’s time to get creative. Experiment with different flavors and textures, and don’t hesitate to share your creations with family and friends. Whether you’re making them for a special occasion or simply to enjoy at home, these bars are sure to impress.
As you indulge in these delectable treats, remember that the key to a great homemade snack is using quality ingredients and a little bit of love. Happy baking, and enjoy every crunchy, chocolatey bite!
With this Homemade Crunch Bars (Award Winning Recipe!) in your repertoire, you’ll never go back to store-bought treats again. Embrace the joy of making something delicious from scratch, and savor the satisfaction that comes from sharing it with others.
Homemade Crunch Bars (Award Winning Recipe!)
Ingredients
Equipment
Method
- Step 1: Prepare Your Baking Pan - Line your 9x9 inch baking pan with parchment paper.
- Step 2: Melt the Chocolate and Peanut Butter - In a double boiler or microwave-safe bowl, combine the chocolate chips, peanut butter, and coconut oil. Heat until melted and smooth.
- Step 3: Add the Maple Syrup - Stir in the maple syrup until well combined.
- Step 4: Mix in the Rice Cereal - Gently fold the crispy rice cereal into the chocolate mixture.
- Step 5: Spread into the Pan - Pour the mixture into the prepared baking pan and use your spatula to spread it evenly.
- Step 6: Chill and Set - Place the pan in the refrigerator for at least 1 hour or until the bars are firm.
- Step 7: Cut and Enjoy! - Lift the bars out of the pan using the parchment paper and cut into squares.
Notes
- Store in an airtight container at room temperature for up to 1 week.
- For longer freshness, keep in the fridge for up to 2 weeks.
- Freeze the bars for up to 3 months, wrapped individually.