Homemade Buttermilk Bread
There’s something undeniably comforting about the smell of fresh bread wafting through your kitchen. Homemade Buttermilk Bread is one of those delightful recipes that not only fills your home with warmth but also your heart with joy. This simple, yet delicious bread is perfect for toasting, sandwiches, or enjoying on its own with a pat of butter. Let’s dive into the world of bread-making and discover how easy it can be to create this fluffy, flavorful treat right in your own kitchen.
Why It’s Crowd-Pleasing
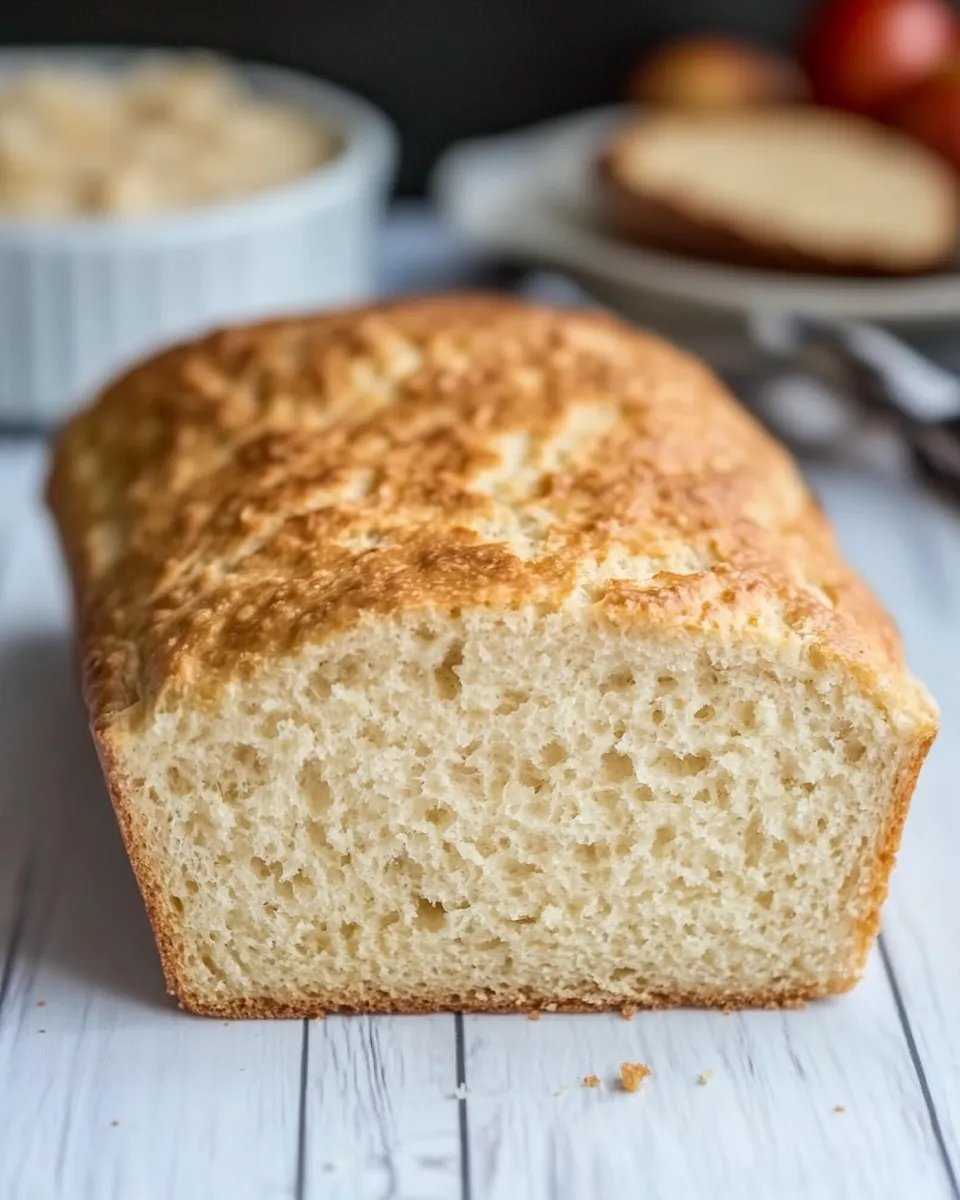
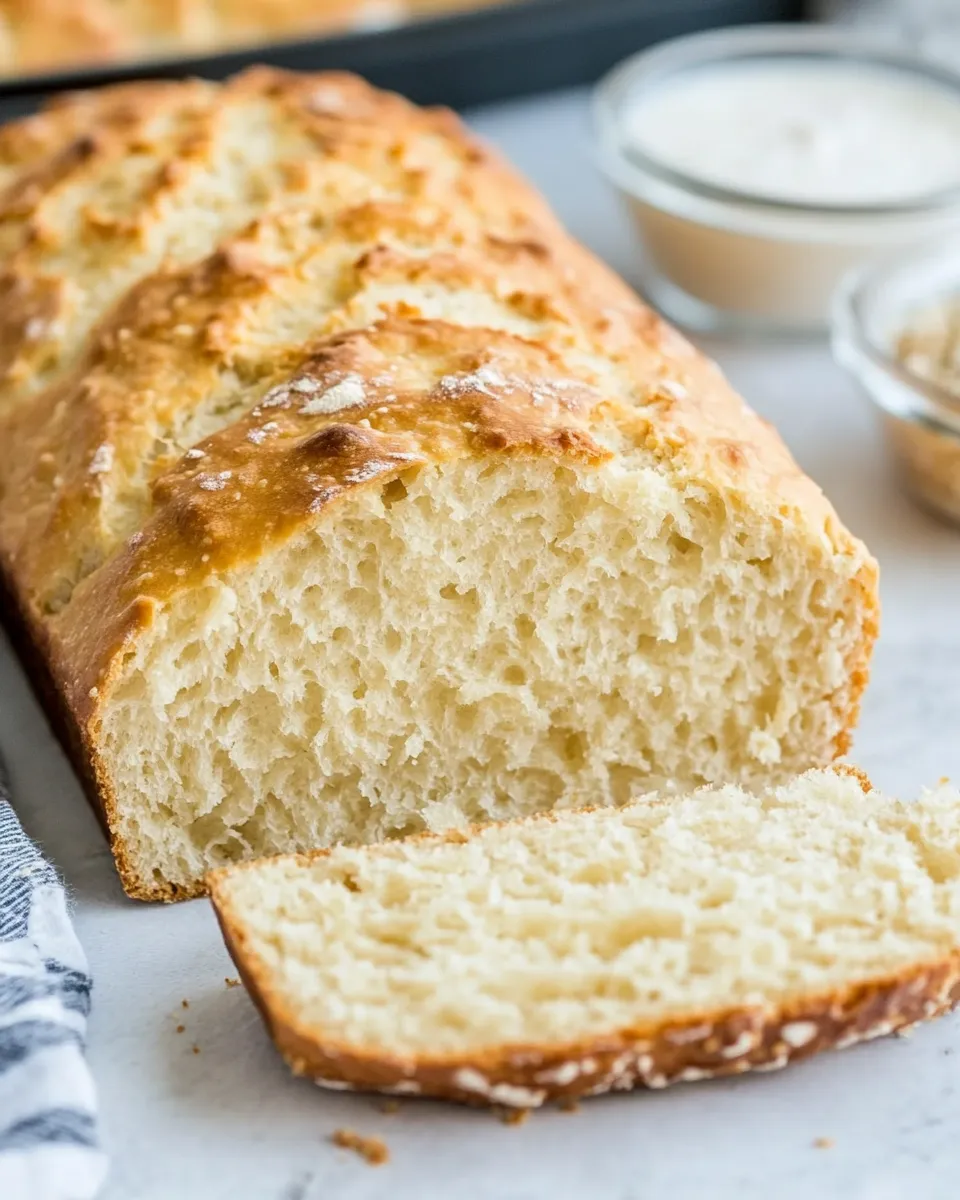
Homemade Buttermilk Bread is a crowd-pleaser for several reasons. First, its soft, tender crumb and slightly tangy flavor make it a delightful accompaniment to any meal. Whether served alongside a hearty soup or as the base for a scrumptious sandwich, this bread never fails to impress. Additionally, it’s incredibly versatile; you can customize it with herbs, spices, or even cheese to suit your taste. Plus, making bread from scratch is a rewarding experience that brings family and friends together, making every loaf a cherished memory.
Shopping List
To whip up this Homemade Buttermilk Bread, you’ll need the following ingredients:
- 2 cups all-purpose flour
- 1/2 cup granulated sugar
- 1 1/2 teaspoons baking powder
- 1/2 teaspoon baking soda
- 1 teaspoon salt
- 1 cup buttermilk
- 1 large egg
- 1/4 cup butter, melted
Make sure to gather everything before you start baking; it makes the process smoother and more enjoyable!
Essential Tools for Success
Having the right tools on hand will ensure your Homemade Buttermilk Bread turns out perfectly every time. Here’s what you’ll need:
- Mixing bowls: For combining your dry and wet ingredients.
- Measuring cups and spoons: Accurate measurements are crucial for baking.
- Whisk: To mix ingredients thoroughly.
- Loaf pan: A standard 9×5 inch loaf pan works best for this recipe.
- Cooling rack: To help the bread cool evenly after baking.
With these tools ready, you’ll be well on your way to baking success!
Homemade Buttermilk Bread, Made Easy
Now, let’s get into the step-by-step process of creating your own Homemade Buttermilk Bread.
Step 1: Preheat the Oven
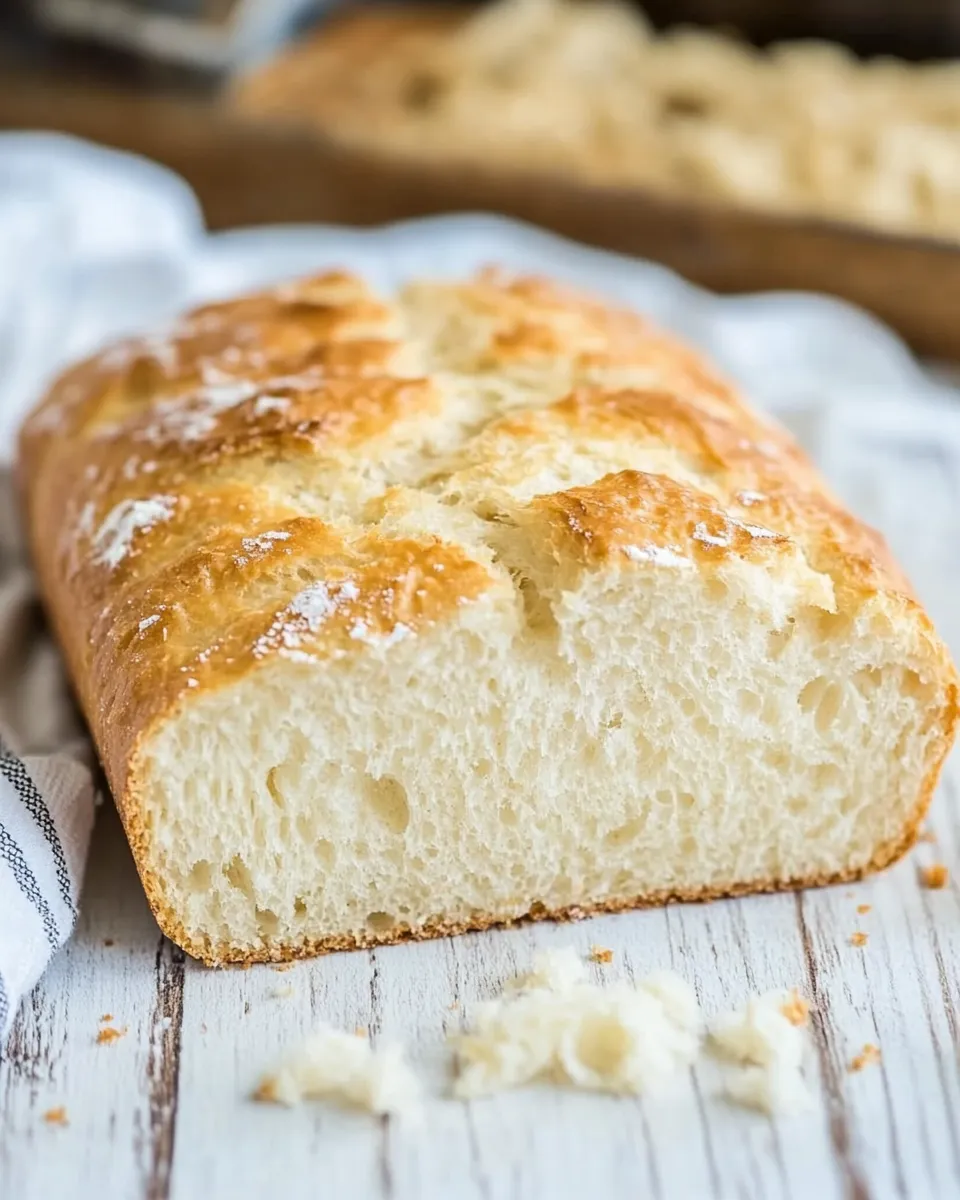
Begin by preheating your oven to 350°F (175°C). This ensures that your bread bakes evenly and achieves that perfect golden crust.
Step 2: Prepare the Loaf Pan
Grease your loaf pan with a little butter or non-stick spray. This will help your bread release easily once it’s done baking.
Step 3: Mix Dry Ingredients
In a large mixing bowl, combine the 2 cups of all-purpose flour, 1/2 cup of granulated sugar, 1 1/2 teaspoons of baking powder, 1/2 teaspoon of baking soda, and 1 teaspoon of salt. Use a whisk to mix everything together until well combined.
Step 4: Combine Wet Ingredients
In another mixing bowl, whisk together 1 cup of buttermilk, 1 large egg, and 1/4 cup of melted butter. Make sure the butter is not too hot; otherwise, it could cook the egg.
Step 5: Combine Wet and Dry Ingredients
Pour the wet mixture into the dry mixture and stir gently with a spatula or wooden spoon until just combined. Be careful not to overmix; a few lumps are perfectly fine.
Step 6: Transfer to the Loaf Pan
Pour the batter into your prepared loaf pan, spreading it evenly.
Step 7: Bake
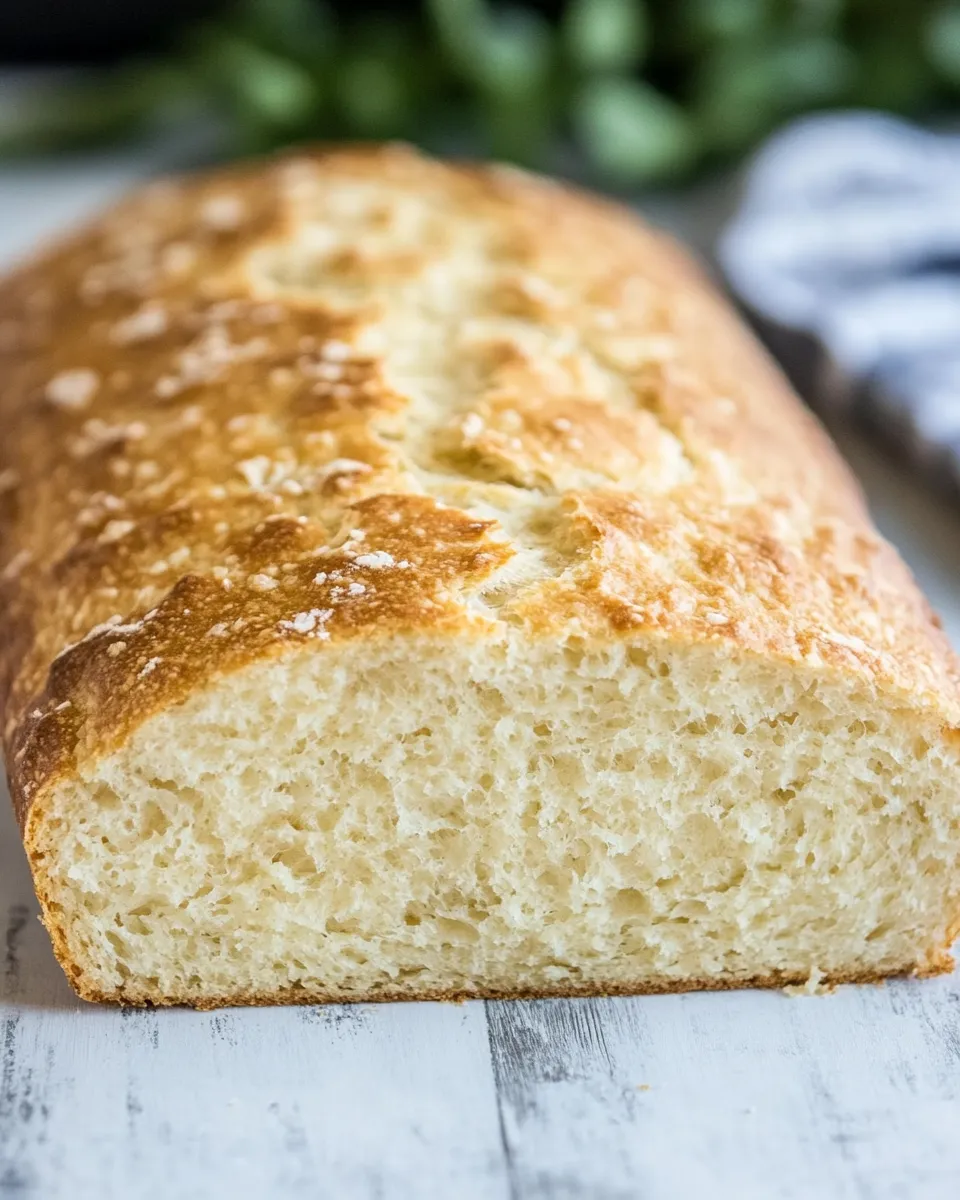
Place the loaf pan in the preheated oven and bake for 50-60 minutes, or until a toothpick inserted into the center comes out clean. The top should be golden brown and slightly domed.
Step 8: Cool
Once baked, remove the pan from the oven and let it cool in the pan for about 10 minutes. Then, carefully transfer the bread to a cooling rack to cool completely.
Seasonal Twists
To make your Homemade Buttermilk Bread even more exciting, consider these seasonal twists:
- Autumn Spice: Add 1 teaspoon of cinnamon and 1/2 teaspoon of nutmeg to the dry ingredients for a cozy fall flavor.
- Fresh Herbs: Mix in 2 tablespoons of finely chopped fresh rosemary or thyme for a fragrant, savory loaf.
- Cheese and Chives: Fold in 1 cup of shredded cheese and 1/4 cup of chopped chives for a deliciously cheesy bread.
- Cranberry Orange: Add 1 cup of dried cranberries and the zest of 1 orange for a bright, tart twist.
These variations can elevate your Homemade Buttermilk Bread to new heights and make it perfect for any occasion!
Flavor Logic
The beauty of Homemade Buttermilk Bread lies not just in its simplicity but also in its flavor profile. The buttermilk adds a subtle tang that balances the sweetness of the sugar, while the combination of baking powder and baking soda ensures a light and airy texture. Each bite is a delightful experience, whether enjoyed plain or dressed up with toppings.
You can also pair it with various spreads, from butter and jam to cream cheese or avocado, making it suitable for breakfast, lunch, or even snacking throughout the day.
Make Ahead Like a Pro
If you’re looking to save time, here are some tips to make your Homemade Buttermilk Bread in advance:
- Prepare the Dough: You can mix the dough ahead of time and store it in the refrigerator for up to 24 hours before baking. Just allow it to come to room temperature before baking.
- Freeze the Bread: Once your bread has cooled completely, wrap it tightly in plastic wrap and then in aluminum foil. It can be frozen for up to 3 months. To enjoy, simply thaw at room temperature and reheat in the oven.
- Slice and Store: Slice your bread before freezing for easier access. Just grab a slice whenever you’re in the mood for a fresh piece of bread.
With these make-ahead tips, you can always have delicious Homemade Buttermilk Bread on hand!
Quick Questions
Can I substitute the buttermilk?
If you don’t have buttermilk, you can easily make a substitute by mixing 1 cup of milk with 1 tablespoon of vinegar or lemon juice. Let it sit for about 5 minutes before using.
What can I do if my bread is too dense?
A dense bread could be the result of overmixing the batter or not enough leavening agents. Ensure you mix until just combined and check that your baking powder and soda are fresh.
How can I tell when my bread is done baking?
The best way to check for doneness is by inserting a toothpick into the center. If it comes out clean or with a few crumbs, your bread is ready. The top should also be golden brown.
Can I make this recipe gluten-free?
Yes! You can substitute the all-purpose flour with a gluten-free flour blend. Make sure to check that the blend contains xanthan gum or add it separately for the best texture.
Before You Go
As you embark on your baking journey with Homemade Buttermilk Bread, remember that the joy of making bread extends beyond the final product. Each step is a chance to connect with the ingredients and enjoy the process of creation. Whether you’re baking for yourself or sharing with loved ones, this recipe will undoubtedly add a touch of warmth to your kitchen and your heart.
So preheat that oven, gather your ingredients, and get ready to savor the delightful experience of making your own homemade bread. Happy baking!
Homemade Buttermilk Bread
Ingredients
Equipment
Method
- Step 1: Preheat the Oven - Begin by preheating your oven to 350°F (175°C). This ensures that your bread bakes evenly and achieves that perfect golden crust.
- Step 2: Prepare the Loaf Pan - Grease your loaf pan with a little butter or non-stick spray. This will help your bread release easily once it’s done baking.
- Step 3: Mix Dry Ingredients - In a large mixing bowl, combine the all-purpose flour, granulated sugar, baking powder, baking soda, and salt. Use a whisk to mix everything together until well combined.
- Step 4: Combine Wet Ingredients - In another mixing bowl, whisk together the buttermilk, egg, and melted butter. Make sure the butter is not too hot; otherwise, it could cook the egg.
- Step 5: Combine Wet and Dry Ingredients - Pour the wet mixture into the dry mixture and stir gently with a spatula or wooden spoon until just combined. Be careful not to overmix; a few lumps are perfectly fine.
- Step 6: Transfer to the Loaf Pan - Pour the batter into your prepared loaf pan, spreading it evenly.
- Step 7: Bake - Place the loaf pan in the preheated oven and bake for 50-60 minutes, or until a toothpick inserted into the center comes out clean. The top should be golden brown and slightly domed.
- Step 8: Cool - Once baked, remove the pan from the oven and let it cool in the pan for about 10 minutes. Then, carefully transfer the bread to a cooling rack to cool completely.
Notes
- For a sweeter bread, add a handful of chocolate chips.
- Leftover bread can be stored in an airtight container for up to a week.
- Feel free to experiment with different herbs or spices for unique flavors.