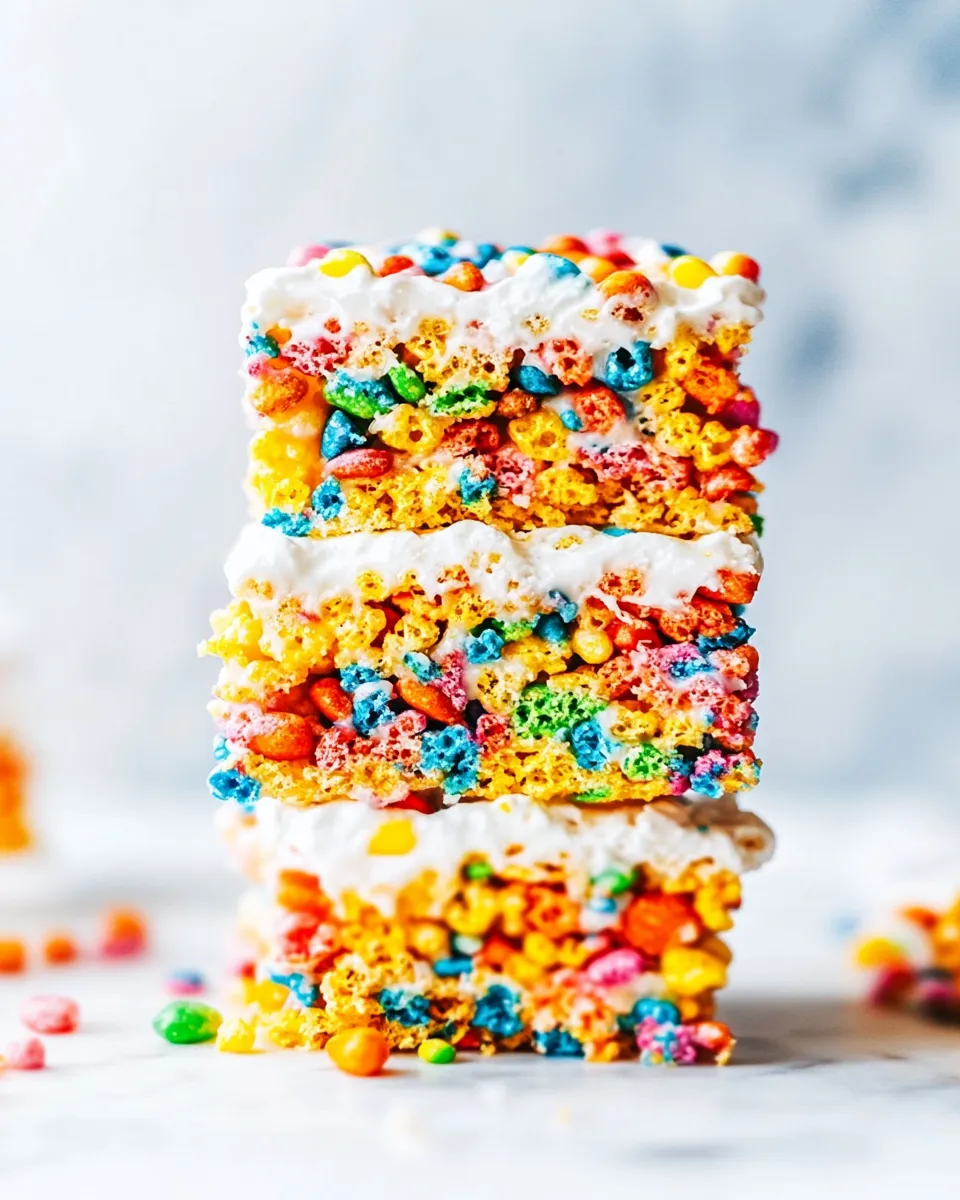
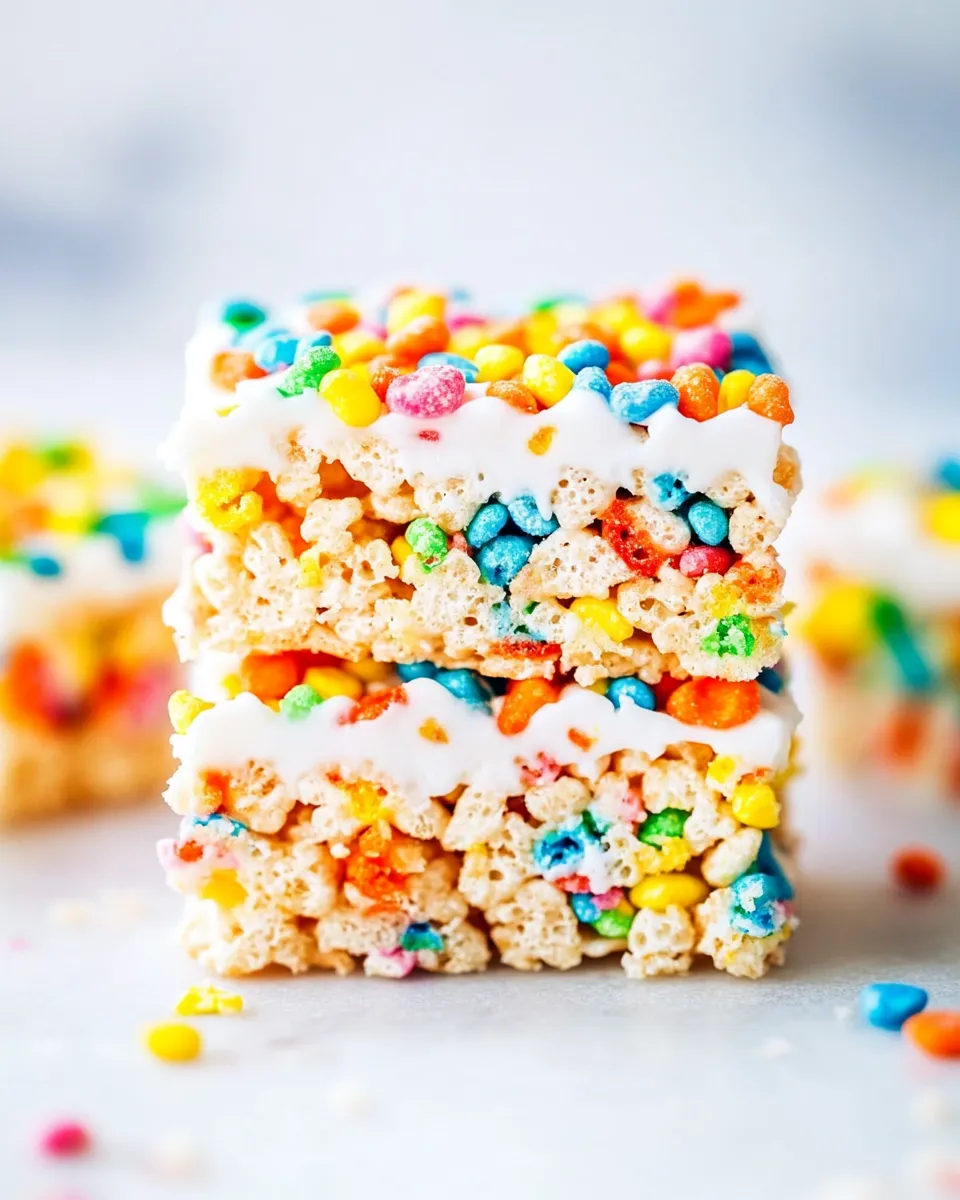
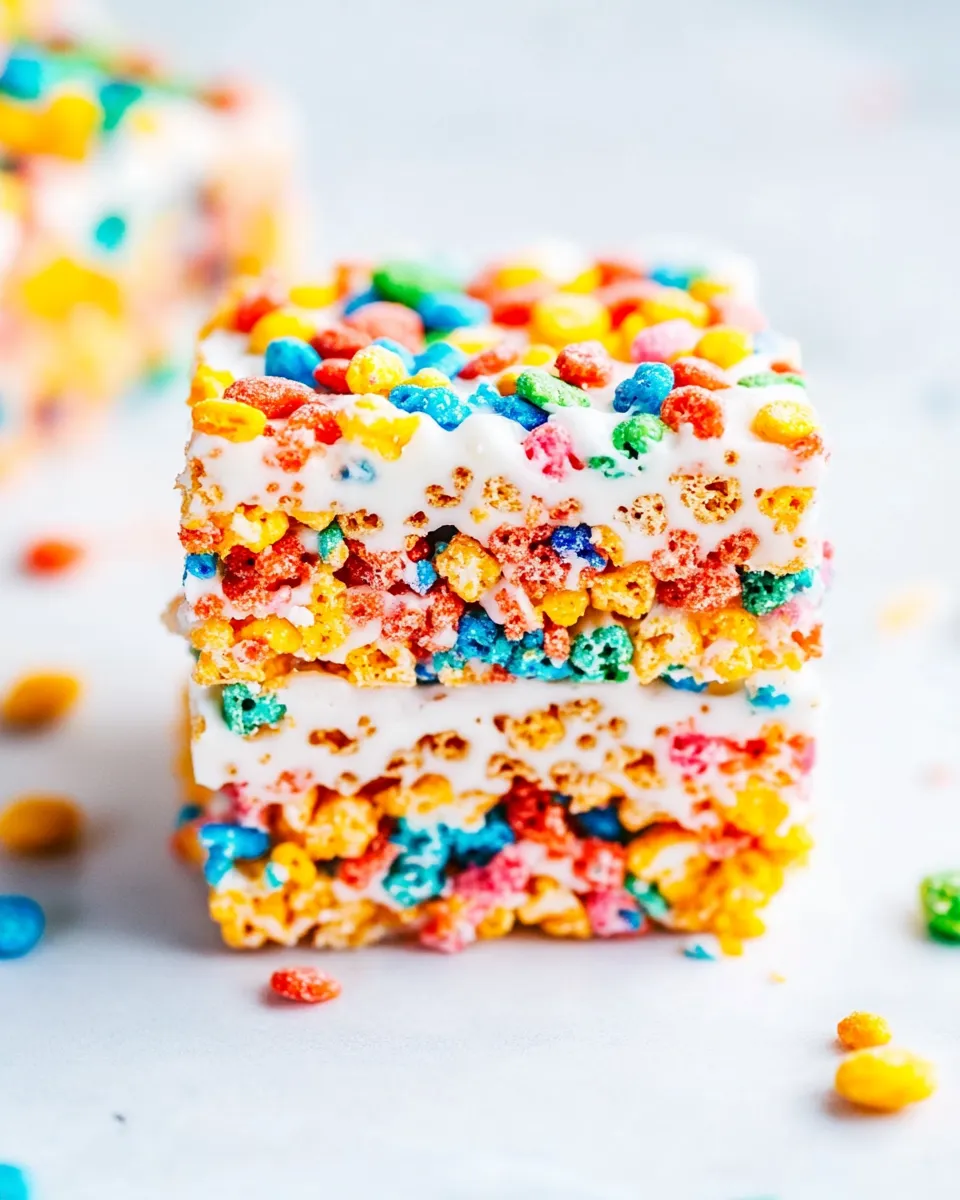
Fruity Pebbles Rice Krispies Treats
If you’re on the lookout for a vibrant, fun, and utterly delicious treat to whip up for your next gathering or just for a cozy night in, look no further! Fruity Pebbles Rice Krispies Treats are a colorful twist on the classic Rice Krispies Treats that we all know and love. With the delightful crunch of Rice Krispies combined with the fruity flavor and bright colors of Fruity Pebbles, this recipe is sure to be a hit with both kids and adults alike. They are simple to make, require minimal ingredients, and are perfect for any occasion. Let’s dive in!
Why It Deserves a Spot
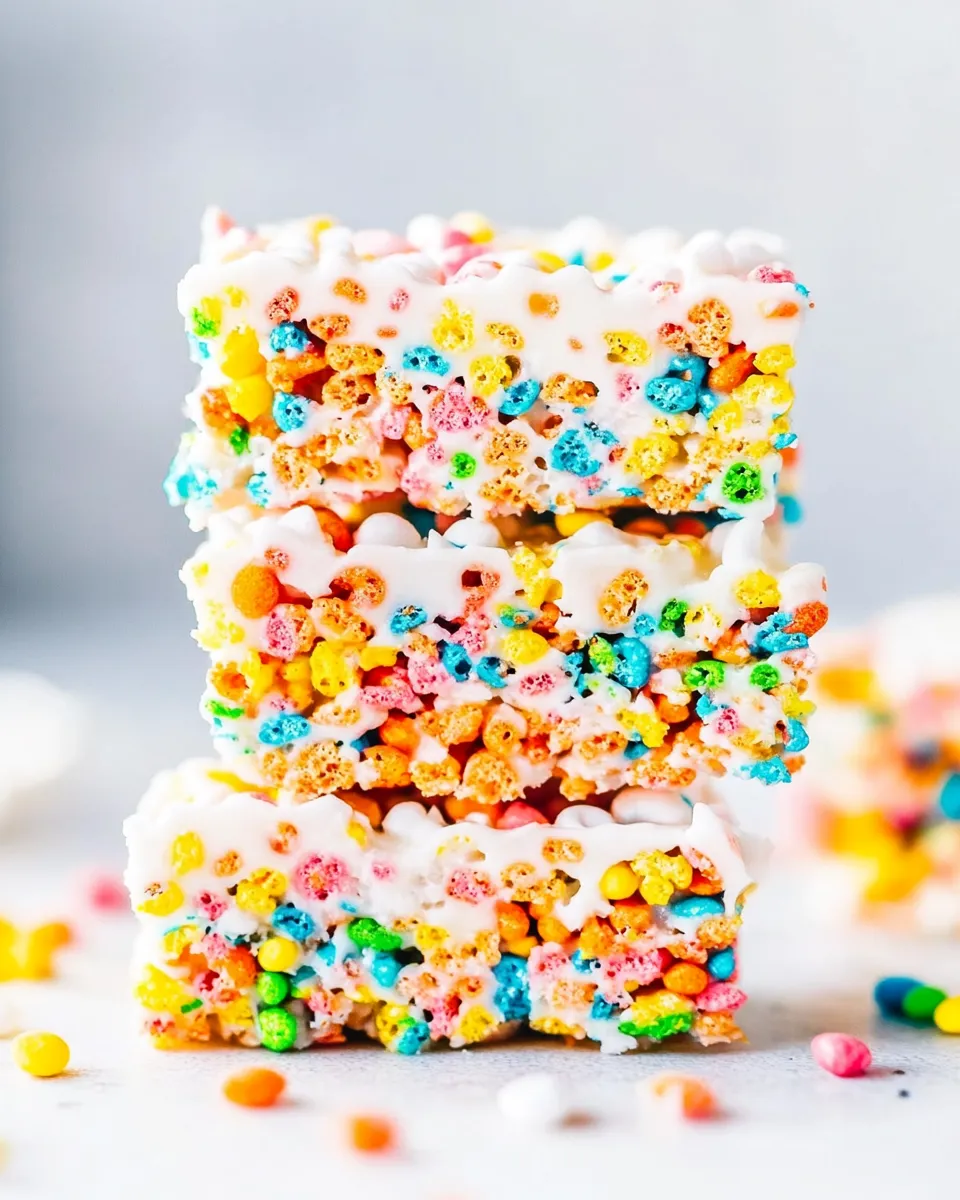
Fruity Pebbles Rice Krispies Treats deserve a spot in your dessert repertoire for many reasons. First and foremost, they are incredibly easy to make. With just a handful of ingredients, you can create a delightful treat that’s both nostalgic and exciting. The colorful appearance of these treats adds a festive touch, making them perfect for birthday parties, holiday celebrations, or just a fun family snack. Plus, the fruity flavor makes them stand out from traditional Rice Krispies Treats, bringing a burst of joy with every bite.
Ingredients at a Glance
- 5 tablespoons unsalted butter
- 16 ounces miniature marshmallows (see note 1)
- 1/4 teaspoon salt
- 1 teaspoon vanilla extract
- 4 cups Fruity Pebbles cereal
- 2 cups Rice Krispies cereal (see note 2)
Setup & Equipment
- Large saucepan: For melting the butter and marshmallows.
- Wooden spoon or spatula: For stirring the mixture.
- 9×13 inch baking pan: To shape and set the treats.
- Parchment paper: Optional, for easy removal of the treats.
- Measuring cups and spoons: To ensure accurate ingredient amounts.
From Start to Finish: Fruity Pebbles Rice Krispies Treats
Step 1: Prepare Your Pan
Start by greasing a 9×13 inch baking pan with a little butter or lining it with parchment paper. This will prevent the treats from sticking and make it easier to lift them out later.
Step 2: Melt the Butter
In a large saucepan over medium heat, melt the 5 tablespoons of unsalted butter. Stir gently until fully melted and bubbly.
Step 3: Add Miniature Marshmallows
Once the butter is melted, add in the 16 ounces of miniature marshmallows and stir continuously until they are completely melted and smooth. This should take about 3-5 minutes. Be careful not to let the mixture burn!
Step 4: Flavor It Up
Remove the saucepan from heat and stir in the 1/4 teaspoon of salt and 1 teaspoon of vanilla extract. This step enhances the flavors and balances the sweetness of the marshmallows.
Step 5: Mix in Cereals
Gently fold in the 4 cups of Fruity Pebbles cereal and 2 cups of Rice Krispies cereal. Make sure all the cereal is evenly coated with the marshmallow mixture.
Step 6: Press into the Pan
Pour the mixture into the prepared baking pan. Using a spatula or your hands (greased with butter to prevent sticking), press the mixture down firmly and evenly into the pan. Be careful not to pack it too tightly, as you want the treats to remain light and chewy.
Step 7: Let It Set
Allow the treats to cool at room temperature for about 30 minutes or until they are set. Once cooled, you can cut them into squares or rectangles.
Smart Substitutions
- Butter: You can use margarine or a dairy-free alternative if desired.
- Marshmallows: Look for vegan marshmallows if you prefer a plant-based option.
- Fruity Pebbles: Substitute with any fruity-flavored cereal you enjoy.
- Rice Krispies: Use any puffed rice cereal for a similar texture.
Troubles You Can Avoid
- Don’t overheat the marshmallows: Keep the heat low to prevent burning.
- Be gentle when mixing: Stir the cereals carefully to avoid crushing them.
- Allow adequate cooling time: Letting them set properly ensures they hold together.
- Use a greased spatula: This prevents the mixture from sticking while pressing it into the pan.
Storage & Reheat Guide
These Fruity Pebbles Rice Krispies Treats can be stored at room temperature in an airtight container for up to 3 days. To keep them fresh, you can layer them with parchment paper. If you want to extend their shelf life, you can refrigerate them for up to a week. However, they may become a little firmer when chilled. If you prefer them softer, let them sit at room temperature for a bit before enjoying.
Common Qs About Fruity Pebbles Rice Krispies Treats
Can I make these treats ahead of time?
Absolutely! These treats can be made a day in advance. Just make sure to store them in an airtight container to keep them fresh.
What can I add to the recipe for extra flavor?
You can mix in some chocolate chips, sprinkles, or even chopped nuts for added texture and flavor. Just be sure not to overload the mixture so that it maintains its structure.
Can I use different types of cereal?
Yes, feel free to experiment with different cereals! Just keep the ratios similar to ensure the texture and taste remain balanced.
Why did my Rice Krispies Treats turn out hard?
This can happen if the mixture is packed too tightly into the pan or if it was cooked for too long. Ensure you press it down gently and monitor the heat when melting the marshmallows.
See You at the Table
These Fruity Pebbles Rice Krispies Treats are a delightful treat that brings a smile to everyone’s face. Whether you’re making them for a party, a family gathering, or just a fun snack at home, they are sure to impress. The combination of textures and flavors makes them irresistible, and the vibrant colors add a fun touch that brightens any occasion. So gather your ingredients, roll up your sleeves, and get ready to create a treat that everyone will love. Enjoy the fruity, marshmallowy goodness, and see you at the table!
Fruity Pebbles Rice Krispies Treats
Ingredients
Equipment
Method
- Start by greasing a 9x13 inch baking pan with a little butter or lining it with parchment paper. This will prevent the treats from sticking and make it easier to lift them out later.
- In a large saucepan over medium heat, melt the 5 tablespoons of unsalted butter. Stir gently until fully melted and bubbly.
- Once the butter is melted, add in the 16 ounces of miniature marshmallows and stir continuously until they are completely melted and smooth. This should take about 3-5 minutes. Be careful not to let the mixture burn!
- Remove the saucepan from heat and stir in the 1/4 teaspoon of salt and 1 teaspoon of vanilla extract. This step enhances the flavors and balances the sweetness of the marshmallows.
- Gently fold in the 4 cups of Fruity Pebbles cereal and 2 cups of Rice Krispies cereal. Make sure all the cereal is evenly coated with the marshmallow mixture.
- Pour the mixture into the prepared baking pan. Using a spatula or your hands (greased with butter to prevent sticking), press the mixture down firmly and evenly into the pan. Be careful not to pack it too tightly, as you want the treats to remain light and chewy.
- Allow the treats to cool at room temperature for about 30 minutes or until they are set. Once cooled, you can cut them into squares or rectangles.
Notes
- Try adding chocolate chips or sprinkles for extra flavor!
- Use margarine or a dairy-free substitute if desired.
- Store in an airtight container for up to 3 days.