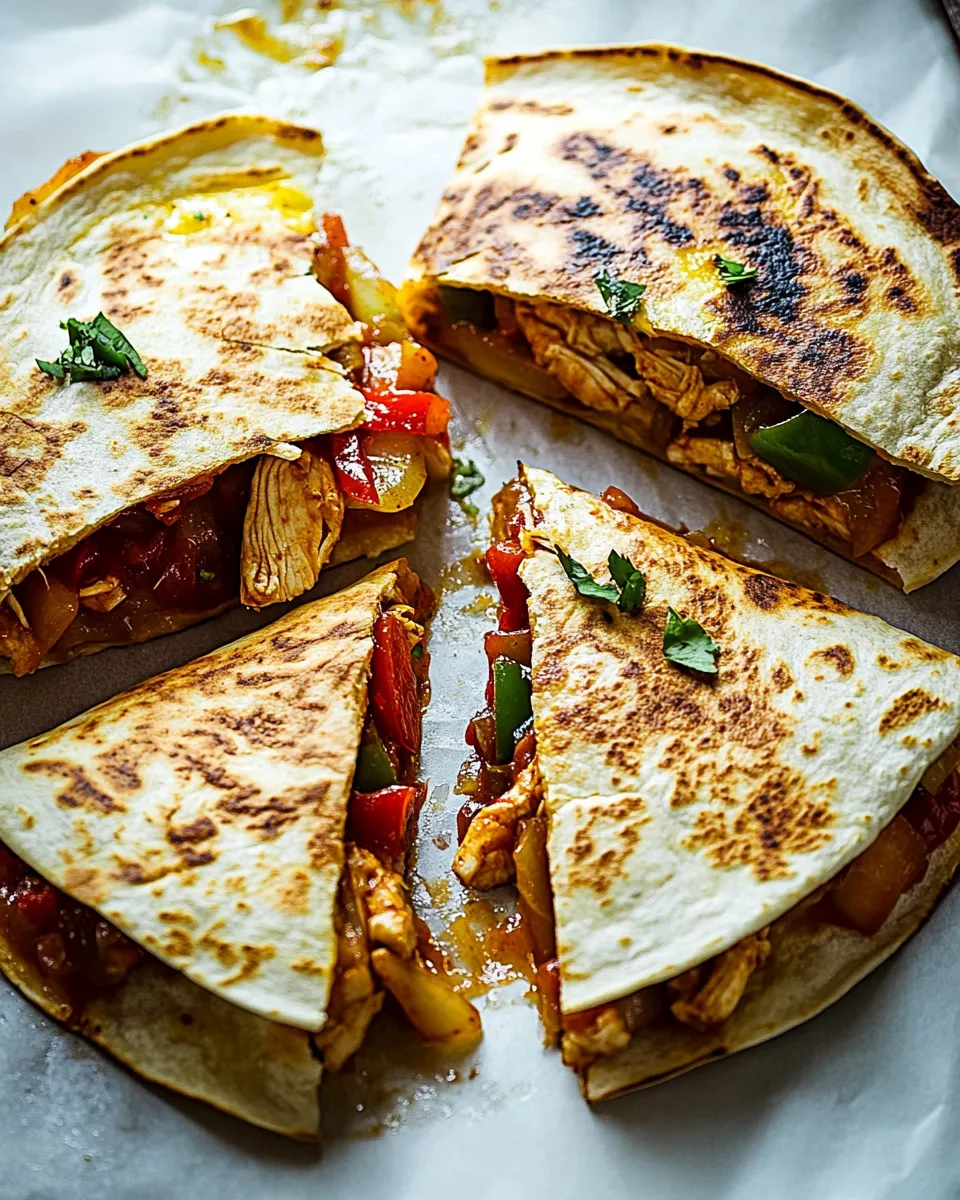
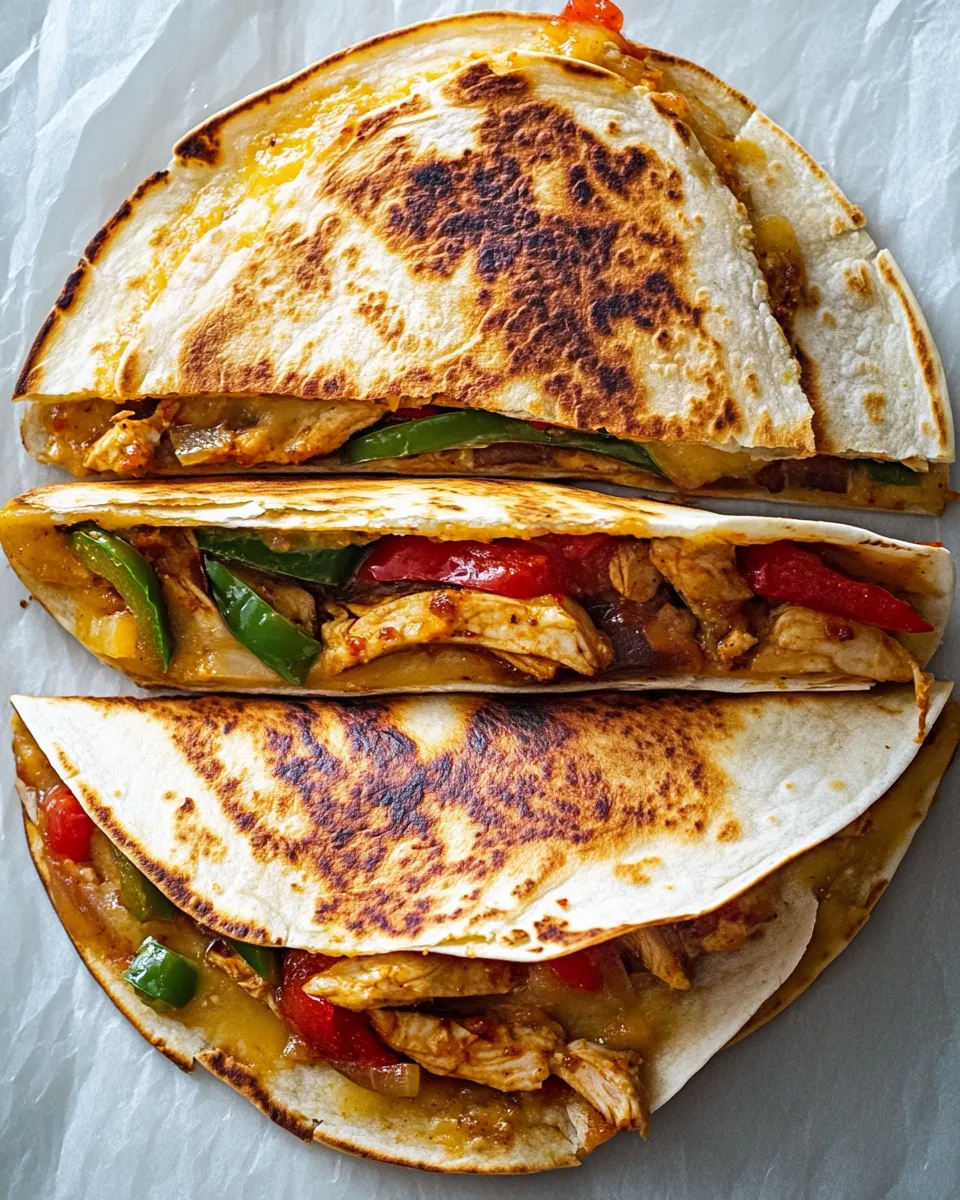
Crispy Baked Chicken Fajita Quesadillas
If you’re looking for a meal that’s bursting with flavor, easy to make, and perfect for any occasion, look no further than these Crispy Baked Chicken Fajita Quesadillas. This dish is not just about convenience; it brings together tender chicken, sautéed veggies, and gooey cheese, all encased in crispy tortillas. Whether it’s a busy weeknight dinner or a fun gathering with friends, these quesadillas are sure to impress.
Why You’ll Keep Making It
This recipe for Crispy Baked Chicken Fajita Quesadillas is a household favorite for many reasons. Firstly, it’s incredibly versatile—customize it with your favorite vegetables or cheese blends. Secondly, the baking method ensures a crispy texture without the need for frying, making it a healthier option. Finally, the combination of spices and fresh ingredients creates a mouthwatering flavor profile that will have your family asking for seconds… and thirds!
What Goes In
- 3 small or 2 medium chicken breasts, pounded evenly
- 2 tablespoons fajita seasoning (or homemade spice mix, see note below)
- 1 tablespoon olive oil
- 1/2 onion, sliced
- 1 large bell pepper, sliced (any color)
- 4 (8-inch) flour tortillas
- Olive oil spray
- 1 cup shredded cheese (choose from Mozzarella, Cheddar, Monterey Jack, Pepper Jack, Mexican blend, or taco blend)
- Cooking spray
Hardware & Gadgets
- Large skillet – for cooking the chicken and veggies.
- Baking sheet – to bake the quesadillas in the oven.
- Parchment paper – helps prevent sticking and makes cleanup easier.
- Meat mallet – for pounding the chicken breasts evenly.
- Sharp knife – for slicing vegetables.
Crispy Baked Chicken Fajita Quesadillas: How It’s Done

Step 1: Prepare the Chicken
Start by pounding the chicken breasts evenly using a meat mallet. This ensures they cook uniformly. Season both sides with the fajita seasoning for that authentic flavor.
Step 2: Sauté the Chicken
In a large skillet, heat the olive oil over medium heat. Add the seasoned chicken breasts and cook for about 5-7 minutes on each side, or until the chicken is cooked through and no longer pink in the center. Remove from the skillet and let it rest for a few minutes before slicing into strips.
Step 3: Cook the Vegetables
In the same skillet, add the sliced onion and bell pepper. Sauté for 3-4 minutes until they are tender and slightly caramelized. Remove from heat.
Step 4: Assemble the Quesadillas
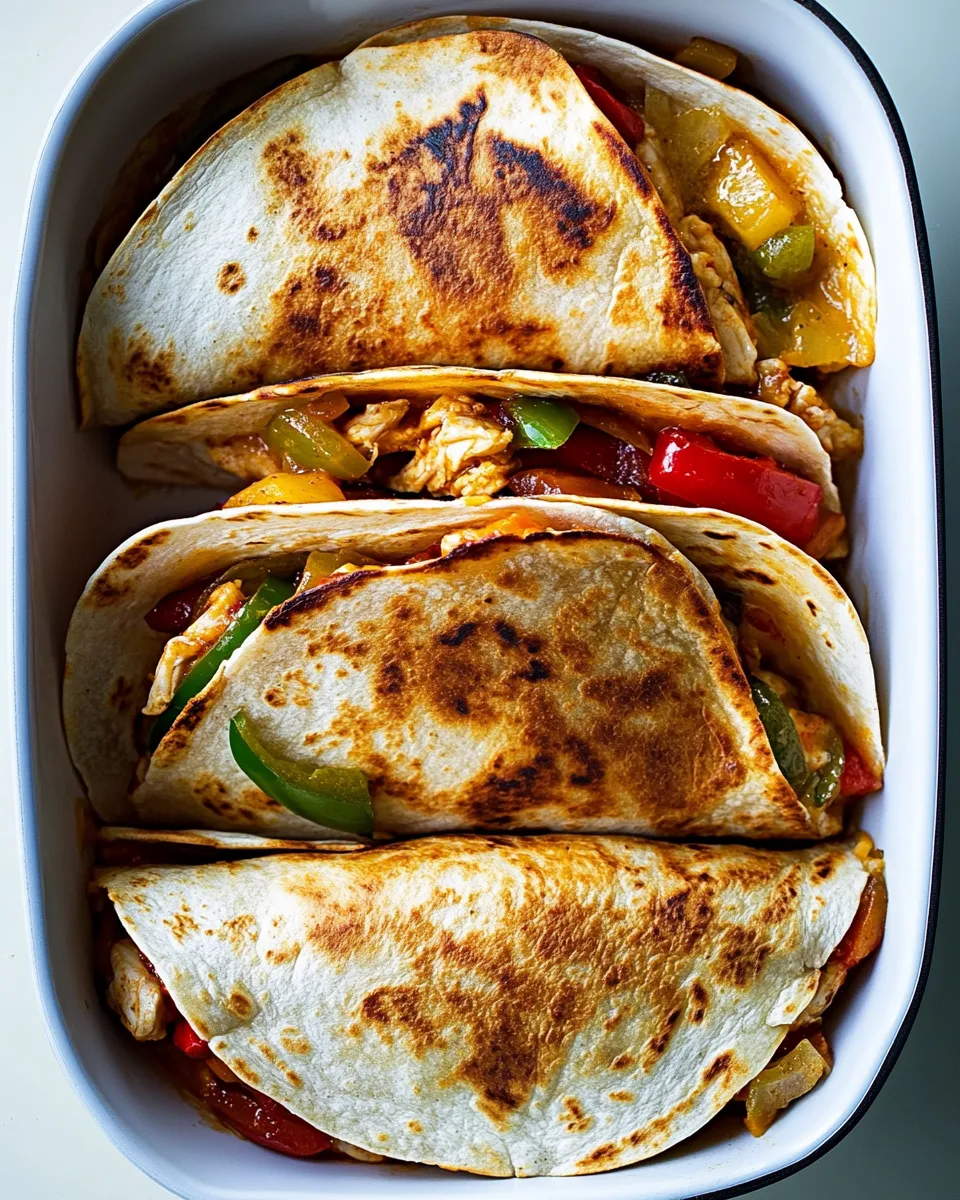
On a clean surface, lay out a tortilla. Sprinkle a portion of the shredded cheese over half of the tortilla, followed by a layer of sliced chicken and sautéed vegetables. Top with another sprinkle of cheese before folding the tortilla in half.
Step 5: Bake the Quesadillas
Preheat your oven to 400°F (200°C). Line a baking sheet with parchment paper and spray it lightly with cooking spray. Place the folded quesadillas on the baking sheet. Spray the tops lightly with olive oil spray for that extra crispiness. Bake for 15-20 minutes, flipping halfway through, until golden brown and crispy.
Step 6: Serve and Enjoy
Once baked, remove the quesadillas from the oven. Allow them to cool for a minute before slicing into wedges. Serve with your favorite dipping sauces like salsa, guacamole, or sour cream.
Tailor It to Your Diet
- Vegetarian Option: Substitute the chicken with black beans or grilled vegetables.
- Gluten-Free Option: Use gluten-free tortillas to make this dish suitable for gluten-sensitive individuals.
- Low-Fat Option: Opt for reduced-fat cheese and use less oil when cooking.
- Spicy Option: Add jalapeños or use a spicy cheese blend for an added kick.
Testing Timeline
- Preparation Time: 15 minutes
- Cooking Time: 25 minutes
- Total Time: 40 minutes
Shelf Life & Storage
Crispy Baked Chicken Fajita Quesadillas can be stored in an airtight container in the refrigerator for up to 3 days. For longer storage, they can be frozen for up to 2 months. To reheat, bake directly from frozen at 375°F (190°C) for about 20-25 minutes or until heated through.
Crispy Baked Chicken Fajita Quesadillas FAQs
Can I make these quesadillas ahead of time?
Absolutely! You can assemble the quesadillas, store them in the refrigerator, and bake them just before serving. This makes them perfect for meal prep or entertaining.
What can I serve with my quesadillas?
These quesadillas pair wonderfully with fresh salsa, guacamole, sour cream, or even a side salad for a complete meal.
Can I use other meats besides chicken?
Yes! Feel free to substitute the chicken with beef, shrimp, or even turkey. Just adjust the cooking time accordingly to ensure the meat is fully cooked.
How can I make these quesadillas spicier?
For a spicy twist, add diced jalapeños or a few drops of hot sauce into the filling. You can also use a spicier cheese blend or sprinkle some chili powder into the fajita seasoning.
Make It Tonight
Ready to whip up a batch of these Crispy Baked Chicken Fajita Quesadillas? They are not only easy to make but also a delightful way to satisfy your cravings. With just a few ingredients and a bit of time, you can create a dish that is both comforting and full of flavor. So gather your ingredients, turn on the oven, and get ready for a delicious meal that your family will love.
You won’t regret diving into this culinary adventure, and the best part? There’s plenty to share—if you want to! Happy cooking!
Crispy Baked Chicken Fajita Quesadillas
Ingredients
Equipment
Method
- Start by pounding the chicken breasts evenly using a meat mallet. This ensures they cook uniformly. Season both sides with the fajita seasoning for that authentic flavor.
- In a large skillet, heat the olive oil over medium heat. Add the seasoned chicken breasts and cook for about 5-7 minutes on each side, or until the chicken is cooked through and no longer pink in the center. Remove from the skillet and let it rest for a few minutes before slicing into strips.
- In the same skillet, add the sliced onion and bell pepper. Sauté for 3-4 minutes until they are tender and slightly caramelized. Remove from heat.
- On a clean surface, lay out a tortilla. Sprinkle a portion of the shredded cheese over half of the tortilla, followed by a layer of sliced chicken and sautéed vegetables. Top with another sprinkle of cheese before folding the tortilla in half.
- Preheat your oven to 400°F (200°C). Line a baking sheet with parchment paper and spray it lightly with cooking spray. Place the folded quesadillas on the baking sheet. Spray the tops lightly with olive oil spray for that extra crispiness. Bake for 15-20 minutes, flipping halfway through, until golden brown and crispy.
- Once baked, remove the quesadillas from the oven. Allow them to cool for a minute before slicing into wedges. Serve with your favorite dipping sauces like salsa, guacamole, or sour cream.
Notes
- Feel free to customize with your favorite vegetables or cheese blends.
- For a vegetarian option, substitute chicken with black beans or grilled veggies.
- Store leftovers in an airtight container in the refrigerator for up to 3 days.