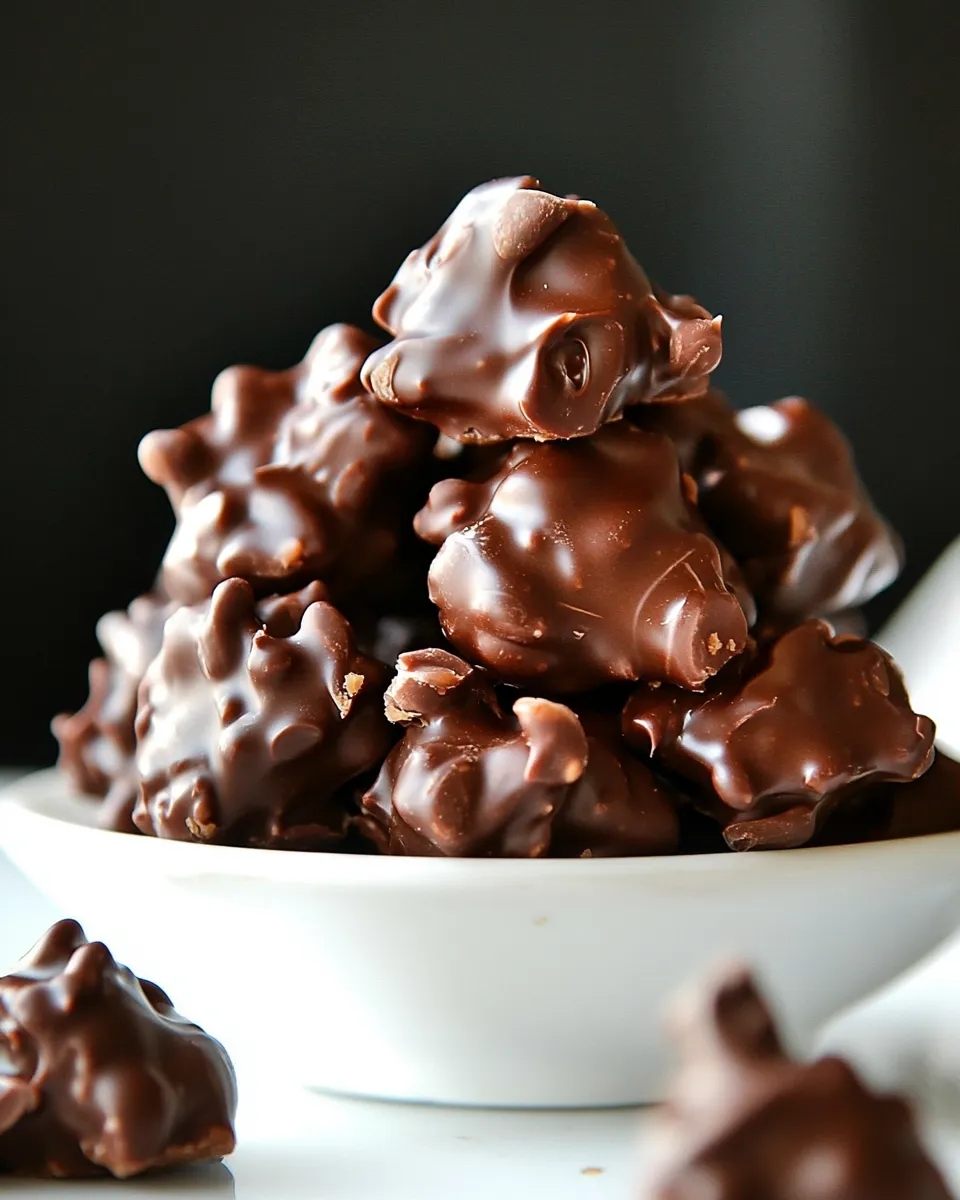
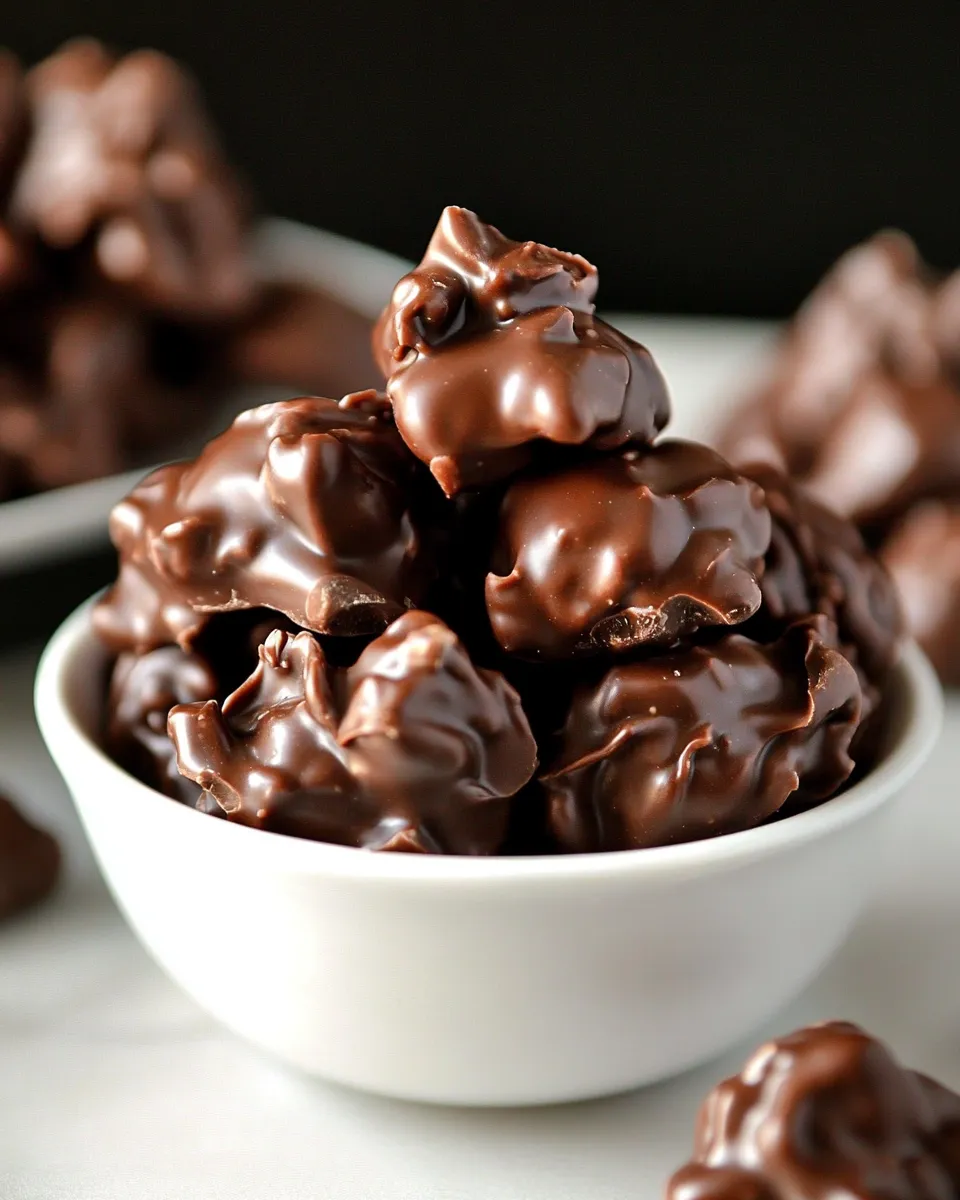
Chocolate Peanut Butter Clusters Recipe
If you’re searching for a sweet treat that perfectly balances the richness of chocolate with the nutty goodness of peanut butter, then look no further! These Chocolate Peanut Butter Clusters are not only simple to make but also incredibly satisfying. With just a handful of ingredients, you can whip up a batch of these delightful clusters that will satisfy your cravings and impress your friends. Let’s dive into this easy and delicious recipe that’s perfect for any occasion!
Reasons to Love Chocolate Peanut Butter Clusters Recipe
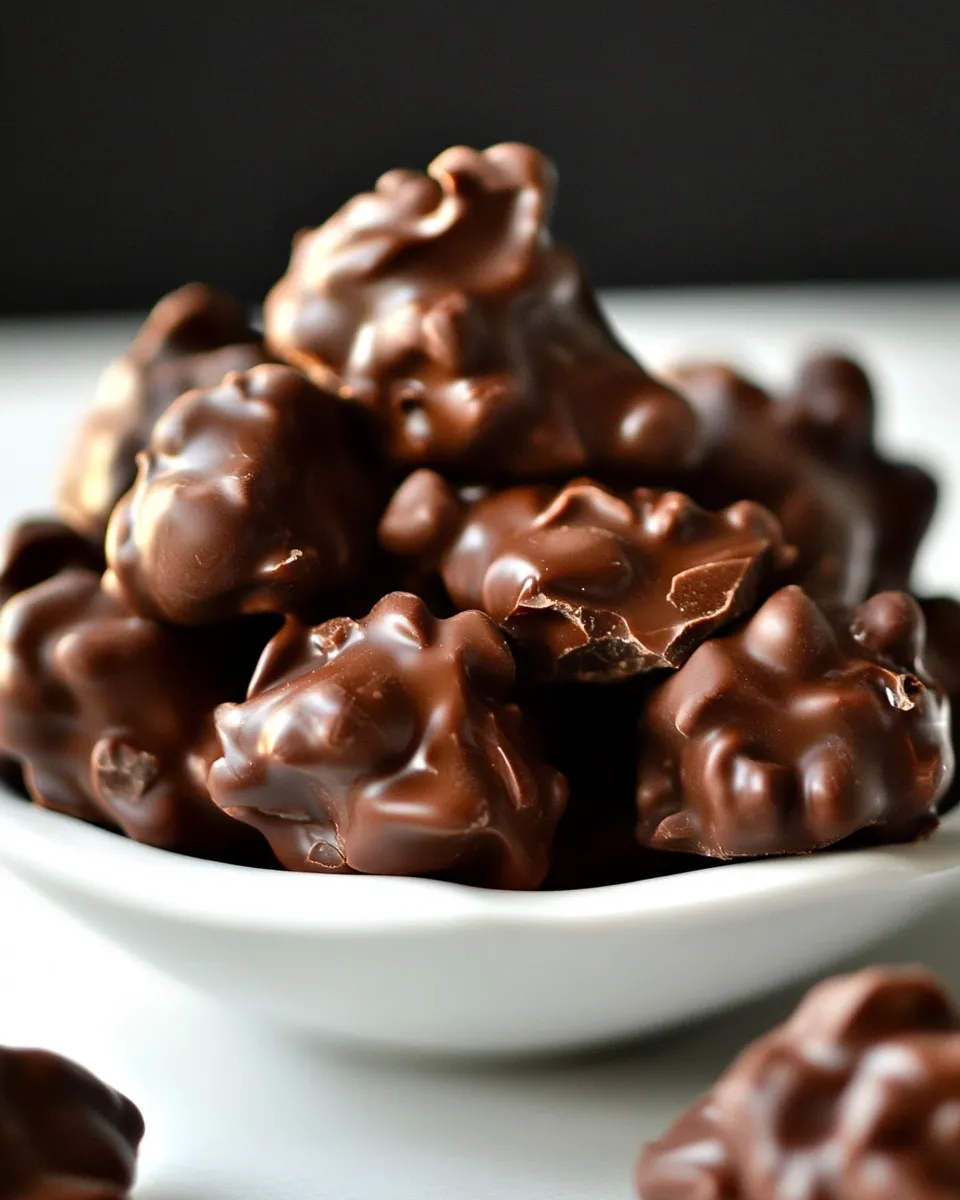
There are so many reasons to fall in love with this Chocolate Peanut Butter Clusters Recipe. First, the combination of semi-sweet and milk chocolate creates a rich, creamy texture that melts in your mouth. Second, the addition of crunchy roasted peanuts adds a delightful contrast that makes each bite more exciting. Third, these clusters are incredibly versatile – you can enjoy them as a quick snack, a party treat, or even a homemade gift. Finally, they come together in just a few easy steps, making them a perfect choice for both beginner and experienced bakers alike!
What to Buy
To create these delicious Chocolate Peanut Butter Clusters, you will need the following ingredients and supplies:
- 2 cups (340g) semi-sweet chocolate chips
- 1 cup (170g) milk chocolate chips
- 3 tablespoons (51g) peanut butter
- 2 cups (292g) roasted peanuts, salted
Make sure to select high-quality chocolate chips for the best flavor and texture. And if you prefer a different nut or want to experiment with flavors, feel free to get creative!
Equipment at a Glance
Before you start, gather the following equipment:
- Microwave-safe bowl or double boiler – for melting the chocolate
- Spatula – to stir and combine the ingredients
- Baking sheet – to set the clusters on
- Parchment paper – for easy cleanup
- Measuring cups and spoons – for accurate ingredient measurements
Having everything ready will make the process smooth and enjoyable!
How to Prepare Chocolate Peanut Butter Clusters Recipe
Now it’s time to create your Chocolate Peanut Butter Clusters. Follow these simple steps for a delectable treat!
Step 1: Melt the Chocolate
Begin by combining the semi-sweet and milk chocolate chips in a microwave-safe bowl. Heat the chocolate in 30-second intervals, stirring in between until completely melted and smooth. You can also use a double boiler if you prefer this method.
Step 2: Add the Peanut Butter
Once the chocolate is melted, add the peanut butter to the bowl. Stir well until the peanut butter is fully incorporated into the chocolate mixture, creating a luscious blend.
Step 3: Mix in the Peanuts
Next, fold in the roasted salted peanuts. Make sure that all the peanuts are well-coated with the chocolate-peanut butter mixture for maximum flavor in every bite.
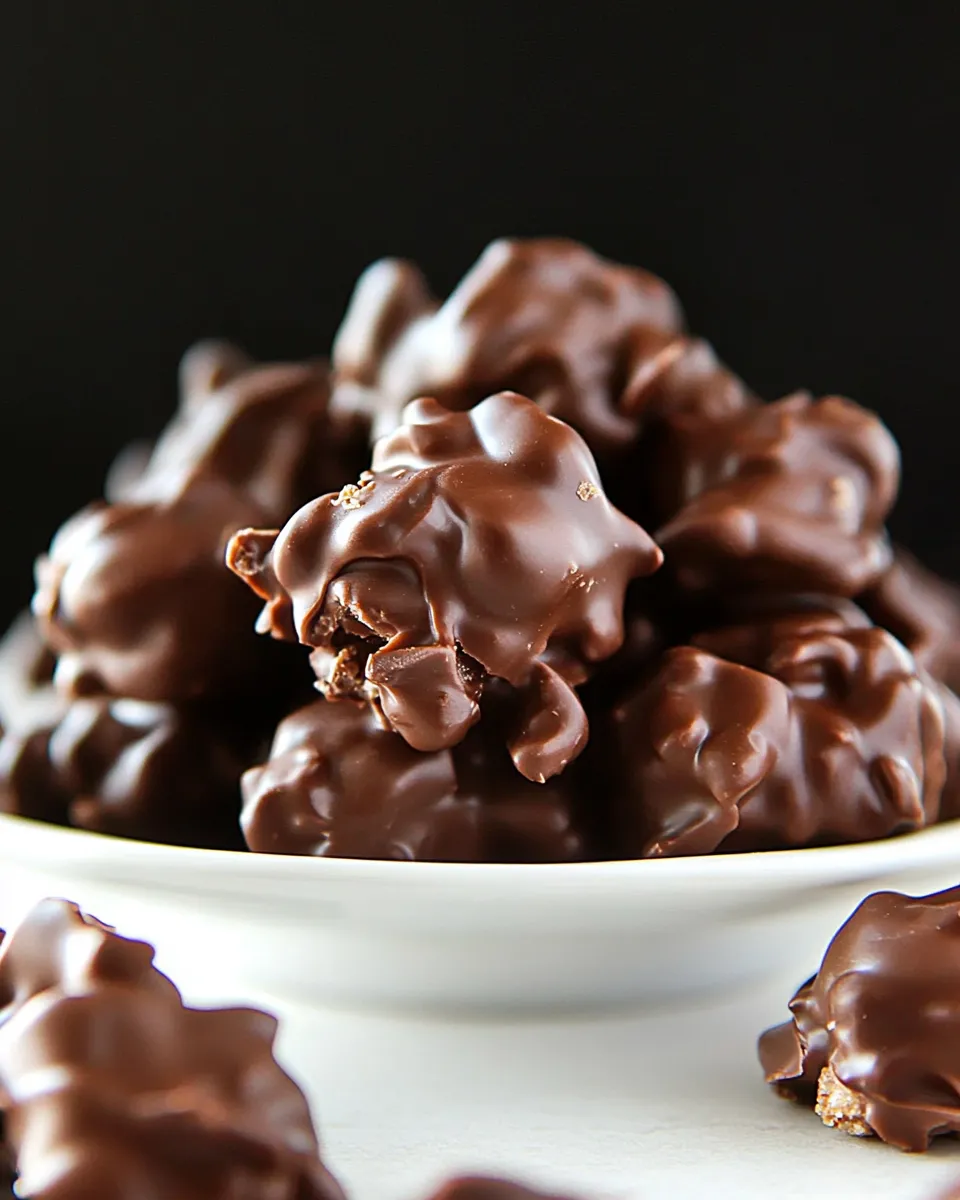
Step 4: Form the Clusters
Using a spoon or a cookie scoop, drop spoonfuls of the mixture onto a baking sheet lined with parchment paper. Aim for small clusters that will hold together once set.
Step 5: Chill to Set
Place the baking sheet in the refrigerator for about 30 minutes, or until the clusters are firm and the chocolate has set.
Year-Round Variations
Feeling adventurous? Here are some fun variations to try with your Chocolate Peanut Butter Clusters:
- Add a sprinkle of sea salt on top before chilling for a sweet and salty treat.
- Incorporate dried fruits like cranberries or raisins for a chewy texture.
- Swap out roasted peanuts for almonds or cashews for a different nutty flavor.
- Drizzle melted white chocolate over the clusters for an elegant touch.
Each of these variations will give your clusters a unique twist!
Recipe Notes & Chef’s Commentary
- For a dairy-free option, use dairy-free chocolate chips and a natural nut butter.
- Feel free to adjust the sweetness by using dark chocolate instead of semi-sweet.
- These clusters can be made ahead of time and stored for later enjoyment.
- Experiment with different nut butters like almond or cashew for a new flavor profile.
Remember, the beauty of this recipe lies in its simplicity and versatility. Don’t hesitate to make it your own!
How to Store & Reheat
To keep your Chocolate Peanut Butter Clusters fresh:
- Store them in an airtight container at room temperature for up to one week.
- If you want to keep them longer, place them in the fridge, where they can last for up to two weeks.
- For extended storage, consider freezing the clusters. Simply place them in a freezer-safe container, and they will last for up to three months.
There’s no need to reheat these clusters; they’re best enjoyed as they are!
Quick Q&A
Can I use other types of chocolate for this recipe?
Absolutely! You can experiment with dark chocolate, white chocolate, or even flavored chocolate chips for a unique twist.
What can I substitute for peanut butter?
If you have a nut allergy or prefer not to use peanut butter, sun butter or any nut-free spread works wonderfully.
Can I add other mix-ins to the clusters?
Yes! Feel free to include ingredients like mini marshmallows, coconut flakes, or even crushed cookies for added texture and flavor.
How do I know when the clusters are set?
The clusters are ready when they are firm to the touch and no longer sticky. This usually takes about 30 minutes in the refrigerator.
Time to Try It
Now that you have all the details for this irresistible Chocolate Peanut Butter Clusters Recipe, it’s time to roll up your sleeves and get to work! These clusters are perfect for sharing at parties, gifting to loved ones, or simply enjoying as an indulgent snack at home. The combination of chocolate and peanuts is a classic that never fails to please, and with this simple recipe, you can bring that joy to your kitchen.
Whether you’re a seasoned baker or just starting out, make sure to try this recipe. You’ll find that it’s not only easy but also incredibly rewarding. Once you take that first bite, you’ll understand why these clusters are bound to become a favorite in your household. Happy baking!
Chocolate Peanut Butter Clusters Recipe
Ingredients
Equipment
Method
- Begin by combining the semi-sweet and milk chocolate chips in a microwave-safe bowl. Heat the chocolate in 30-second intervals, stirring in between until completely melted and smooth. You can also use a double boiler if you prefer this method.
- Once the chocolate is melted, add the peanut butter to the bowl. Stir well until the peanut butter is fully incorporated into the chocolate mixture, creating a luscious blend.
- Next, fold in the roasted salted peanuts. Make sure that all the peanuts are well-coated with the chocolate-peanut butter mixture for maximum flavor in every bite.
- Using a spoon or a cookie scoop, drop spoonfuls of the mixture onto a baking sheet lined with parchment paper. Aim for small clusters that will hold together once set.
- Place the baking sheet in the refrigerator for about 30 minutes, or until the clusters are firm and the chocolate has set.
Notes
- For a dairy-free option, use dairy-free chocolate chips and a natural nut butter.
- Feel free to adjust the sweetness by using dark chocolate instead of semi-sweet.
- These clusters can be made ahead of time and stored for later enjoyment.
- Experiment with different nut butters like almond or cashew for a new flavor profile.