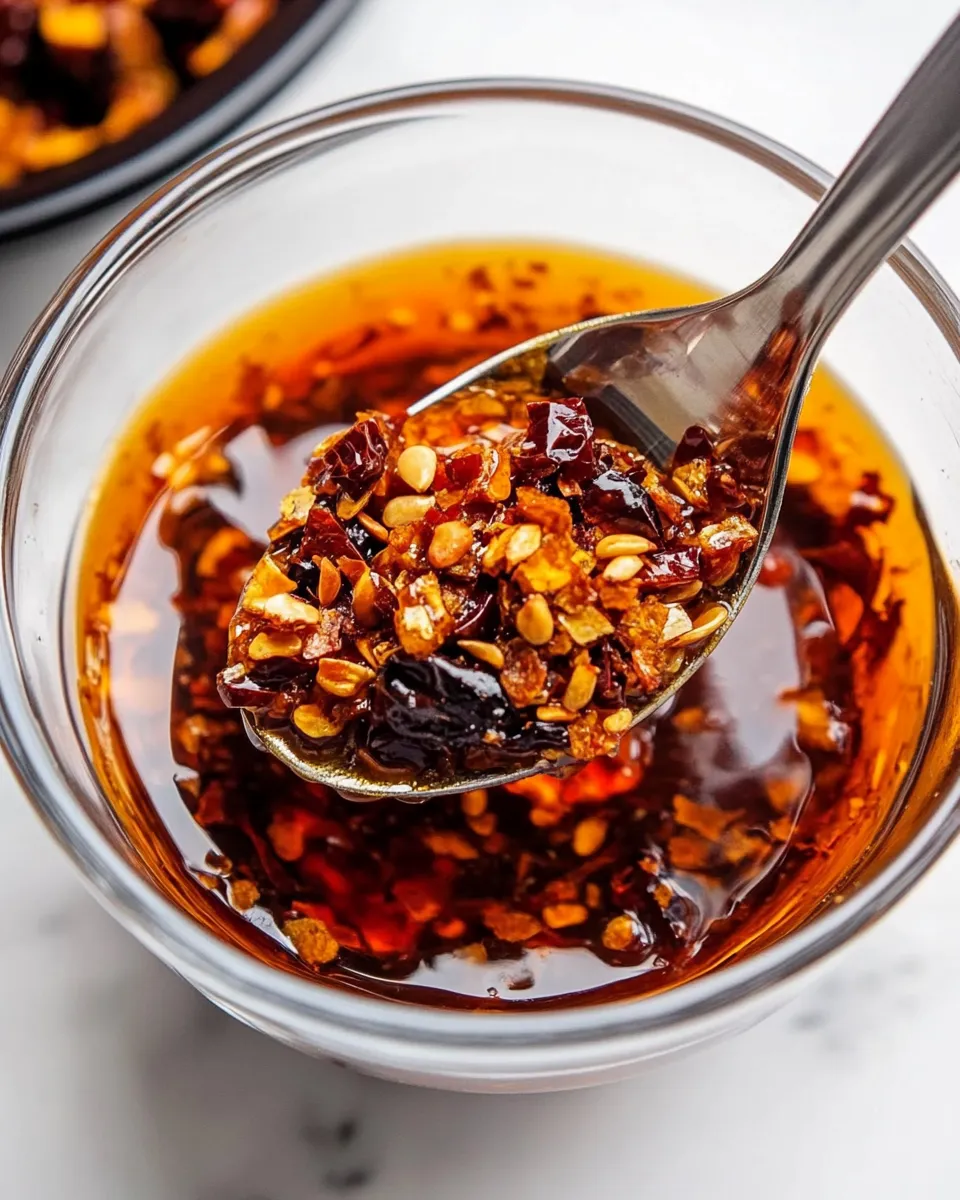
Chili Crisp
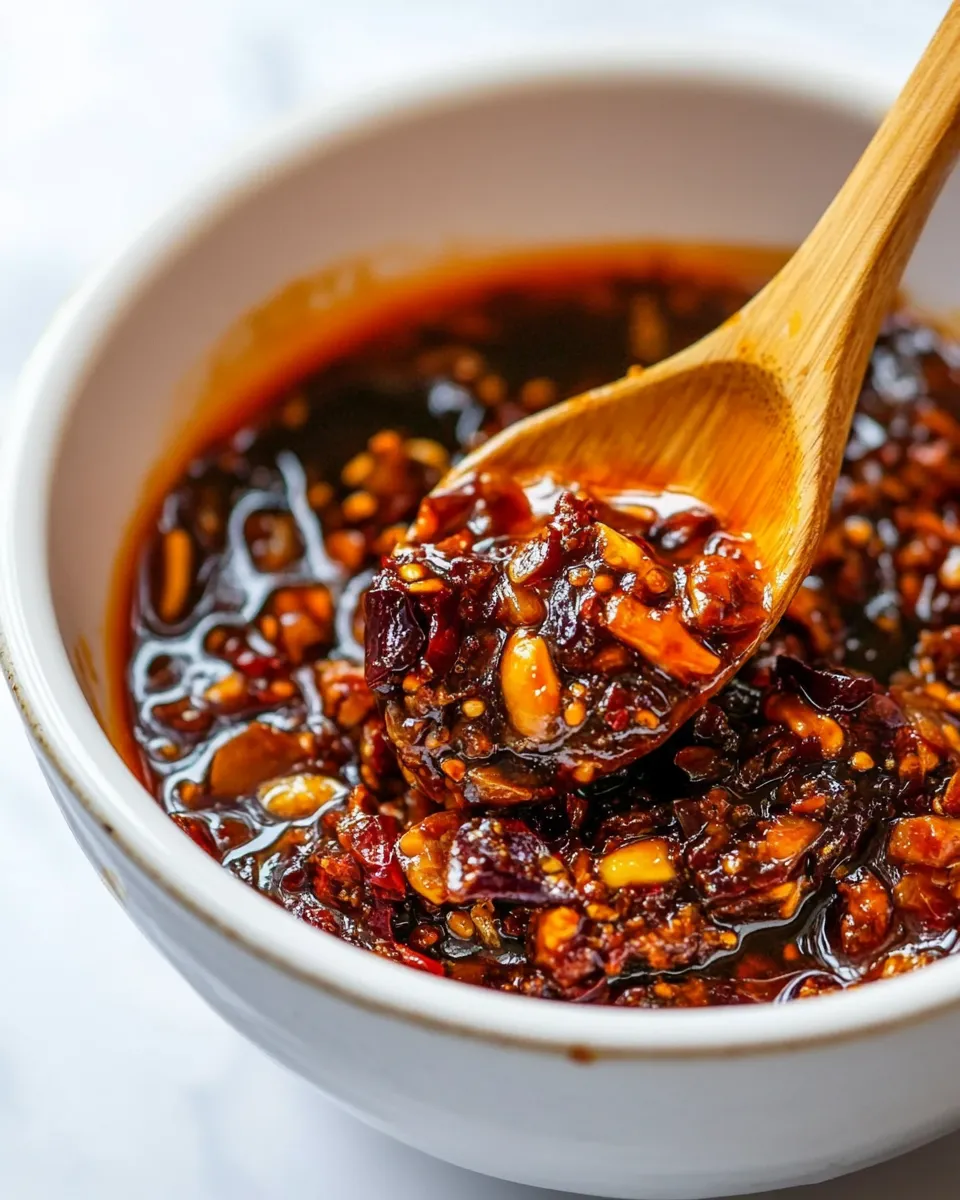
Chili Crisp is more than just a condiment; it’s a culinary revelation that brings depth, flavor, and a satisfying crunch to any dish. Imagine drizzling a spoonful over your favorite noodles, stir-fried veggies, or even a simple bowl of rice, and suddenly, your meal transforms from ordinary to extraordinary. This aromatic blend of spices, garlic, shallots, and chili flakes not only tantalizes the taste buds but also adds a beautiful texture that makes every bite unforgettable. With a few simple ingredients and a dash of patience, you can create your very own Chili Crisp at home, tailored to your taste preferences.
Why It Works Every Time
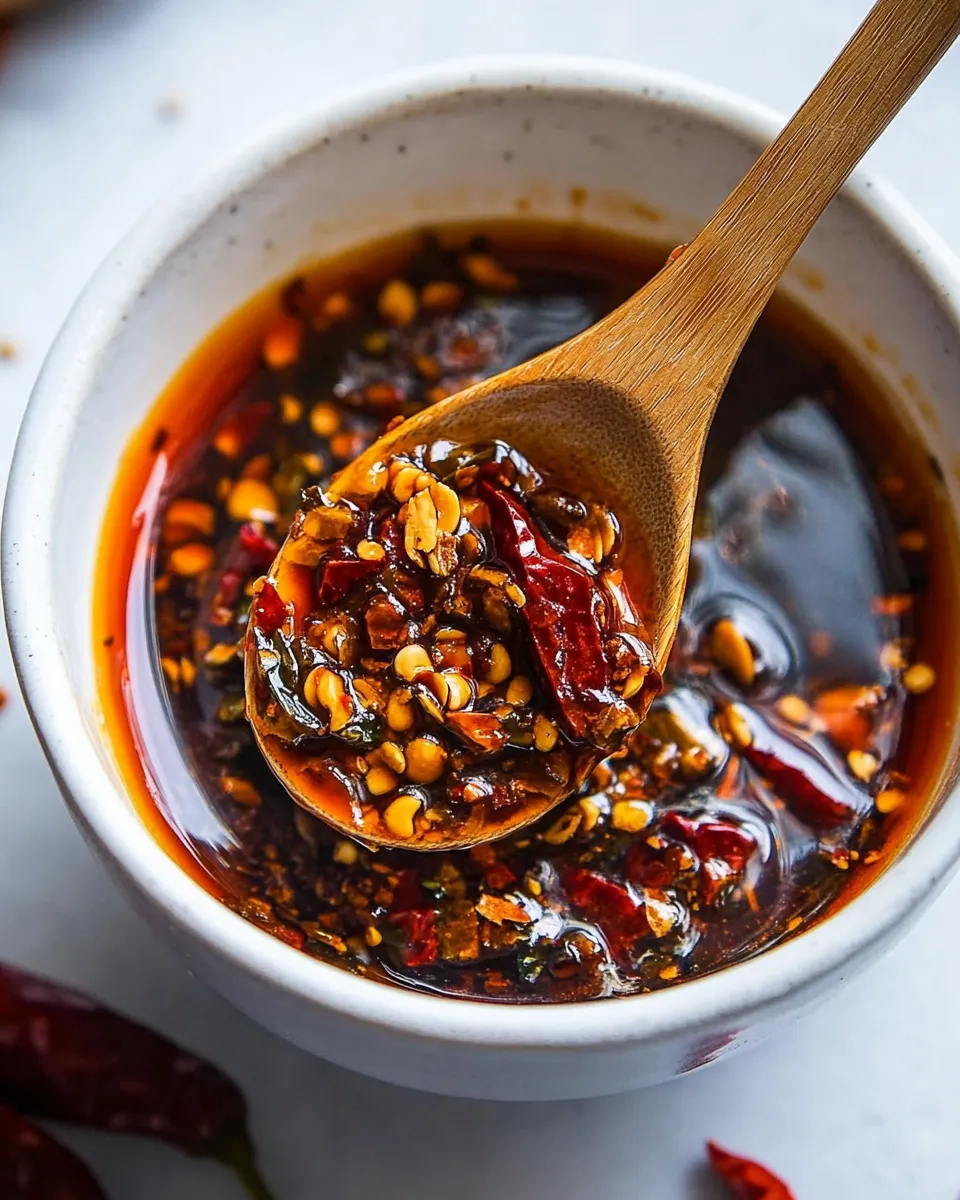
The magic of Chili Crisp lies in its harmonious balance of flavors and textures. The combination of crispy shallots and garlic, along with the deep, rich essence of spices like star anise and cinnamon, creates a multi-dimensional taste experience. The oil acts as a carrier, infusing every ingredient with warmth and a hint of smokiness. When made correctly, this condiment can elevate even the simplest of dishes, making it a must-have in any kitchen.
What Goes Into Chili Crisp
Creating the perfect Chili Crisp requires a medley of carefully selected ingredients. Here’s what you’ll need:
- 2 cups vegetable oil or any neutral oil – This forms the base and carries the flavors.
- 2 shallots, thinly sliced – Adds sweetness and crunch.
- 6 cloves garlic, thinly sliced – Brings a rich, aromatic flavor.
- 1 cinnamon stick – Infuses warmth and depth.
- 3 whole star anise – Contributes a sweet, licorice-like flavor.
- 1 cup chili flakes – Provides the heat; adjust based on your spice tolerance.
- ½ cup gochugaru (Korean chili flakes) – Adds a mild sweetness and beautiful color.
- 1 tablespoon ground Sichuan peppercorn – Offers a unique, numbing spice.
- 1 tablespoon ginger, minced – Adds a zesty kick.
- 2 tablespoons toasted sesame seeds – Contributes nuttiness and crunch.
- 2 teaspoons salt – Balances flavors.
- 1 tablespoon sugar – Enhances sweetness and rounds out the flavor profile.
- 1 teaspoon MSG (optional) – Boosts umami flavor.
Essential Tools for Success
To ensure your Chili Crisp turns out perfectly, gather these essential tools:
- Heavy-bottomed pot – For even heat distribution while frying.
- Wooden spoon – Ideal for stirring without scratching the pot.
- Fine mesh strainer – For straining out solids once the oil is infused.
- Glass jar – For storing your finished Chili Crisp, preferably with an airtight seal.
From Start to Finish: Chili Crisp
Making your own Chili Crisp is a rewarding process. Follow these steps to achieve a perfect blend:
Step 1: Heat the Oil
In a heavy-bottomed pot, pour in 2 cups of vegetable oil and place it over low heat. This gentle heating will help infuse the oil with flavors without burning the ingredients.
Step 2: Sauté Shallots and Garlic
Once the oil is warm, add the thinly sliced shallots and garlic. Stir frequently to prevent burning. You want them to become golden brown and crispy, which should take about 10 minutes. Be patient, as this step is crucial for flavor.
Step 3: Add Spices
Once the shallots and garlic are golden, add the cinnamon stick and whole star anise to the pot. Allow them to cook for another 2-3 minutes, letting their flavors infuse into the oil.
Step 4: Stir in Chili Flakes
Remove the pot from heat and stir in the chili flakes and gochugaru. The residual heat will toast the chili flakes, intensifying their flavor.
Step 5: Incorporate Remaining Ingredients
Add the ground Sichuan peppercorn, minced ginger, toasted sesame seeds, salt, sugar, and MSG (if using). Stir everything together until well combined.
Step 6: Strain the Oil
Using a fine mesh strainer, strain the oil mixture into a clean glass jar, discarding the solid bits. This step ensures your Chili Crisp has a smooth texture while retaining all the delicious flavors.
Step 7: Cool and Store
Allow the Chili Crisp to cool completely before sealing the jar. Once cooled, store it in the refrigerator or a cool, dark place.
Better-for-You Options
If you’re looking to make your Chili Crisp a bit healthier, consider these alternatives:
- Use avocado oil instead of vegetable oil for a healthier fat option.
- Reduce the sugar or use a natural sweetener like honey or maple syrup.
- Omit the MSG if you prefer a cleaner ingredient list.
- Incorporate more herbs like cilantro or green onions for added freshness and nutrition.
Frequent Missteps to Avoid
Creating the perfect Chili Crisp can be straightforward, but some common pitfalls should be avoided:
- Too High Heat: Cooking the shallots and garlic at too high a temperature can lead to burning, which will impart a bitter flavor to the oil.
- Not Straining Properly: Failing to strain out the solids can lead to spoilage, as the leftover bits may cause the oil to go rancid quicker.
- Using Stale Spices: Always check the freshness of your spices. Stale spices can lead to a bland final product.
- Skipping the Cooling Time: It’s essential to let the oil cool before sealing, as this helps to preserve the crispiness of the shallots and garlic.
Meal Prep & Storage Notes
Chili Crisp is incredibly versatile and can be made in batches for meal prep:
Store your Chili Crisp in an airtight glass jar in the refrigerator for up to three months. The flavors will continue to develop over time, making it even tastier as it sits. You can also portion it out into smaller jars for gifting or for use in different recipes throughout the week.
- Use within 3 months for the best flavor and freshness.
- Bring to room temperature before using, as the oil may solidify when refrigerated.
- Consider making smaller batches if you find you don’t use it frequently.
Reader Questions
Can I use different types of oil for Chili Crisp?
Absolutely! While neutral oils work best, you can experiment with oils like avocado or sesame oil for a unique twist. Just remember that the flavor of the oil will influence the overall taste of your Chili Crisp.
What dishes pair well with Chili Crisp?
Chili Crisp is incredibly versatile! It pairs wonderfully with noodles, rice, vegetables, eggs, and even popcorn. Feel free to get creative and add it to your favorite dishes for a burst of flavor.
Can I make Chili Crisp spicy without gochugaru?
Yes! If gochugaru is unavailable, you can substitute it with additional chili flakes, though the flavor will differ slightly. Adjust the quantity based on your preferred spice level.
Is it possible to make a vegan version of Chili Crisp?
Yes! The ingredients listed are already vegan-friendly, but always double-check specific brands of products like chili flakes or any pre-made items to ensure they fit your dietary preferences.
Hungry for More?
If you’re excited to explore the world of homemade condiments, don’t stop here! Dive into making your own sauces, marinades, and spreads right in your kitchen. From zesty salsas to rich pesto, the possibilities are endless when it comes to enhancing your culinary creations.
With your homemade Chili Crisp, you’ll never look at condiments the same way again. Enjoy the process, experiment with flavors, and most importantly, savor the delicious results. Happy cooking!
Chili Crisp
Ingredients
Equipment
Method
- Step 1: Heat the Oil - In a heavy-bottomed pot, pour in 2 cups of vegetable oil and place it over low heat. This gentle heating will help infuse the oil with flavors without burning the ingredients.
- Step 2: Sauté Shallots and Garlic - Once the oil is warm, add the thinly sliced shallots and garlic. Stir frequently to prevent burning. You want them to become golden brown and crispy, which should take about 10 minutes.
- Step 3: Add Spices - Once the shallots and garlic are golden, add the cinnamon stick and whole star anise to the pot. Allow them to cook for another 2-3 minutes, letting their flavors infuse into the oil.
- Step 4: Stir in Chili Flakes - Remove the pot from heat and stir in the chili flakes and gochugaru. The residual heat will toast the chili flakes, intensifying their flavor.
- Step 5: Incorporate Remaining Ingredients - Add the ground Sichuan peppercorn, minced ginger, toasted sesame seeds, salt, sugar, and MSG (if using). Stir everything together until well combined.
- Step 6: Strain the Oil - Using a fine mesh strainer, strain the oil mixture into a clean glass jar, discarding the solid bits. This step ensures your Chili Crisp has a smooth texture while retaining all the delicious flavors.
- Step 7: Cool and Store - Allow the Chili Crisp to cool completely before sealing the jar. Once cooled, store it in the refrigerator or a cool, dark place.
Notes
- Store your Chili Crisp in an airtight glass jar in the refrigerator for up to three months.
- Bring to room temperature before using, as the oil may solidify when refrigerated.
- Consider making smaller batches if you find you don’t use it frequently.