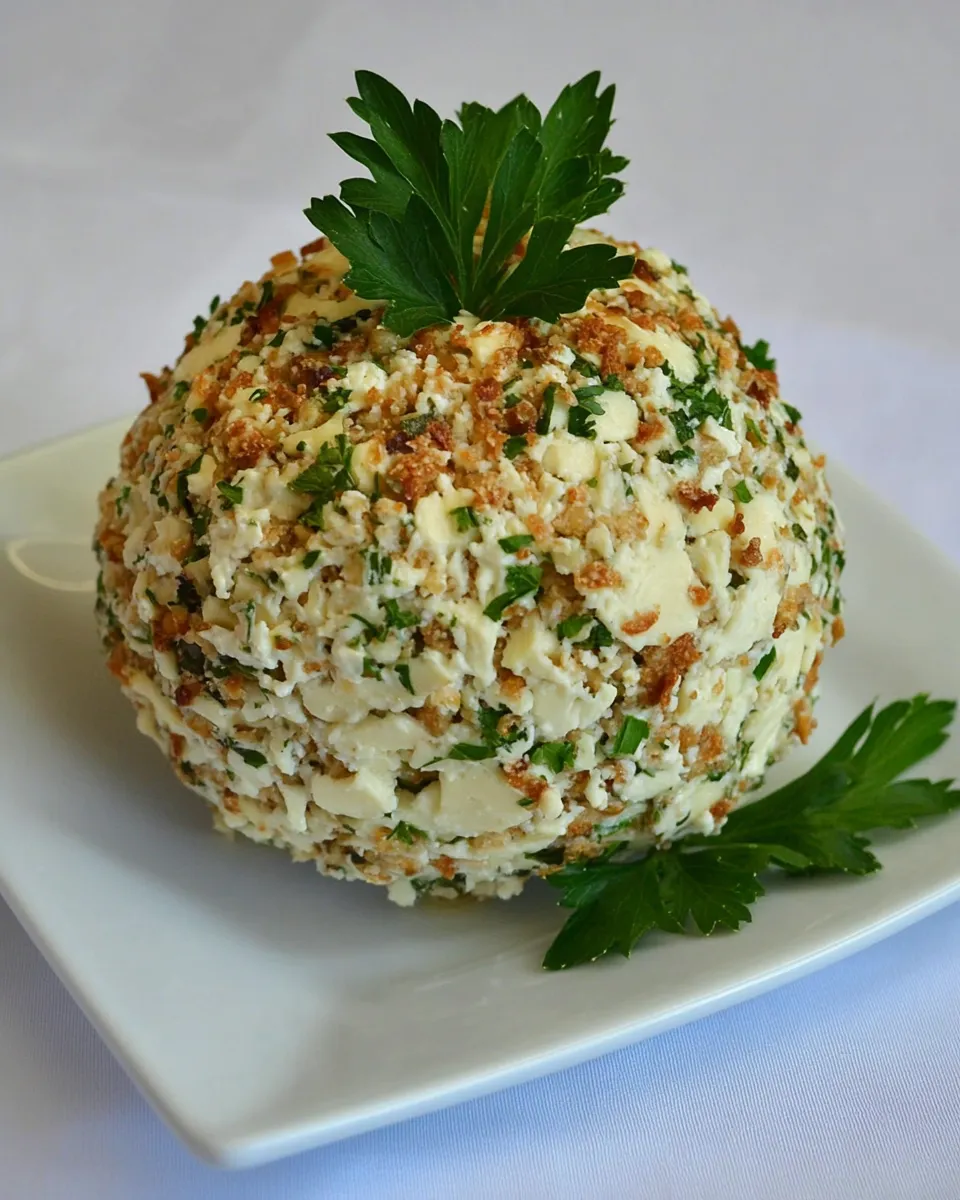
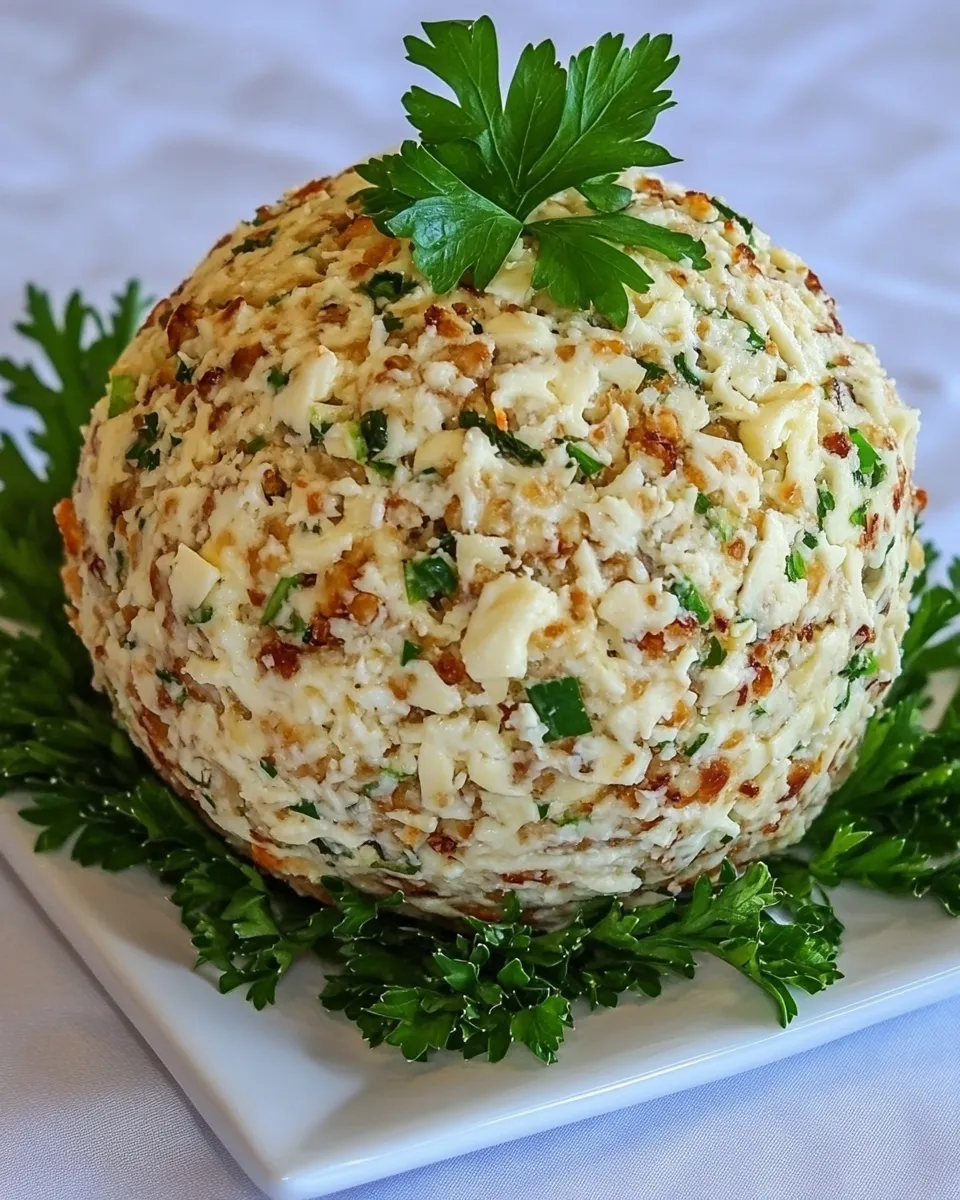
Blue Cheese Ball
There’s something utterly delightful about a well-crafted cheese ball. It combines rich, creamy textures with robust flavors that leave your taste buds dancing. This Blue Cheese Ball recipe is an ideal addition to any gathering, whether it’s a casual game night or an elegant cocktail party. With its creamy consistency and savory depth, it’s sure to impress your guests and become a staple in your recipe repertoire.
Why You’ll Keep Making It
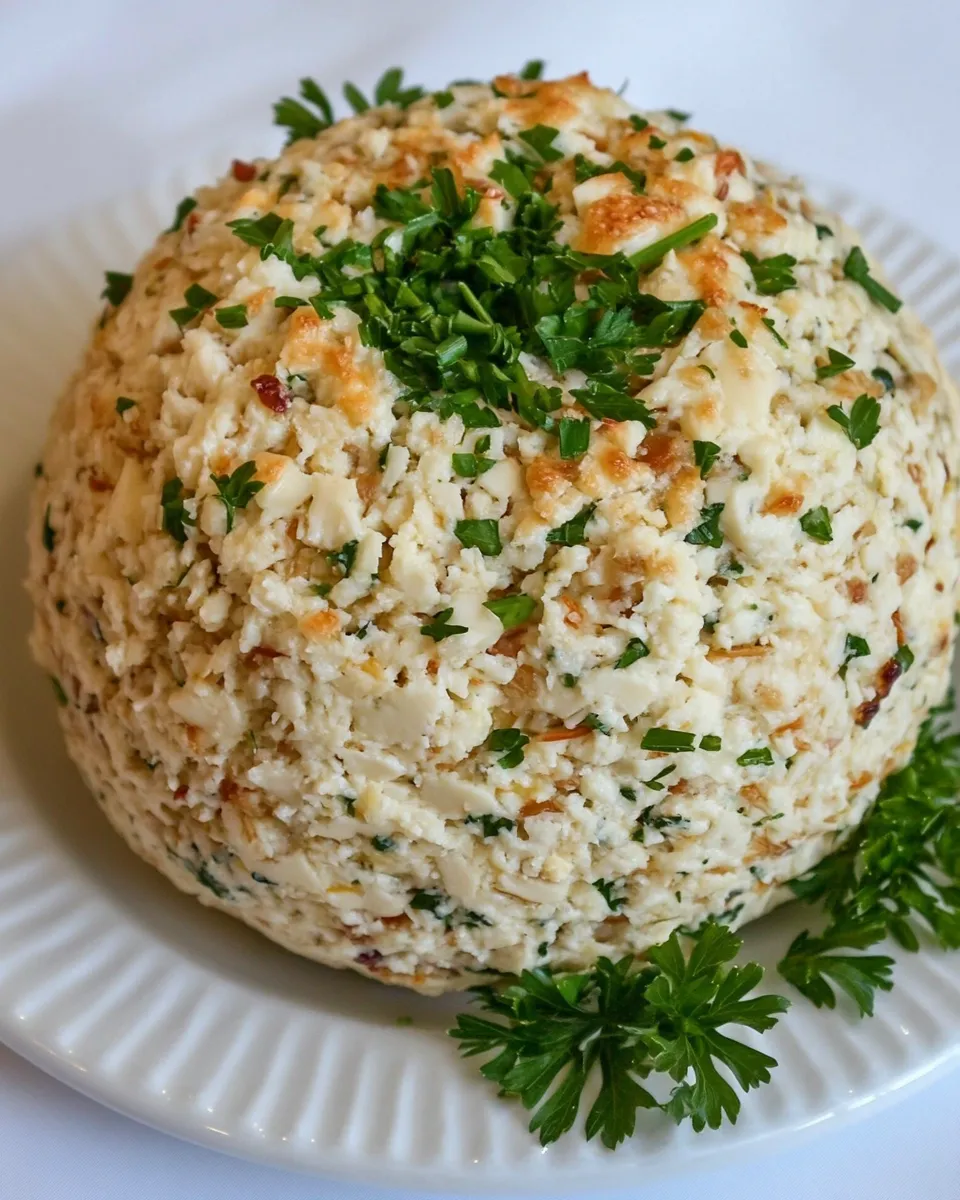
This Blue Cheese Ball is not just a dish; it’s an experience. The creamy blend of blue cheese and cream cheese creates a luscious texture that pairs beautifully with crunchy crackers. The addition of black olives and chives adds a burst of flavor and color, making it visually appealing as well. Plus, it’s incredibly easy to whip up—no complicated techniques or fancy equipment required. Just mix, shape, and serve! Whether for a festive occasion or a simple snack, this cheese ball is bound to be a favorite.
What You’ll Gather
To create this delightful Blue Cheese Ball, you’ll need the following ingredients:
- 1 (8-ounce) package cream cheese, softened
- 8 ounces blue cheese crumbles
- ½ cup (1 stick) butter, softened
- 1 (4.25-ounce) can chopped black olives, drained
- 1 tablespoon minced chives
- ½ cup finely chopped walnuts
- Crackers, for serving
Before You Start: Equipment
Before diving into the recipe, ensure you have the following tools at your disposal:
- Mixing bowl – for combining the ingredients.
- Spatula or wooden spoon – for mixing the cheese and butter.
- Plastic wrap – for shaping and chilling the cheese ball.
- Serving platter – for presenting your Blue Cheese Ball.
- Knife – for slicing the cheese ball if needed.
Method: Blue Cheese Ball
Step 1: Prepare the Ingredients
Start by gathering all your ingredients. Make sure your cream cheese and butter are softened to room temperature for easy mixing. This will ensure a smooth and creamy texture for your cheese ball.
Step 2: Mix the Base
In a mixing bowl, combine the softened cream cheese and butter. Using a spatula or wooden spoon, mix until the mixture is smooth and well blended. You can also use a hand mixer for a quicker process.
Step 3: Add the Blue Cheese
Once your cream cheese and butter are fully combined, fold in the blue cheese crumbles. Be sure to leave some chunks for texture, as they will add to the flavor profile of your Blue Cheese Ball.
Step 4: Incorporate the Extras
Add the drained chopped black olives and minced chives to the mixture. Stir until evenly distributed throughout the cheese mixture. These ingredients offer a delicious contrast to the rich blue cheese.
Step 5: Form the Cheese Ball
Lay out a piece of plastic wrap on your work surface. Scoop the cheese mixture onto the center of the plastic wrap and fold the wrap around it, shaping it into a ball. Twist the ends of the wrap to secure the ball and place it in the refrigerator.
Step 6: Chill
Allow the Blue Cheese Ball to chill in the refrigerator for at least 2 hours, or overnight if possible. This resting period helps the flavors meld together beautifully.
Step 7: Coat with Walnuts
Once chilled, unwrap the cheese ball. Roll it in finely chopped walnuts until it’s evenly coated. This not only adds a pleasing crunch but also enhances the presentation.
Step 8: Serve
Transfer your Blue Cheese Ball to a serving platter. Serve with an assortment of crackers, which will provide the perfect vehicle for this creamy delight. Enjoy as an appetizer at your next gathering or as a simple snack!
Allergy-Friendly Substitutes

If you’re looking to adapt this recipe for dietary restrictions, consider the following substitutes:
- For dairy-free: Use a plant-based cream cheese and butter alternative.
- For nut allergies: Substitute walnuts with sunflower seeds or omit them altogether.
- For a lower sodium option: Use low-sodium olives and cheese.
Mistakes Even Pros Make
Even experienced cooks can stumble when making a Blue Cheese Ball. Here are some common pitfalls to avoid:
- Not allowing the cream cheese and butter to soften adequately, leading to a lumpy mixture.
- Omitting the chilling step, which can result in a cheese ball that falls apart when served.
- Using overly strong blue cheese that can overpower the other flavors.
Keep It Fresh: Storage Guide
To ensure your Blue Cheese Ball remains fresh and delicious, follow these storage tips:
- Store the cheese ball wrapped tightly in plastic wrap in the refrigerator for up to 1 week.
- If you want to prepare it ahead of time, you can make it and freeze it before coating with walnuts. Just thaw in the refrigerator before serving.
- For best flavor and texture, consume within a few days of making it.
Common Questions
Can I use different types of cheese?
Absolutely! While this recipe focuses on blue cheese, you can experiment with other cheeses like goat cheese, cheddar, or cream cheese alone for different flavor profiles.
What can I serve with the Blue Cheese Ball?
Crackers are a classic choice, but you can also serve it with sliced vegetables, breadsticks, or even apple slices for a sweet contrast.
How can I adjust the flavor of my cheese ball?
You can add additional herbs like dill or parsley, or spices such as garlic powder or smoked paprika, to customize the flavor to your liking.
Is it possible to make this recipe vegan?
Yes, by using plant-based cream cheese and butter, you can create a vegan version of this Blue Cheese Ball. Just ensure the blue cheese is also a vegan alternative.
Ready, Set, Cook
With this easy-to-follow recipe, you’re all set to create a stunning Blue Cheese Ball that will have your guests coming back for seconds. Whether you enjoy it as an appetizer or part of a cheese platter, this dish is sure to be a crowd-pleaser. The blend of creamy cheese, savory olives, and crunchy walnuts creates a perfect balance of flavors and textures.
Indulge in the beauty of entertaining with this delightful appetizer. Gather your friends and family, and watch as your Blue Cheese Ball becomes the star of the show. Enjoy creating and sharing this delectable treat!
Blue Cheese Ball
Ingredients
Equipment
Method
- Start by gathering all your ingredients. Make sure your cream cheese and butter are softened to room temperature for easy mixing.
- In a mixing bowl, combine the softened cream cheese and butter. Mix until smooth and well blended.
- Fold in the blue cheese crumbles, leaving some chunks for texture.
- Add the drained chopped black olives and minced chives. Stir until evenly distributed.
- Lay out a piece of plastic wrap, scoop the cheese mixture onto it, and shape into a ball. Wrap tightly and refrigerate.
- Chill the cheese ball for at least 2 hours or overnight to allow flavors to meld.
- Unwrap the cheese ball and roll it in finely chopped walnuts until coated.
- Transfer to a serving platter and serve with an assortment of crackers.
Notes
- For a dairy-free version, use plant-based cream cheese and butter.
- Experiment with different cheeses for varied flavors.
- Store wrapped in plastic in the fridge for up to 1 week.