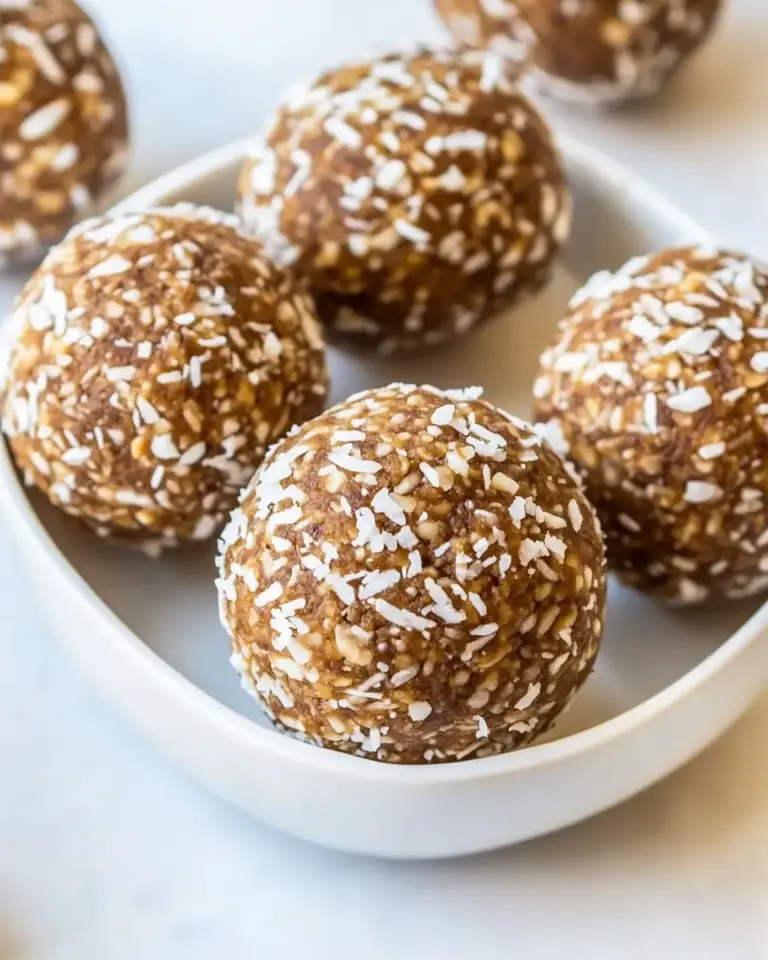
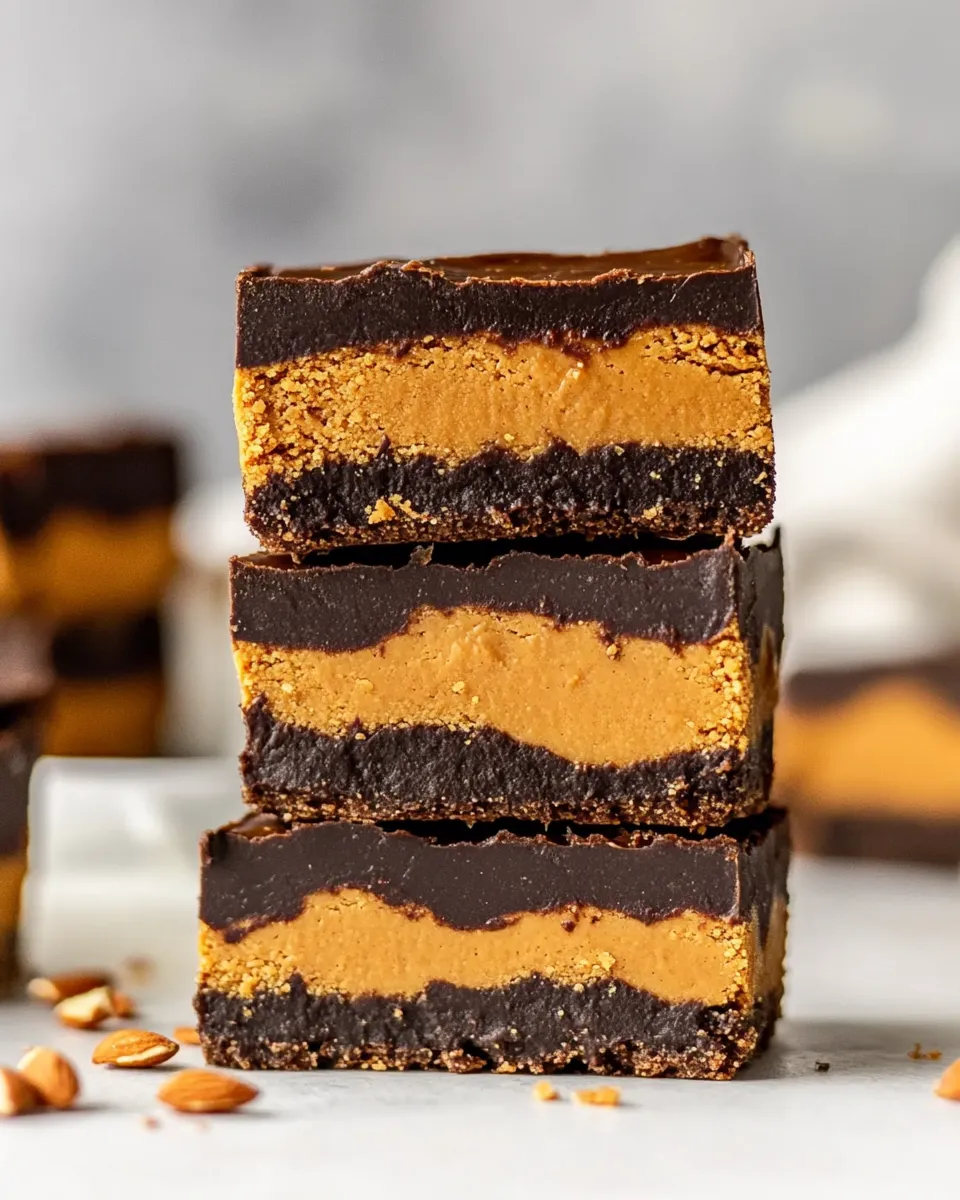
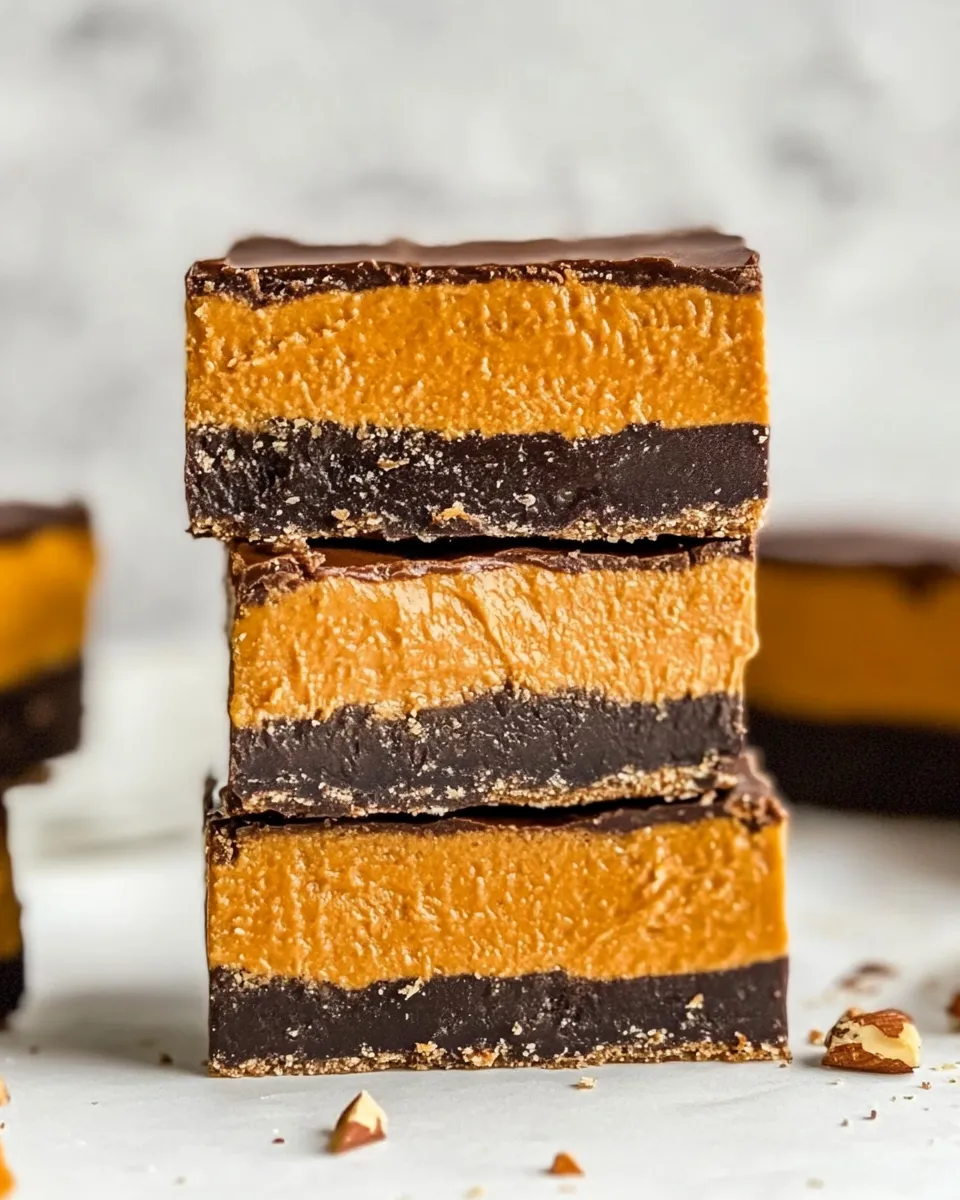
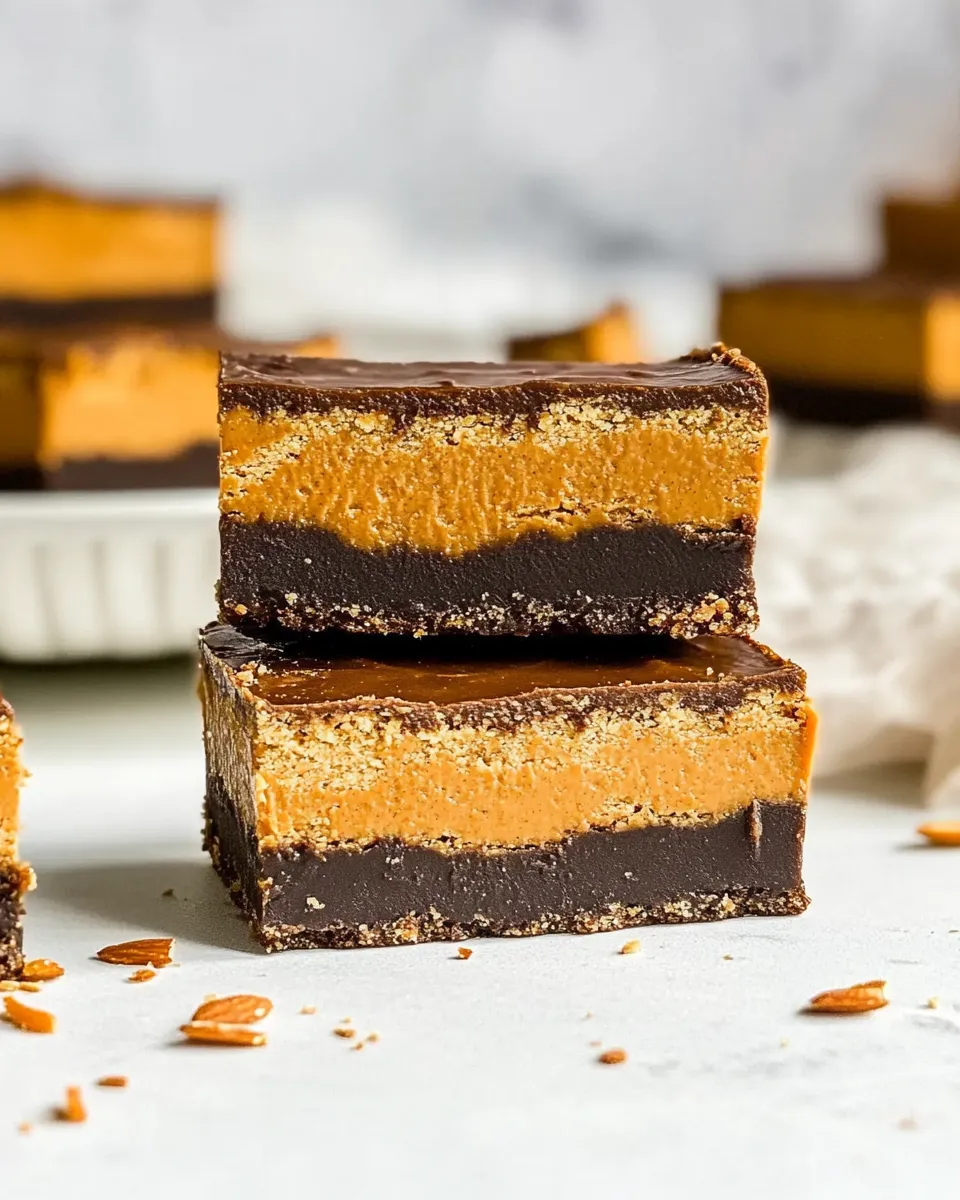
Almond Butter Bars (No-Bake)
If you’re on a mission to find a sweet, creamy, and utterly satisfying treat, look no further than these delectable Almond Butter Bars (No-Bake). Packed with wholesome ingredients and a rich chocolatey topping, these bars are perfect for snack time, dessert, or a quick energy boost. The best part? You don’t even have to turn on the oven!
These bars combine the nutty flavor of almond butter with the smoothness of coconut oil and a hint of cocoa, creating a decadent yet nutritious option that everyone will love. Let’s dive into why you’ll adore this recipe and how to whip it up in no time at all!
Why You’ll Love This Recipe
– **No Baking Required**: Perfect for hot days or when you’re short on time.
– **Nutritious Ingredients**: Made with almond flour, almond butter, and natural sweeteners, these bars are both satisfying and nourishing.
– **Customizable**: Feel free to add your favorite mix-ins like nuts, seeds, or dried fruit for an extra crunch.
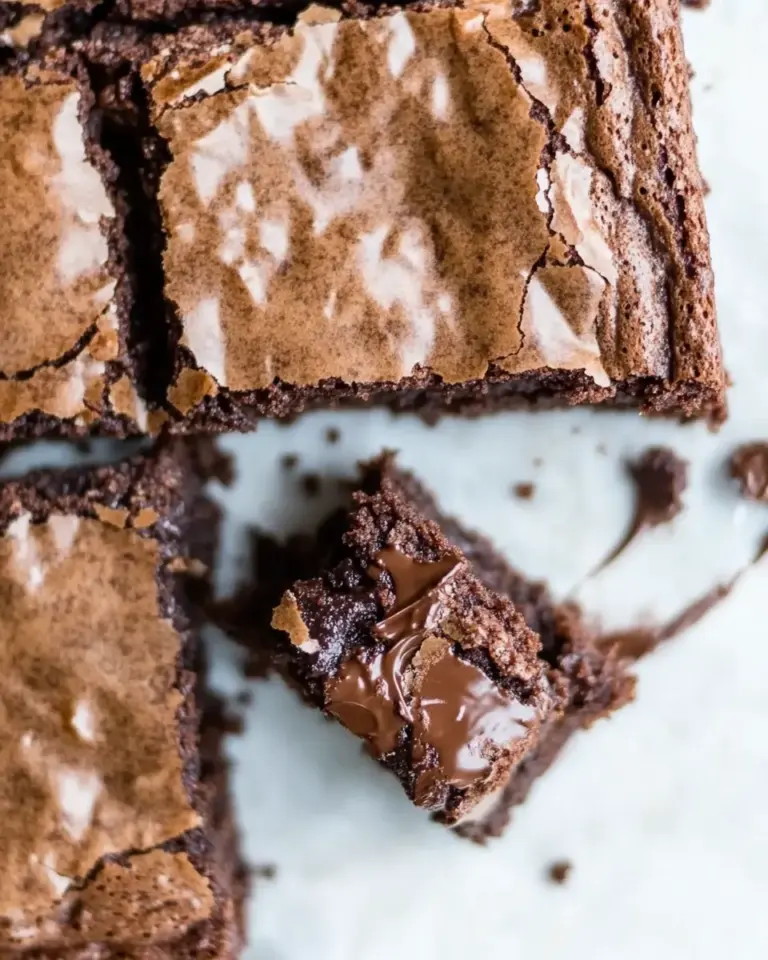
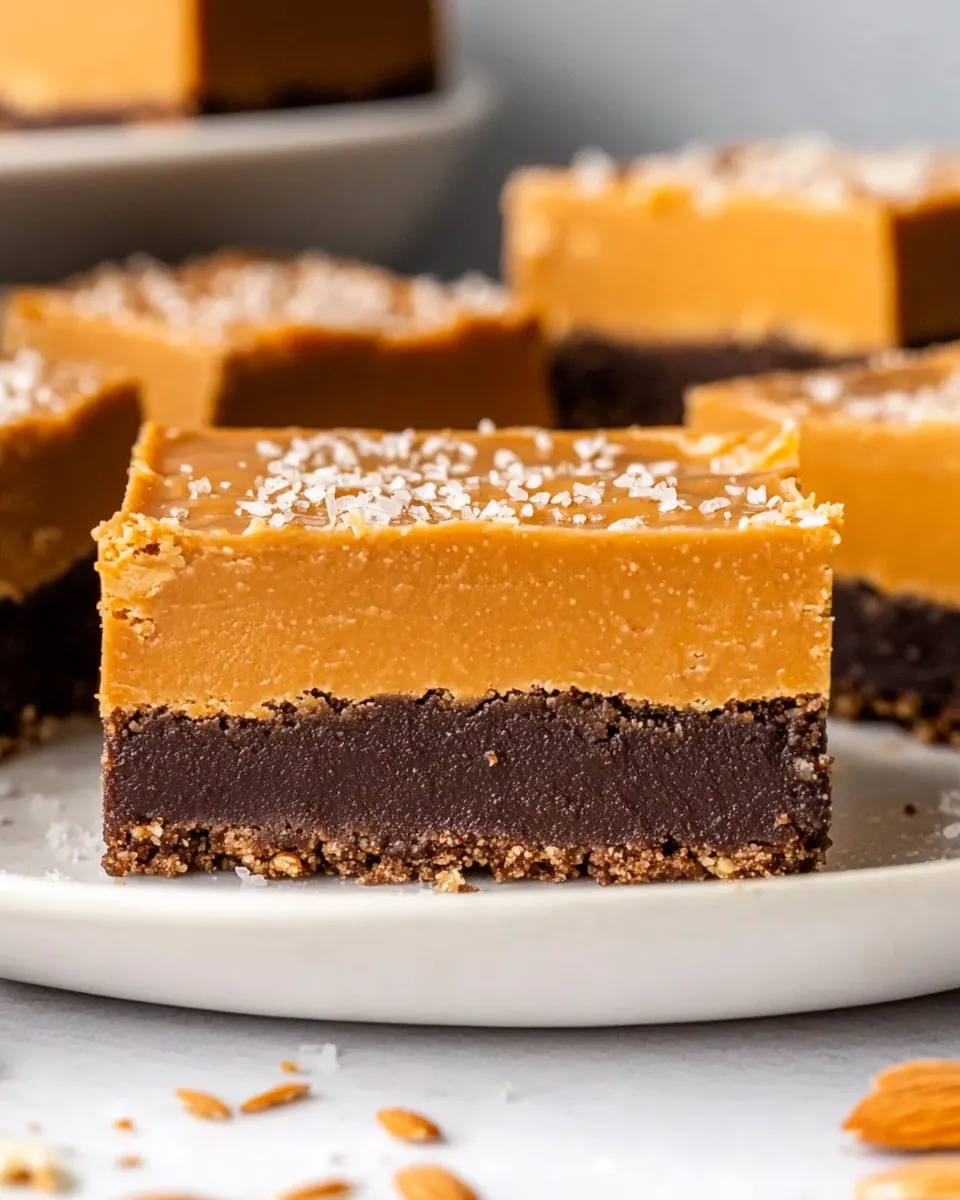
– **Rich Chocolate Topping**: The dairy-free dark chocolate layer brings a luxurious finish to these bars.
– **Perfect for Meal Prep**: Make a batch at the beginning of the week for healthy snacks on the go!
Ingredient Rundown
- 3/4 cup almond flour: This gives the base of the bars a wonderful nutty flavor and texture.
- 3 tablespoons cocoa or cacao powder: Adds rich chocolate flavor, enhancing the indulgence of the bars.
- Pinch of salt: Balances the sweetness and enhances all the flavors.
- 3 tablespoons grade A maple syrup at room temperature: A natural sweetener that adds a hint of caramel flavor.
- 1 cup almond butter (unsalted): The star ingredient that binds everything together and provides healthy fats.
- 1/4 cup grade A maple syrup at room temperature: For added sweetness in the bar mixture.
- 1/4 cup refined coconut oil (melted and cooled): Helps to firm up the bars while adding a subtle coconut flavor.
- 1/2 teaspoon vanilla extract: A must-have for adding depth to the flavor profile.
- 1/4 teaspoon fine sea salt: Omit if using salted nut butter.
- 3 ounces high-quality dairy-free dark chocolate (chopped): For the luscious topping that brings everything together.
- 1 teaspoon refined coconut oil (optional): This makes the chocolate easier to pour and drizzle.
- Flaky salt for garnish: An optional touch to elevate the bars with a hint of saltiness.
Gear Checklist
- Mixing bowl: For combining the ingredients.
- Spatula or wooden spoon: To mix and spread the mixture evenly.
- 8×8 inch baking pan: Line it with parchment paper for easy removal.
- Double boiler or microwave-safe bowl: For melting the chocolate.
- Refrigerator: Essential for firming up the bars.
Almond Butter Bars (No-Bake): Step-by-Step Guide
Step 1: Prepare the Pan
Begin by lining an 8×8 inch baking pan with parchment paper. Leave some overhang on the sides to make it easier to lift out the bars later.
Step 2: Combine the Base Ingredients
In a mixing bowl, combine the almond flour, cocoa powder, and a pinch of salt. Mix well to ensure even distribution of ingredients.
Step 3: Add the Sweeteners and Nut Butter
Next, add in 3 tablespoons of grade A maple syrup, the almond butter, and the remaining 1/4 cup of maple syrup. Stir until everything is well combined and you have a thick mixture.
Step 4: Incorporate Coconut Oil
Pour in the melted coconut oil and vanilla extract. Continue to mix until the mixture is smooth and creamy, with no dry spots remaining.
Step 5: Transfer to the Pan
Spoon the mixture into the prepared baking pan. Use a spatula to press it down firmly and evenly to create a smooth surface.
Step 6: Chill the Base
Place the pan in the refrigerator for at least 30 minutes, allowing the base to firm up. This step is crucial for the bars to hold together.
Step 7: Melt the Chocolate
While the base is chilling, prepare the chocolate topping. Using a double boiler or microwave, melt the chopped dairy-free dark chocolate with the optional teaspoon of refined coconut oil. Stir until completely smooth.
Step 8: Pour the Chocolate
Once the base has set, remove it from the refrigerator. Pour the melted chocolate over the top and spread it evenly with a spatula.
Step 9: Add Flaky Salt
Sprinkle flaky salt on top of the melted chocolate for a gourmet touch.
Step 10: Final Chill
Return the pan to the refrigerator for another hour or until the chocolate is set completely.
Step 11: Slice and Serve
Once the chocolate has hardened, use the parchment overhang to lift the bars out of the pan. Cut them into squares or rectangles, and enjoy your homemade Almond Butter Bars (No-Bake)!
International Equivalents
- 3/4 cup almond flour = 75 grams
- 3 tablespoons cocoa powder = 22.5 grams
- 3 tablespoons maple syrup = 45 milliliters
- 1 cup almond butter = 250 grams
- 1/4 cup coconut oil = 60 milliliters
- 3 ounces dark chocolate = 85 grams
Watch Outs & How to Fix
- Too Crumbly: If the mixture is too dry and crumbly, try adding a bit more almond butter or coconut oil to moisten it.
- Chocolate Doesn’t Set: Ensure you’ve melted the chocolate properly and let it cool slightly before pouring over the bars.
- Bars Are Too Soft: If the bars are too soft after chilling, return them to the refrigerator for a bit longer.
- Chocolate Is Too Thick: If you have trouble pouring the chocolate, ensure the coconut oil is mixed in well to create a smoother consistency.
Make-Ahead & Storage
These Almond Butter Bars (No-Bake) are perfect for meal prep! Store them in an airtight container in the refrigerator for up to a week. You can also freeze them for up to three months. Just be sure to separate layers with parchment paper to prevent sticking.
Common Questions
Can I use a different nut butter?
Absolutely! You can substitute almond butter with any nut or seed butter of your choice, such as peanut butter or sunbutter. Just keep in mind the flavor will change slightly.
What can I use instead of maple syrup?
If you don’t have maple syrup, you can use agave nectar or honey (if not vegan) as a substitute. Adjust the quantity to taste.
Can I add mix-ins like nuts or seeds?
Yes! Feel free to fold in your favorite nuts, seeds, or even chocolate chips into the mixture before pressing it into the pan for added texture and flavor.
How do I know when the bars are ready to slice?
The bars will be firm to the touch and the chocolate will be set. If they feel too soft, let them chill in the refrigerator for additional time before slicing.
Serve & Enjoy
There you have it—your very own Almond Butter Bars (No-Bake)! These bars are not only a delightful indulgence but also a nutritious snack that you can feel good about eating. Whether you’re enjoying them as an afternoon treat or packing them for a lunchbox surprise, they’re sure to impress and satisfy. So go ahead, make a batch, and revel in the deliciousness of homemade goodness!
Almond Butter Bars (No-Bake)
Ingredients
Equipment
Method
- Step 1: Prepare the Pan - Begin by lining an 8x8 inch baking pan with parchment paper. Leave some overhang on the sides to make it easier to lift out the bars later.
- Step 2: Combine the Base Ingredients - In a mixing bowl, combine the almond flour, cocoa powder, and a pinch of salt. Mix well to ensure even distribution of ingredients.
- Step 3: Add the Sweeteners and Nut Butter - Next, add in 3 tablespoons of grade A maple syrup, the almond butter, and the remaining 1/4 cup of maple syrup. Stir until everything is well combined and you have a thick mixture.
- Step 4: Incorporate Coconut Oil - Pour in the melted coconut oil and vanilla extract. Continue to mix until the mixture is smooth and creamy, with no dry spots remaining.
- Step 5: Transfer to the Pan - Spoon the mixture into the prepared baking pan. Use a spatula to press it down firmly and evenly to create a smooth surface.
- Step 6: Chill the Base - Place the pan in the refrigerator for at least 30 minutes, allowing the base to firm up. This step is crucial for the bars to hold together.
- Step 7: Melt the Chocolate - While the base is chilling, prepare the chocolate topping. Using a double boiler or microwave, melt the chopped dairy-free dark chocolate with the optional teaspoon of refined coconut oil. Stir until completely smooth.
- Step 8: Pour the Chocolate - Once the base has set, remove it from the refrigerator. Pour the melted chocolate over the top and spread it evenly with a spatula.
- Step 9: Add Flaky Salt - Sprinkle flaky salt on top of the melted chocolate for a gourmet touch.
- Step 10: Final Chill - Return the pan to the refrigerator for another hour or until the chocolate is set completely.
- Step 11: Slice and Serve - Once the chocolate has hardened, use the parchment overhang to lift the bars out of the pan. Cut them into squares or rectangles, and enjoy your homemade Almond Butter Bars (No-Bake)!
Notes
- For a nut-free version, substitute almond butter with sunflower seed butter.
- Experiment with different toppings like crushed nuts or coconut flakes for added texture.
- Store in an airtight container in the refrigerator for up to a week.