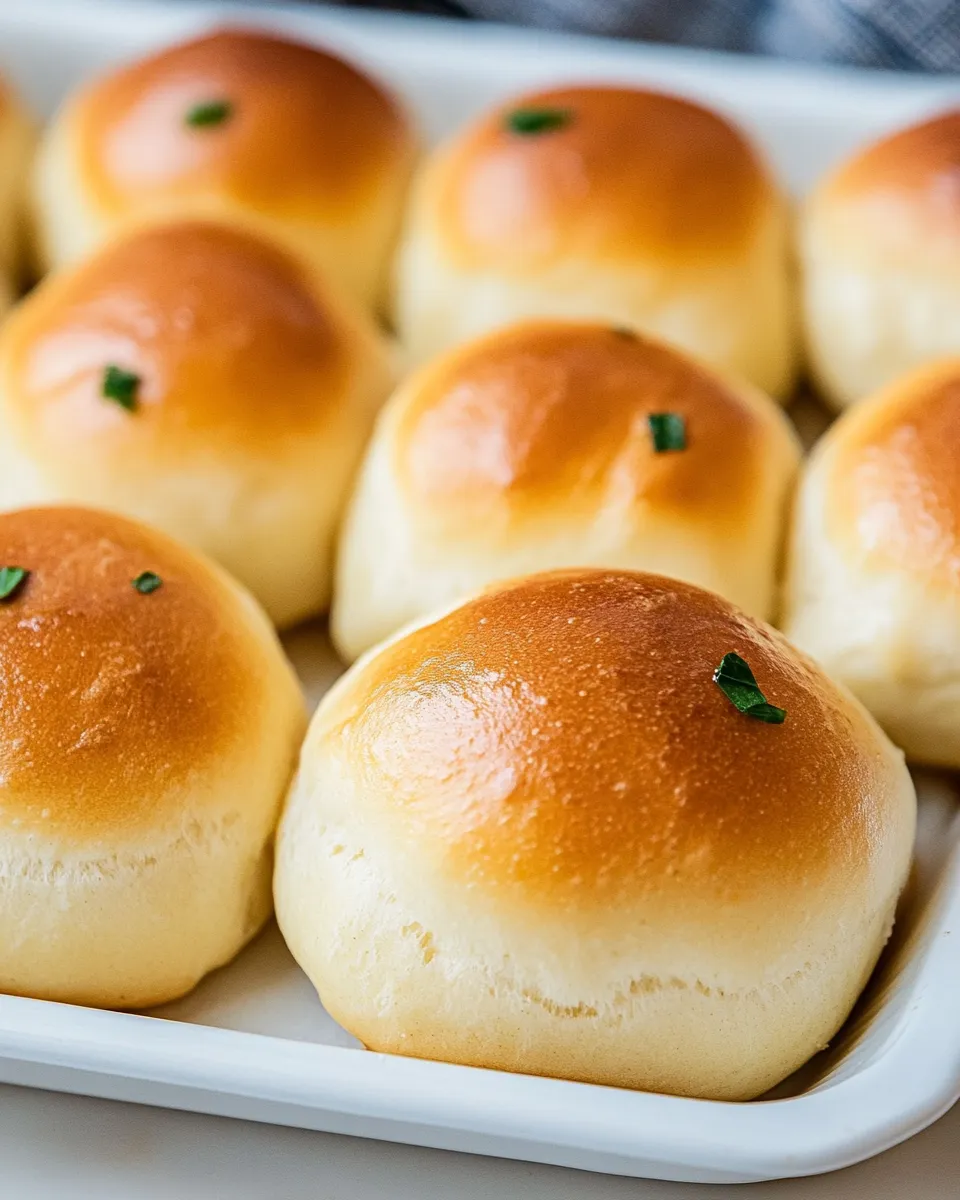
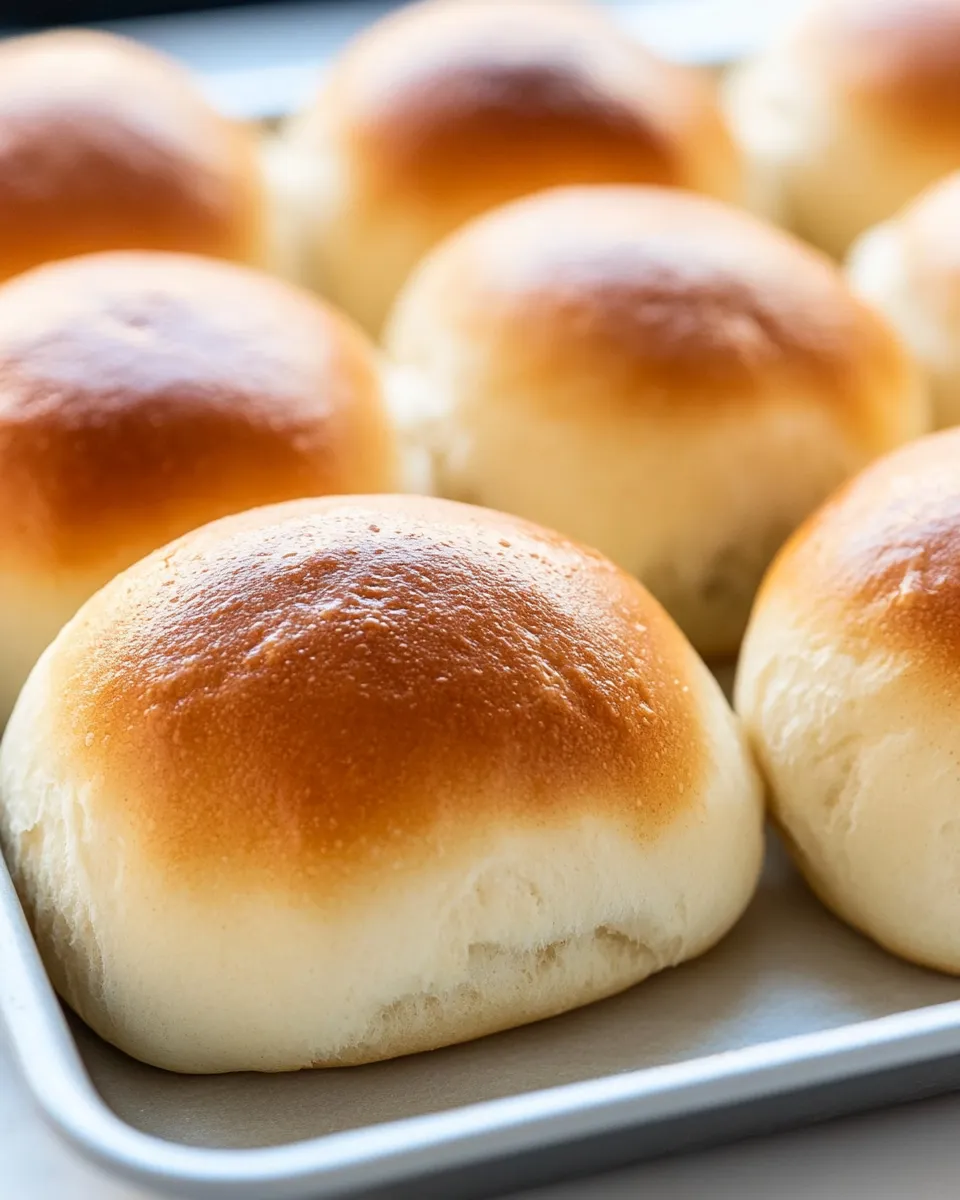
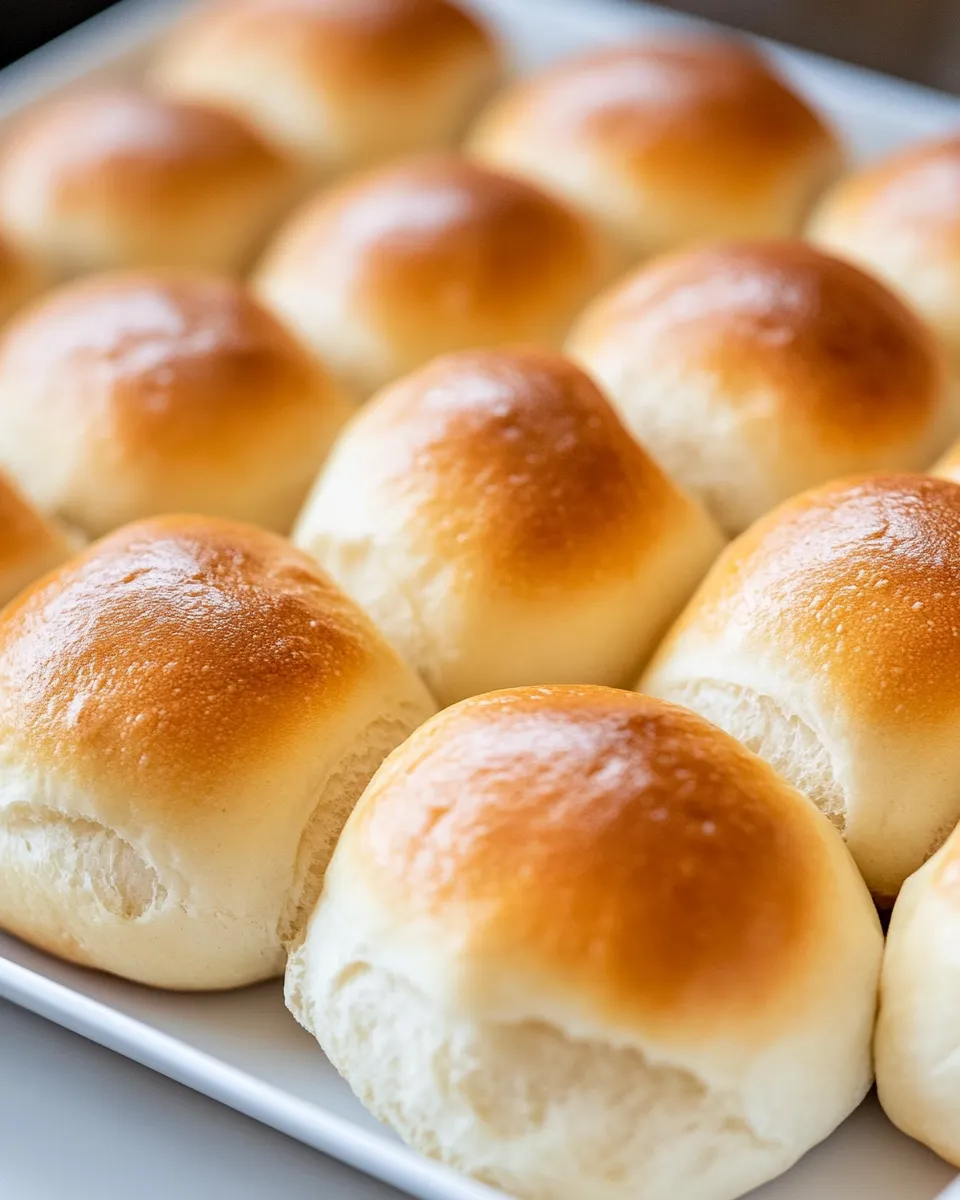
Slider Buns
There’s something undeniably delightful about a perfectly made slider bun. These little clouds of joy are the unsung heroes of any gathering, perfect for cradling your favorite fillings, whether it’s juicy sliders, spicy pulled pork, or even veggie patties. Today, we’re diving into a delightful recipe that will elevate your slider game and keep your guests coming back for more. With a soft, fluffy texture and a hint of sweetness, these slider buns are sure to become a staple in your kitchen.
Why It Deserves a Spot
Slider buns are not just a vehicle for your delicious fillings; they are an essential part of the experience. Their texture and flavor complement a myriad of toppings and fillings, making them versatile enough for any occasion. Whether you are hosting a backyard barbecue, a game day gathering, or a cozy family dinner, slider buns will elevate your meal. Plus, they are simple to make and can be customized to fit your taste preferences, making them a worthy addition to your recipe repertoire.
What Goes In
To create these irresistible slider buns, you will need the following ingredients:
- 1 cup lukewarm water – This helps activate the yeast, creating a fluffy texture.
- 1 tablespoon active dry yeast – The magic ingredient for rising.
- 3 tablespoons sugar – Adds a hint of sweetness and helps with browning.
- 3 ½ cups all-purpose flour – The base for our buns, giving them structure.
- 1 teaspoon kosher salt – Enhances the overall flavor.
- 1 egg (2 oz or 60g with shell) – Adds richness and helps bind the dough.
- 2 tablespoons unsalted butter, softened – For a tender crumb.
- 3 tablespoons unsalted butter, melted – To brush on top for a beautiful finish.
Toolbox for This Recipe
Before you start mixing and kneading, gather the following tools to make the process smooth:
- Mixing bowl – For combining ingredients.
- Whisk – To mix the yeast and sugar with water.
- Measuring cups and spoons – Precision is key for baking.
- Dough scraper – This makes handling sticky dough easier.
- Baking sheet – Where the buns will rise and bake.
- Clean kitchen towel – To cover the buns while they rise.
Make Slider Buns: A Simple Method
Now, let’s get to the fun part: making those slider buns! Follow this step-by-step guide to ensure success.
Step 1: Activate the Yeast
In a mixing bowl, combine the lukewarm water and sugar. Sprinkle the active dry yeast over the top and let it sit for about 5-10 minutes until it becomes frothy. This indicates that the yeast is alive and ready to help your buns rise.
Step 2: Mix the Dough
Once the yeast is activated, add the egg, softened butter, and salt to the mixture. Gradually stir in the all-purpose flour, one cup at a time, until a sticky dough forms. You can use a wooden spoon or your hands for this step.
Step 3: Knead the Dough
Transfer the dough to a floured surface and knead it for about 5-7 minutes until it is smooth and elastic. If the dough is too sticky, sprinkle a little more flour as you knead.
Step 4: First Rise
Place the kneaded dough into a greased bowl, cover it with a clean kitchen towel, and let it rise in a warm place for about 1 hour or until it has doubled in size.
Step 5: Shape the Buns
After the dough has risen, punch it down to release the air. Divide the dough into 12 equal pieces and shape each piece into a small ball. Place the balls on a baking sheet lined with parchment paper, leaving space between them.
Step 6: Second Rise
Cover the shaped buns with the kitchen towel again and let them rise for another 30-40 minutes until they puff up.
Step 7: Preheat and Bake
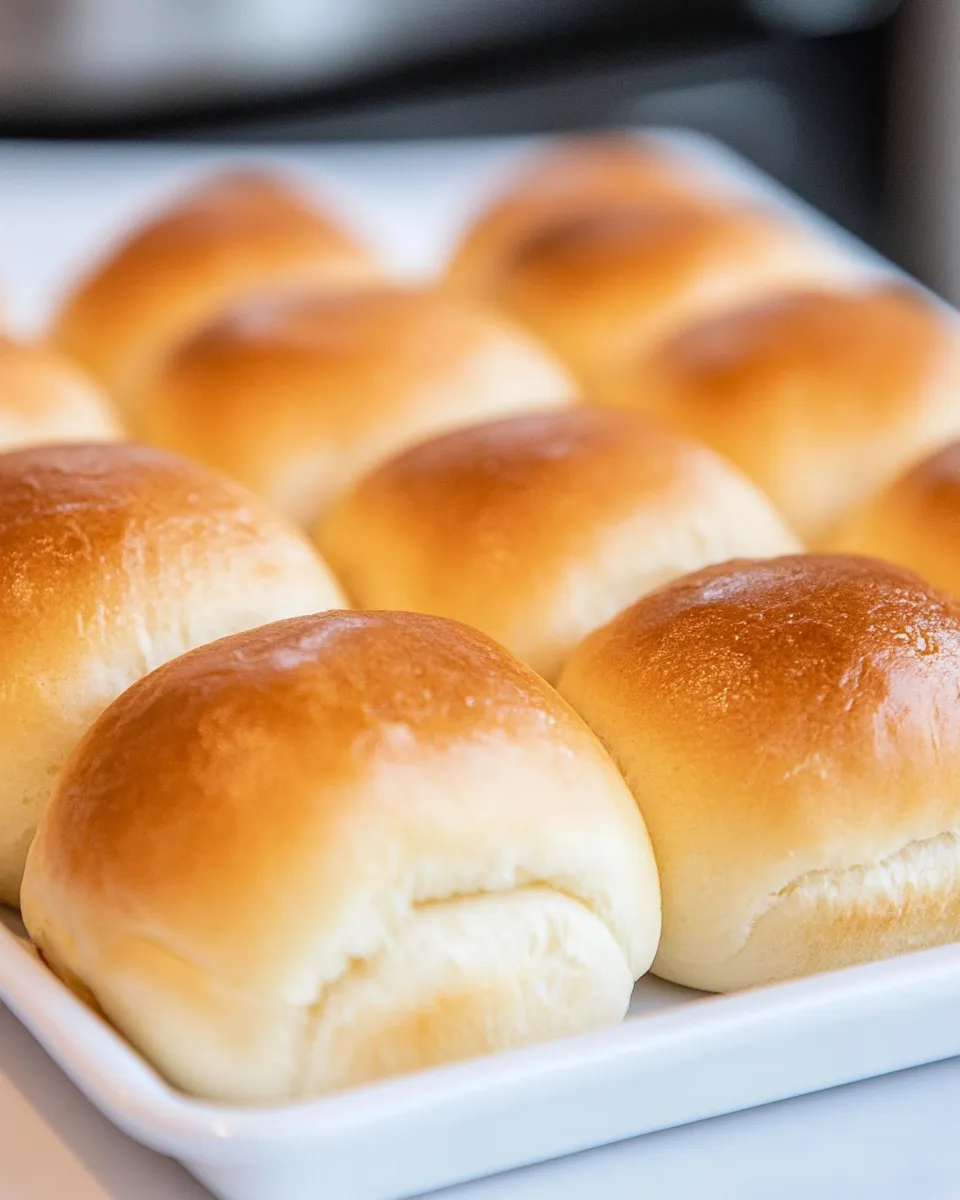
While the buns are rising, preheat your oven to 375°F (190°C). Once the buns have risen, brush the tops with melted butter for a shiny finish. Bake them for 15-20 minutes or until they are golden brown.
Step 8: Cool and Serve
Remove the slider buns from the oven and let them cool on a wire rack. Enjoy them warm or at room temperature with your favorite fillings!
Better-for-You Options
If you’re looking to make these slider buns a bit healthier, consider the following suggestions:
- Substitute whole wheat flour for half of the all-purpose flour for added fiber.
- Use coconut sugar or honey instead of granulated sugar for a natural sweetener.
- Replace butter with avocado oil or a dairy-free alternative for a lighter option.
- Omit the egg and replace it with a flaxseed meal mixture for a vegan version.
Testing Timeline
If you’re eager to know when your slider buns will be ready, here’s a quick overview of the timeline:
- Yeast activation: 5-10 minutes
- First rise: 1 hour
- Shaping and second rise: 30-40 minutes
- Baking: 15-20 minutes
- Total time: Approximately 2-2.5 hours
Freezer-Friendly Notes
These slider buns are perfect for meal prep! Here’s how to store them for later use:
- Once cooled, place the buns in a freezer-safe bag, removing as much air as possible.
- They can be frozen for up to 3 months.
- To reheat, simply thaw overnight in the refrigerator and warm them in the oven before serving.
Reader Questions
Can I use bread flour instead of all-purpose flour?
Absolutely! Bread flour has a higher protein content, which can result in a chewier texture. Just be aware that the buns may be slightly denser.
What can I use instead of active dry yeast?
You can use instant yeast in the same quantity. It doesn’t require proofing, so you can mix it directly with the dry ingredients.
How can I make these slider buns without gluten?
For a gluten-free version, use a gluten-free all-purpose flour blend and add a binding agent like xanthan gum. Adjust the liquid as necessary for the right dough consistency.
What fillings pair well with these slider buns?
These buns are incredibly versatile! Try them with mini burgers, pulled chicken, barbecue jackfruit, or even a caprese salad filling for a fresh twist.
The Last Word
Baking slider buns from scratch is a rewarding experience that fills your kitchen with delightful aromas and results in a delicious product that is sure to impress. The combination of soft, fluffy bread with your favorite fillings creates the perfect bite-sized treat for any occasion. With a little bit of patience and love, you’ll have slider buns that will be the star of your next meal.
So roll up your sleeves, gather your ingredients, and get ready to enjoy the satisfaction of homemade slider buns. Whether for a casual family dinner or a lively gathering with friends, these buns are sure to be a hit! Happy baking!
Slider Buns
Ingredients
Equipment
Method
- In a mixing bowl, combine the lukewarm water and sugar. Sprinkle the active dry yeast over the top and let it sit for about 5-10 minutes until frothy.
- Once activated, add the egg, softened butter, and salt. Gradually stir in the flour until a sticky dough forms.
- Transfer the dough to a floured surface and knead for 5-7 minutes until smooth and elastic.
- Place the kneaded dough in a greased bowl, cover with a towel, and let it rise for about 1 hour until doubled in size.
- Punch down the dough, divide into 12 pieces, and shape each into a ball. Place on a baking sheet lined with parchment paper.
- Cover with a towel and let rise for another 30-40 minutes until puffed up.
- Preheat the oven to 375°F (190°C). Brush tops with melted butter and bake for 15-20 minutes until golden brown.
- Remove from oven and cool on a wire rack. Enjoy warm or at room temperature.
Notes
- Substitute half of the all-purpose flour with whole wheat for added fiber.
- Use coconut sugar or honey as a natural sweetener.
- Replace butter with avocado oil for a lighter option.