Japanese Pancakes
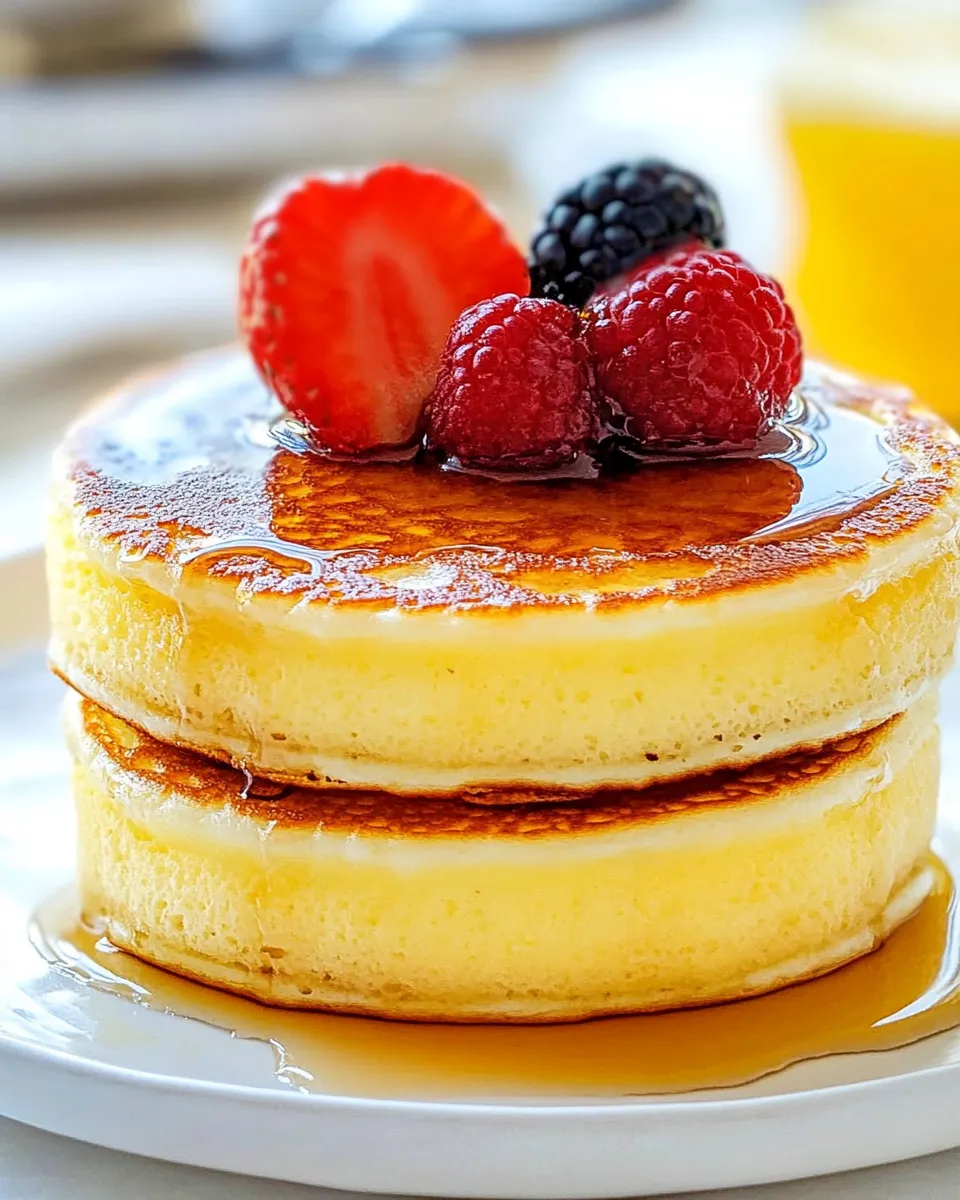
Japanese pancakes are a delightful treat that have taken the brunch scene by storm. With their fluffy texture and cloud-like appearance, they elevate the humble pancake to something truly special. Unlike traditional pancakes, these Japanese versions are light, airy, and incredibly satisfying. They’re perfect for a leisurely breakfast or a delightful dessert. If you’ve ever craved that airy, soufflé-like pancake, you’re in for a treat. Let’s dive into the world of Japanese pancakes and learn how to make them in your own kitchen!
Why It Deserves a Spot
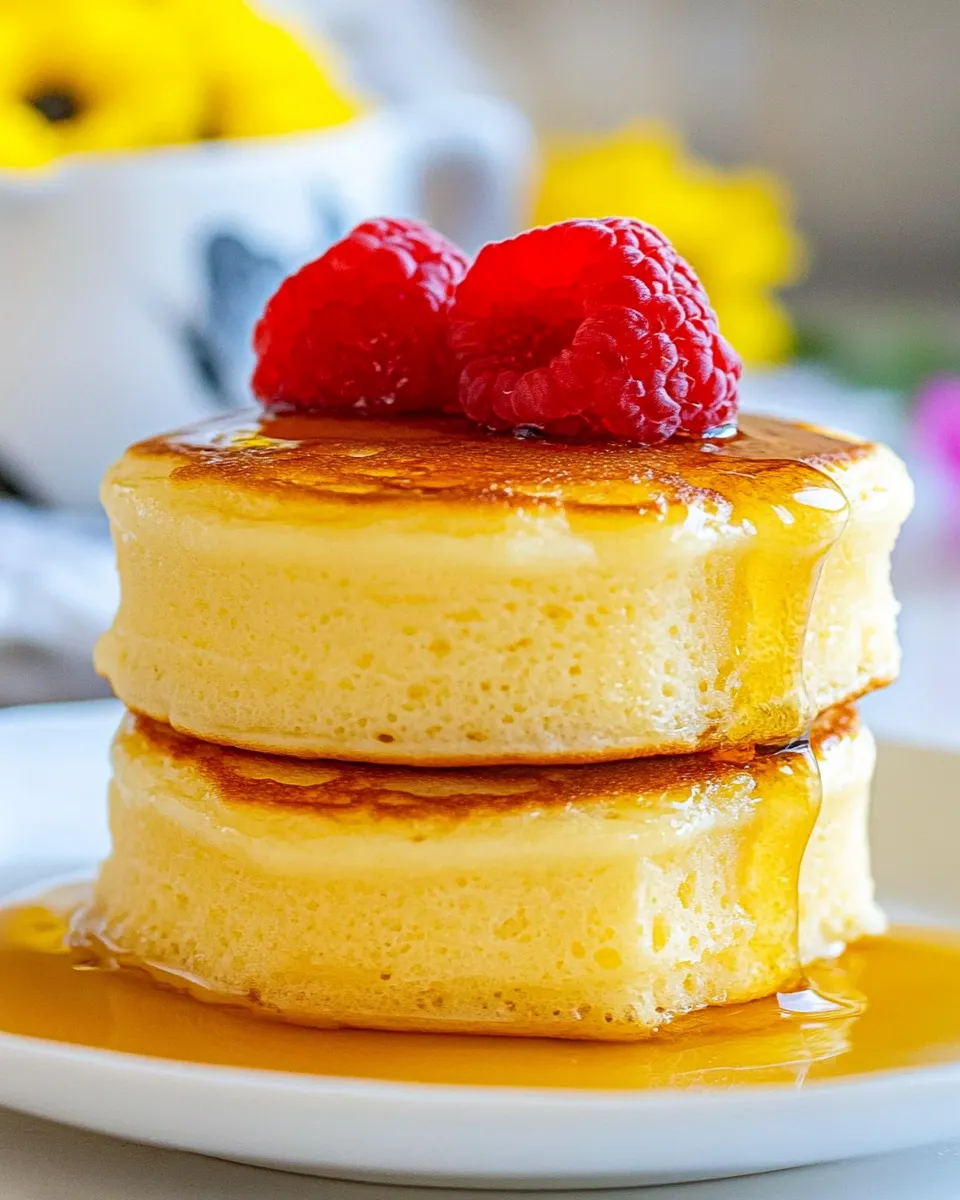
Japanese pancakes deserve a spot in your recipe repertoire for several reasons. First, their unique texture is unlike anything you’ve had before. The combination of whipped egg whites and a delicate batter creates pancakes that are thick yet fluffy. Second, they can be topped with a variety of ingredients, from fresh fruits to rich syrups, making them versatile for any occasion. Finally, the joy of watching these pancakes rise and fluff up is a reward in itself. Once you try making them, you’ll understand why they have become a favorite worldwide.
What’s in the Bowl
To create the perfect Japanese pancakes, gather the following ingredients:
- 2 large eggs (separated)
- 2 cups sugar
- 1 cup milk
- 1 teaspoon vanilla extract
- 1 cup all-purpose flour
- 2 teaspoons baking powder
- 1/2 teaspoon salt
These simple ingredients come together to create a pancake that is both delicious and impressive.
Equipment Breakdown
Before you start cooking, make sure you have the right tools on hand:
- Mixing bowls: A large bowl for the batter and a smaller one for the egg whites.
- Whisk: Essential for fluffing the egg whites.
- Spatula: For flipping the pancakes gently.
- Non-stick skillet or griddle: To achieve that perfect golden brown color.
- Lid: To cover the pancakes while cooking for even fluffiness.
- Measuring cups and spoons: For precise ingredient measurements.
Having the right equipment makes the cooking process smoother and more enjoyable.
Cooking Japanese Pancakes: The Process
Now that you have your ingredients and equipment ready, let’s get cooking! Follow these steps for the fluffiest Japanese pancakes:
Step 1: Prepare the Batter
In a mixing bowl, combine the egg yolks, sugar, milk, and vanilla extract. Whisk everything together until well combined. The sugar will help create a lovely sweetness that complements the pancakes perfectly.
Step 2: Add Dry Ingredients
Sift in the all-purpose flour, baking powder, and salt. Gently fold the dry ingredients into the wet mixture using a spatula. Be careful not to over-mix; a few lumps are perfectly fine. The goal is to create a thick batter.
Step 3: Whip the Egg Whites
In a separate bowl, use a whisk to beat the egg whites until stiff peaks form. This is the secret to achieving that signature fluffiness. When you lift the whisk, the egg whites should hold their shape without collapsing.
Step 4: Fold the Egg Whites
Gently fold the whipped egg whites into the pancake batter. This step is crucial, so take your time and be gentle. You want to keep as much air in the mixture as possible to ensure your pancakes rise beautifully.
Step 5: Cook the Pancakes
Preheat your non-stick skillet or griddle over low heat. Grease it lightly with oil or butter. Using a large spoon or ladle, pour the batter onto the skillet, creating thick rounds. Cover the pancakes with a lid and cook for about 4-5 minutes, or until the bottoms are golden brown. Carefully flip the pancakes and cook for an additional 4-5 minutes, again covered, until they are cooked through.
Step 6: Serve with Toppings
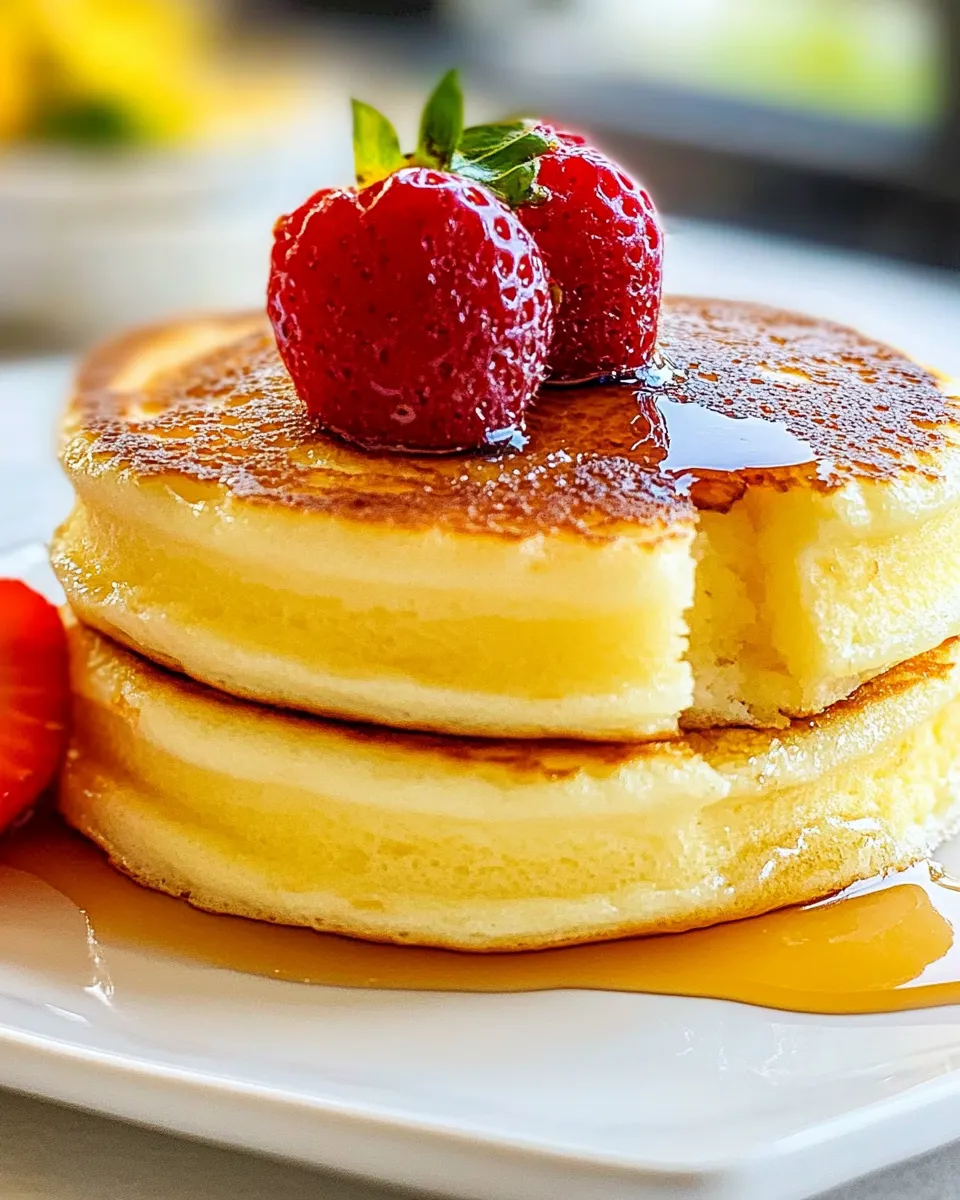
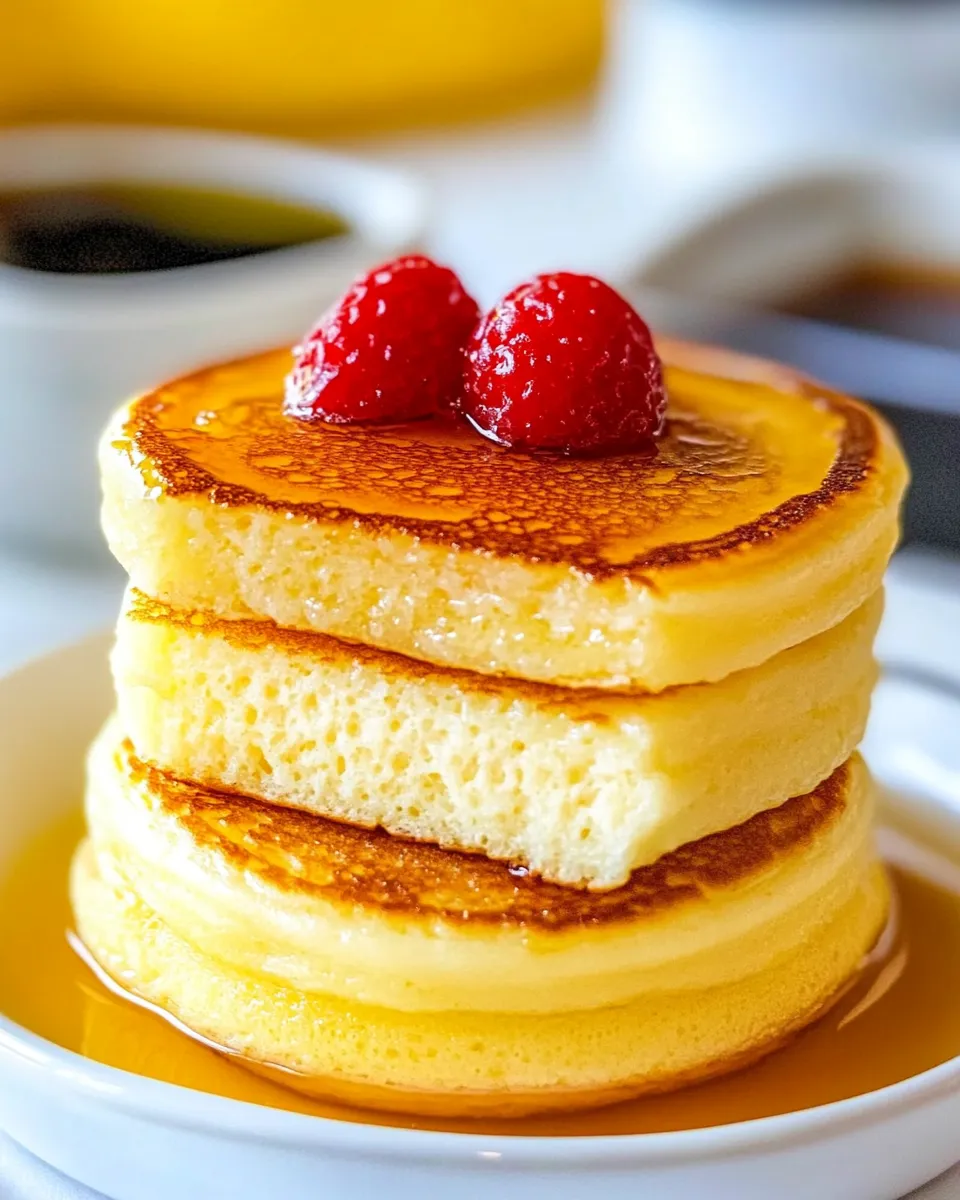
Once your pancakes are fluffy and golden, it’s time to serve! Stack them high and drizzle with maple syrup, add fresh fruits, or dollop some whipped cream on top. The possibilities are endless!
Seasonal Flavor Boosts
Elevate your Japanese pancakes by adding seasonal flavors. Here are a few ideas to inspire you:
- Spring: Fresh berries like strawberries and blueberries.
- Summer: Grilled peaches with a drizzle of honey.
- Fall: Pumpkin puree with warm spices like cinnamon and nutmeg.
- Winter: Citrus zest, such as orange or lemon, for a refreshing twist.
These seasonal flavors can take your Japanese pancakes from delightful to extraordinary.
Don’t Do This
When making Japanese pancakes, there are a few common mistakes to avoid:
- Don’t rush the egg whites: Whipping them to stiff peaks is essential for fluffiness.
- Don’t skip the lid: Covering the pancakes while cooking helps them rise properly.
- Don’t over-mix: Be gentle when combining the batter; too much mixing can deflate the air bubbles.
- Don’t cook on high heat: Low and slow is the way to go; high heat can burn the pancakes before they’re cooked through.
Avoiding these pitfalls will help ensure your pancakes turn out perfectly every time.
Storing, Freezing & Reheating
If you find yourself with leftover Japanese pancakes (which is rare, but it can happen!), here’s how to store them:
- Storing: Place pancakes in an airtight container in the refrigerator for up to 2 days.
- Freezing: For longer storage, freeze pancakes in a single layer on a baking sheet. Once frozen, transfer them to a freezer-safe bag for up to 2 months.
- Reheating: To reheat, simply pop them in the microwave for 30 seconds or warm them up in a skillet over low heat until heated through.
Now you can enjoy Japanese pancakes even on busy mornings!
Your Top Questions
Can I make Japanese pancakes without eggs?
Yes! You can substitute the eggs with a flaxseed meal or a commercial egg replacer to achieve a similar texture, though the final product may differ slightly.
Why are my pancakes not fluffy?
If your pancakes are not fluffy, it could be due to under-whipping the egg whites, over-mixing the batter, or cooking at too high a temperature. Ensure you follow the steps carefully for the best results.
Can I use whole wheat flour instead of all-purpose flour?
Yes, you can use whole wheat flour, but the texture will be denser. For a lighter pancake, you might want to use a mix of all-purpose and whole wheat flour.
How do I know when the pancakes are done cooking?
Japanese pancakes are done when they are golden brown on the outside, and a toothpick inserted in the center comes out clean. They should also have a slight spring to the touch.
The Last Word
Japanese pancakes are more than just a breakfast option; they are an experience. With their fluffy, cloud-like texture and deliciously sweet flavor, they can transform any meal into a special occasion. Whether you enjoy them plain or topped with your favorite fruits and syrups, these pancakes are sure to impress anyone lucky enough to try them. So gather your ingredients, make some time for cooking, and treat yourself to a delightful stack of Japanese pancakes. You won’t regret it!
There’s something incredibly rewarding about mastering a new recipe, especially one as delightful as Japanese pancakes. From the anticipation of watching them rise to the joy of savoring each fluffy bite, this dish offers both comfort and a touch of elegance. Now, it’s time for you to take this recipe and make it your own. Happy cooking!
Japanese Pancakes
Ingredients
Equipment
Method
- In a mixing bowl, combine the egg yolks, sugar, milk, and vanilla extract. Whisk everything together until well combined.
- Sift in the all-purpose flour, baking powder, and salt. Gently fold the dry ingredients into the wet mixture using a spatula.
- In a separate bowl, use a whisk to beat the egg whites until stiff peaks form.
- Gently fold the whipped egg whites into the pancake batter.
- Preheat your non-stick skillet or griddle over low heat. Grease it lightly with oil or butter. Pour the batter onto the skillet, creating thick rounds. Cover and cook for about 4-5 minutes until golden brown.
- Carefully flip the pancakes and cook for an additional 4-5 minutes, again covered, until cooked through.
- Stack the pancakes high and drizzle with maple syrup, add fresh fruits, or dollop some whipped cream on top.
Notes
- For fluffier pancakes, ensure egg whites are whipped to stiff peaks.
- Cover the pancakes with a lid while cooking for even fluffiness.
- Use low heat to prevent burning while ensuring they're cooked through.